Say Goodbye to Old Ties: A Guide to Retaining Wall Replacement
Time to replace your rotting railroad tie wall? This guide covers signs of failure, new materials, & steps for replacing a railroad tie retaining wall.
Why Replacing Your Old Railroad Tie Wall Matters
Replacing a railroad tie retaining wall is crucial when you see rotting wood, leaning sections, or soil erosion. A failing wall is more than an eyesore—it's a safety hazard that can damage your property. Many Central Florida homeowners find their old walls bowing and crumbling, losing soil with every heavy rain. Worse, these ties are often treated with creosote, a toxic chemical that can leach into your soil. Modern alternatives like interlocking concrete blocks, natural stone, and poured concrete offer superior durability, lasting 50 to 100 years compared to the 20-year lifespan of railroad ties.
Quick Guide to Replacing a Railroad Tie Retaining Wall:
- Identify failure signs - Look for rotting wood, warping, leaning, gaps, and soil erosion
- Choose your material - Segmental blocks, natural stone, or poured concrete
- Remove old wall safely - Handle creosote-treated ties with care and dispose properly
- Build proper foundation - Excavate, add compacted gravel base, ensure level
- Install drainage - Use geotextile fabric, gravel backfill, and perforated drain pipe
- Stack and finish - Stagger joints, backfill in lifts, add caps and landscaping
For more guidance on keeping your walls in top shape, check out our guide on inspecting your retaining wall for water damage, and when you're ready for expert help, explore our professional retaining wall services.
This guide walks you through everything you need to know about replacing your failing railroad tie retaining wall with a modern, durable alternative that will protect your property for generations.
Is It Time for a Change? Signs Your Wall is Failing
The first step is recognizing the warning signs that replacing a railroad tie retaining wall has become necessary. Look for these red flags:
- Rotting Wood: The most obvious sign. Wood becomes soft, spongy, or crumbly, sometimes with visible fungal growth.
- Warping or Bowing: Ties that curve outward are losing their battle against soil pressure.
- Leaning or Tilting: A wall that isn't standing straight is losing structural integrity, often due to foundation failure.
- Gaps Between Ties: As ties shift, gaps form that allow soil to escape, defeating the wall's purpose.
- Soil Erosion: If you see dirt washing away or sinking behind the wall, especially after rain, the wall is failing its primary mission.
For a deeper dive into how water wreaks havoc on retaining structures, check out our guide on inspecting your retaining wall for water damage.

The Hidden Dangers of Old Railroad Ties
Beyond being an eyesore, old railroad ties pose serious hidden dangers. They were historically treated with creosote, a wood preservative classified by the EPA as a toxic chemical cocktail containing known carcinogens.
As the ties decay, creosote toxicity and soil contamination become real concerns. The chemicals leach into the surrounding earth, which is a problem near vegetable gardens, play areas, or anywhere pets and children spend time. Plants can absorb these toxins, making homegrown produce potentially unsafe.
In addition to the chemical hazards, there's the very real danger of structural collapse. As the wood rots and weakens, it can give way suddenly under the massive weight of the soil, causing dramatic erosion and property damage. Modern alternatives completely eliminate these concerns while providing superior strength and longevity, as we explain in our guide on preventing soil erosion with retaining walls.
Choosing Your New Wall: Modern & Durable Alternatives
Once you've decided that replacing a railroad tie retaining wall is necessary, you can choose a beautiful, long-lasting material that will serve your property for decades. Today's options are stronger, safer, and better looking than old railroad ties. Consider how long you want it to last, the maintenance you're willing to do, and the style that best fits your home and landscape.
Here's how the most popular materials stack up:
| Material Type | Durability | Maintenance Needs | Design Flexibility |
|---|---|---|---|
| Segmental & Interlocking Blocks | High (50-100 years with proper installation) | Low (occasional cleaning) | High (various colors, textures, sizes; curved or straight designs) |
| Natural Stone | Very High (100+ years, virtually permanent) | Very Low (minimal, primarily aesthetic cleaning) | High (rustic, natural look; can be dry-stacked or mortared) |
| Poured Concrete | Very High (50-100 years, extremely strong) | Low (minimal, can be sealed) | Moderate (can be formed into various shapes, smooth or textured finishes) |
Segmental & Interlocking Concrete Blocks
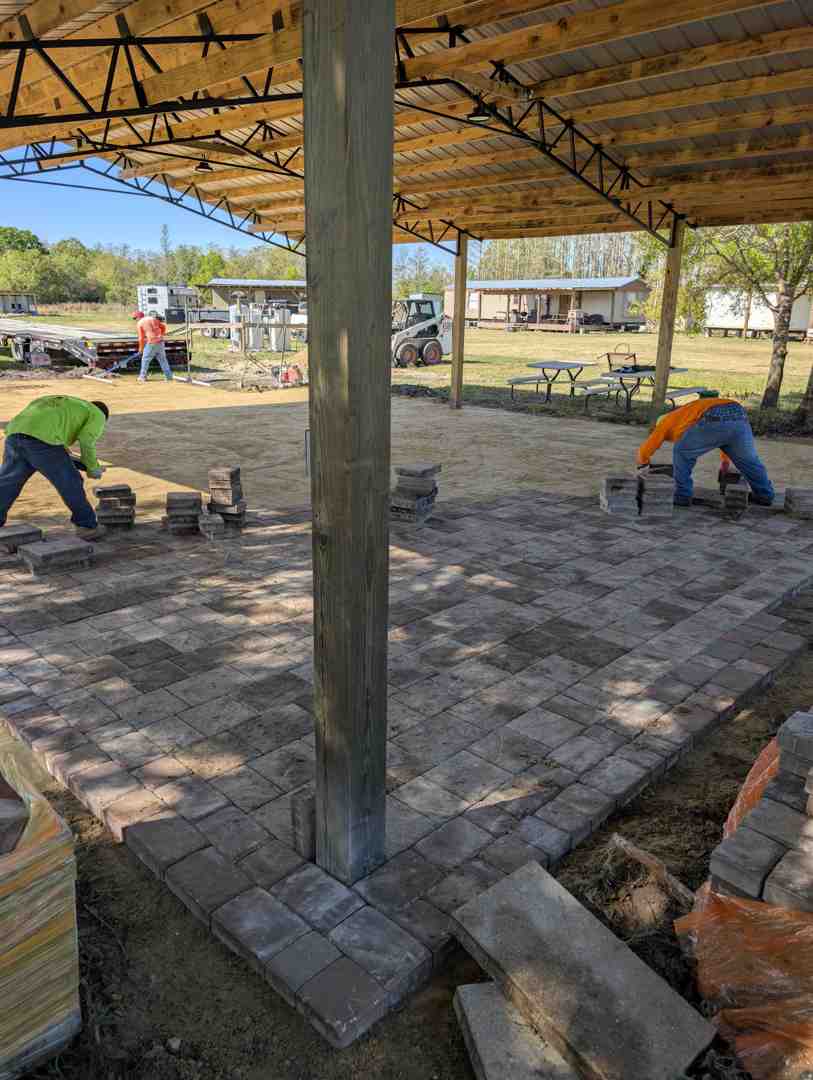
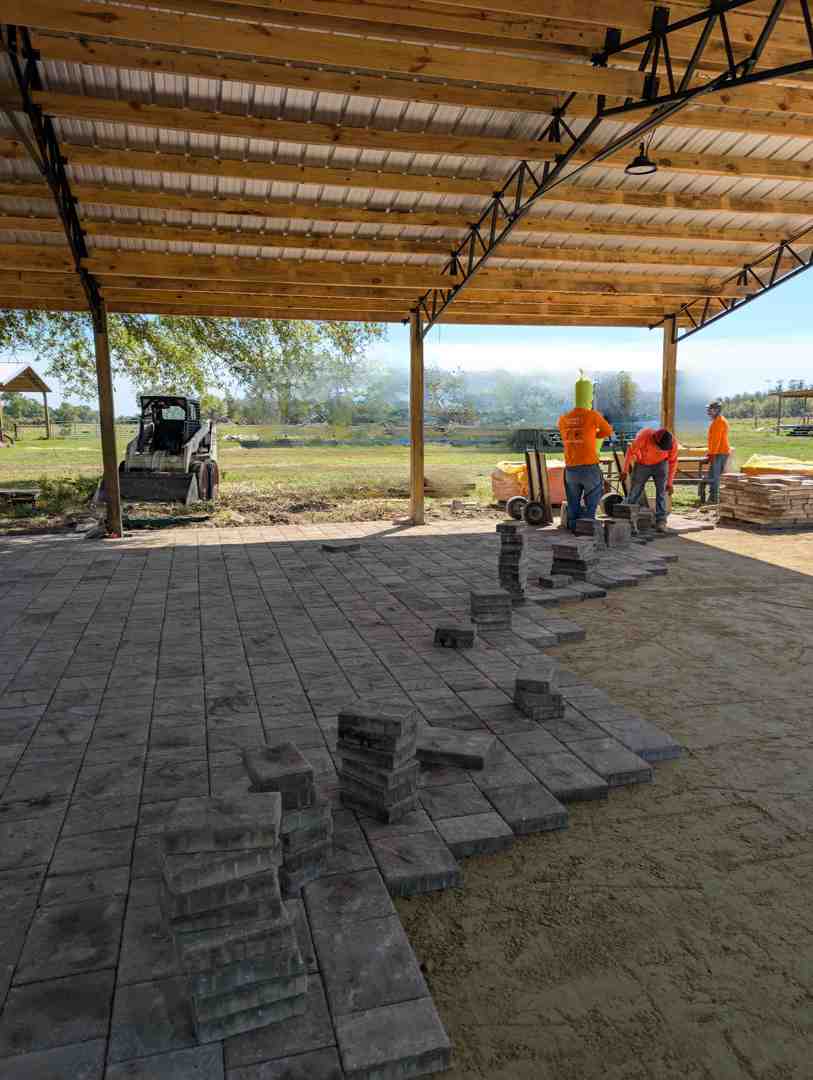
For versatility and serious durability, segmental retaining wall blocks are a top choice. These engineered concrete blocks lock together, creating a strong, attractive wall with a lifespan of 50 to 100 years. Their main advantage is design flexibility. Available in various colors and textures that can mimic natural stone, they can be used to create curved or straight walls that complement any home style. While smaller walls (under 4 feet) can be DIY-friendly, taller walls benefit from professional installation. Explore the possibilities with our guides on interlocking retaining wall blocks, segmental retaining walls, and paver retaining wall ideas.
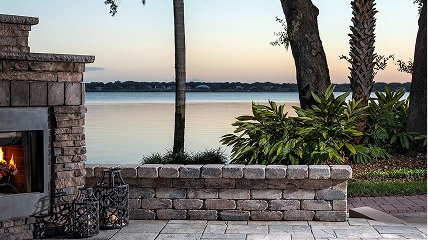
Natural Stone and Boulders
For timeless beauty and incredible longevity, natural stone and boulders are hard to beat. These materials offer a rustic, organic aesthetic that creates a one-of-a-kind look. In terms of durability, stone is in a league of its own, with walls lasting 100 years or more. Stone doesn't rot or warp and is essentially permanent once installed. Stone walls also integrate beautifully with natural landscapes, with boulders often positioned to look like natural outcroppings. For inspiration, explore our articles on large boulders for retaining walls and retaining wall stone facades. You can also see examples of our stone work in Winter Park, FL.
Poured Concrete & Cinder Block Walls
For maximum strength, especially for tall walls or on challenging slopes, poured concrete and cinder block walls provide superior structural integrity. A poured concrete wall is monolithic (poured as one piece), making it the ideal choice for large walls holding back significant soil pressure. These walls also offer a modern, clean aesthetic and can be finished with various textures or stains. Cinder block walls offer similar strength and can be faced with stone veneer or stucco. Due to the complexity, these walls almost always require professional installation, but the investment pays off with a wall that can last 50 to 100 years. Learn more in our guide on cinder block retaining walls.
The Ultimate Guide to Replacing a Railroad Tie Retaining Wall
Replacing a railroad tie retaining wall is a significant project that requires careful planning and precise construction. Before you begin, map out the new wall's location, calculate materials, and check if your municipality requires a permit (often needed for walls over 3-4 feet). Safety is non-negotiable: always use heavy-duty work gloves, safety glasses, sturdy boots, and a dust mask. For more on the fundamentals, see This Old House's guide on rebuilding a concrete block retaining wall.

Step 1: Safe Removal and Disposal
The demolition phase requires caution.
- Dismantle Top-Down: Always start from the top course and work down to prevent a soil collapse. Be aware that ties are extremely heavy (200+ lbs).
- Handle Creosote Safely: Wear gloves and long sleeves to avoid skin contact with creosote-treated wood. Use eye protection and a mask to protect from dust and chips.
- Remove Hardware: Carefully remove old spikes and rebar, which can be a safety hazard.
- Check Disposal Regulations: Creosote-treated wood is often considered hazardous waste. Contact your local waste management facility before you start demolition to understand proper disposal procedures. It cannot be thrown in a regular dumpster or burned.
Step 2: Building a Solid Foundation
A wall is only as good as its foundation. This step is critical for long-term stability.
- Excavate a Trench: Dig a trench deep enough to bury at least half of the first course of blocks (typically 6-12 inches below grade) and wide enough for the block and backfill.
- Create a Compacted Gravel Base: Add a 4- to 6-inch layer of angular, crushed gravel to the trench and compact it firmly with a hand tamper or plate compactor. This provides a stable, level base and aids drainage.
- Level the First Course: The first course of blocks or stones must be perfectly level side-to-side and front-to-back. Use a long carpenter's level and take your time. Any error here will be magnified as you build up.
For insights into building on challenging terrains, our guide on how to build a stone retaining wall on a slope offers valuable tips. And for a comprehensive look at foundation work and beyond, refer to our guide to building a paver stone retaining wall.
Step 3: The Importance of Proper Drainage
Water pressure (hydrostatic pressure) is the number one enemy of retaining walls. A proper drainage system is not optional; it's essential for your wall's survival.
- Use Geotextile Fabric: Line the back of the trench and wall area with heavy-duty geotextile fabric. This allows water to pass through but stops soil from clogging your drainage gravel.
- Add Gravel Backfill: As you build the wall, fill the space directly behind it (at least 12 inches deep) with clean, crushed gravel. This creates a drainage zone for water.
- Install a Perforated Drain Pipe: At the base of the gravel backfill, place a 4-inch perforated drain pipe (a French drain). This pipe collects water and carries it away from the wall to a safe discharge point.
- Consider Weep Holes: For mortared or concrete walls, small weep holes at the base provide an additional escape route for water.
Step 4: Stacking, Backfilling, and Finishing
Now comes the satisfying part—watching your new wall rise from the ground!
- Stagger Joints: As you stack courses, offset the vertical joints from the course below (like a brick pattern) to distribute pressure and add strength. Most block systems have a built-in setback for stability.
- Backfill in Lifts: Do not build the entire wall and then backfill. Add and compact your drainage gravel and soil in layers (lifts) as you build each course or two. This prevents the wall from being pushed out of alignment.
- Add Caps and Finishing Touches: Secure the final course of cap blocks or coping stones with masonry adhesive. This provides a finished look and protects the wall. For tips on achieving perfect cap placement, check out our article on cutting retaining wall caps.
- Landscape Integration: Finish the project by adding appropriate vegetation on the slope above the wall to help stabilize the soil and beautify the area.
Frequently Asked Questions about Wall Replacement
We understand that replacing a railroad tie retaining wall can feel overwhelming. Here are answers to the most common questions we hear from homeowners across Central Florida.
What is the lifespan of different retaining walls?
The material you choose has a major impact on longevity.
- Railroad ties: Typically last around 20 years, but often fail sooner in Florida's humid climate due to rot.
- Concrete block walls: A properly installed segmental wall can last 50 to 100 years. Their engineered design and durable material withstand the elements far better than wood.
- Natural stone walls: The gold standard for longevity, often lasting 100 years or more. Stone is a permanent material that resists decay and weathering.
The key to a long lifespan for any material is proper installation, especially a solid foundation and effective drainage.
Can I build a new wall in front of the old one?
While it seems like a time-saving shortcut, we strongly advise against building a new wall in front of an old one. This approach creates more problems than it solves:
- It traps moisture, which accelerates the rot of the old ties and creates an unstable, soggy mess behind your new wall.
- It hides the structural problem instead of fixing it. The old wall will continue to fail, eventually compromising the new wall.
- It prevents a proper foundation. A new wall needs to be built on a solid, compacted gravel base, not on top of decaying wood.
For long-term stability and peace of mind, proper removal of the old structure is the only correct path.
When should I call a professional for replacing a railroad tie retaining wall?
While some smaller walls can be a DIY project, call a professional in certain situations:
- Walls over 3-4 feet high: Taller walls face immense pressure and often require permits and professional engineering.
- Significant slopes or challenging terrain: A professional can assess complex soil mechanics and stability concerns.
- Poor soil conditions: Sandy or clay-heavy soils require specialized foundation and drainage techniques.
- Lack of proper tools or experience: Building a retaining wall requires heavy lifting, precise leveling, and specialized equipment like a plate compactor.
- Proximity to structures or utilities: If the wall is near a foundation, pool, driveway, or utility lines, expert handling is crucial to prevent damage.
At Alliance Pavers, we have 25 years of experience serving Central Florida families. Our team has the expertise to handle complex replacements, ensuring your new wall is both beautiful and structurally sound. We proudly serve homeowners in Orlando, Sanford, Oviedo, Windermere, Winter Park, Winter Garden, St. Cloud, Lake Nona, and Doctor Phillips. The peace of mind from a job done right is invaluable.
Conclusion: Upgrade Your Landscape with a Wall Built to Last
You now know the essentials of replacing a railroad tie retaining wall, from identifying failure to choosing a modern, long-lasting material. This project is an investment in your property's safety, beauty, and value. By removing a failing, toxic structure and replacing it with a professionally installed wall, you gain peace of mind and a landscape feature built to last for 50 to 100 years.
At Alliance Pavers, we've helped Central Florida homeowners with these challenges for 25 years. As a family-owned business, we're committed to exceptional craftsmanship and a stress-free experience that stays on time and on budget. We handle everything from assessment to the final touches, ensuring a perfect result. Whether you're in Orlando, Sanford, Lake Nona, or a surrounding community, our team is ready to transform your property.
Ready to get started? For a stress-free, on-budget retaining wall replacement, contact our experts today! Let's build something beautiful together—something that will last.