The Art of the Single Paver Swap
Learn if can individual pavers be replaced with our DIY guide, tools, steps & pro tips for seamless repairs in St. Cloud, FL.

One Cracked Paver Doesn't Mean Starting Over
Can individual pavers be replaced without tearing up your entire patio or driveway? Yes — and it's one of the biggest advantages of choosing pavers over poured concrete or asphalt.
Here's a quick overview of what that process involves:
- Assess the damage — determine if it's the paver itself or the base underneath
- Remove the damaged stone — using a paver puller, screwdrivers, or putty knives
- Prepare the base — level the sand or gravel bed beneath the opening
- Install the replacement — drop in the new paver, tamp it flush, and fill the joints with sand
- Blend and seal — match color and texture as closely as possible for a clean finish
Unlike poured concrete, which often requires full-section replacement when damaged, pavers are designed as individual interlocking units set in sand. That means one problem stone can come out — and a fresh one can go right back in — without disturbing anything around it.
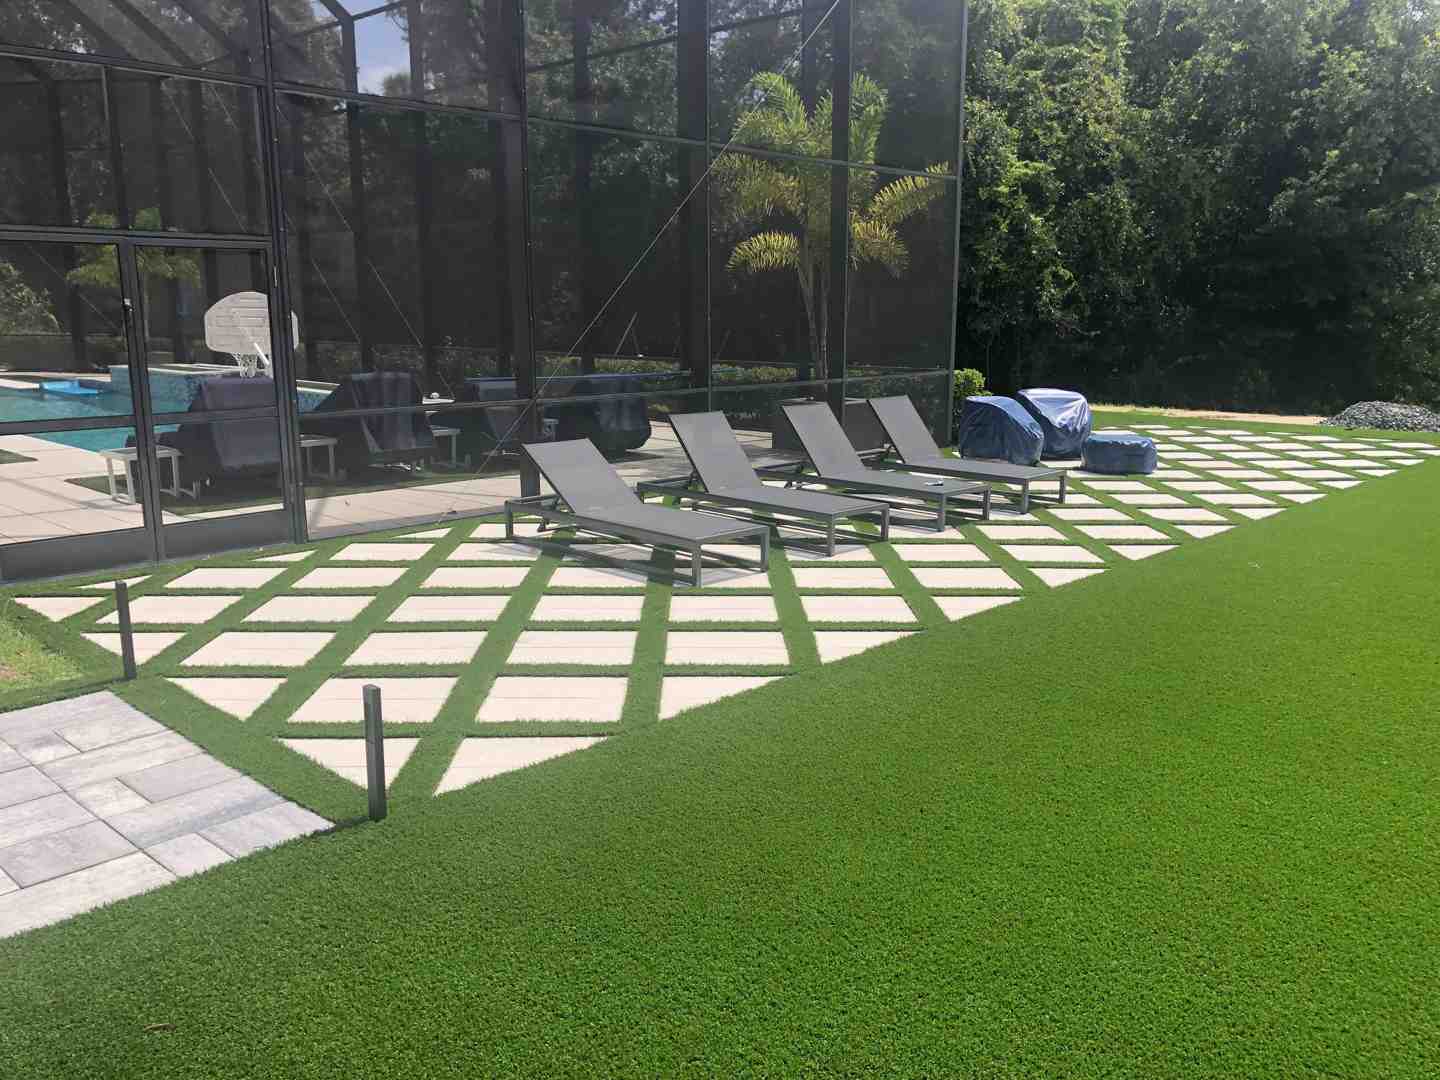
Whether a Florida freeze-thaw cycle shifted a paver on your pool deck, a heavy vehicle cracked a stone on your driveway, or years of foot traffic have just worn one unit down, a targeted single-paver swap is almost always possible. And with the right approach, the repair can be nearly invisible.
Below, we'll walk you through exactly how to do it — from the tools you'll need to the finishing touches that make a replacement blend in seamlessly.

Can Individual Pavers Be Replaced Without Redoing the Whole Surface?
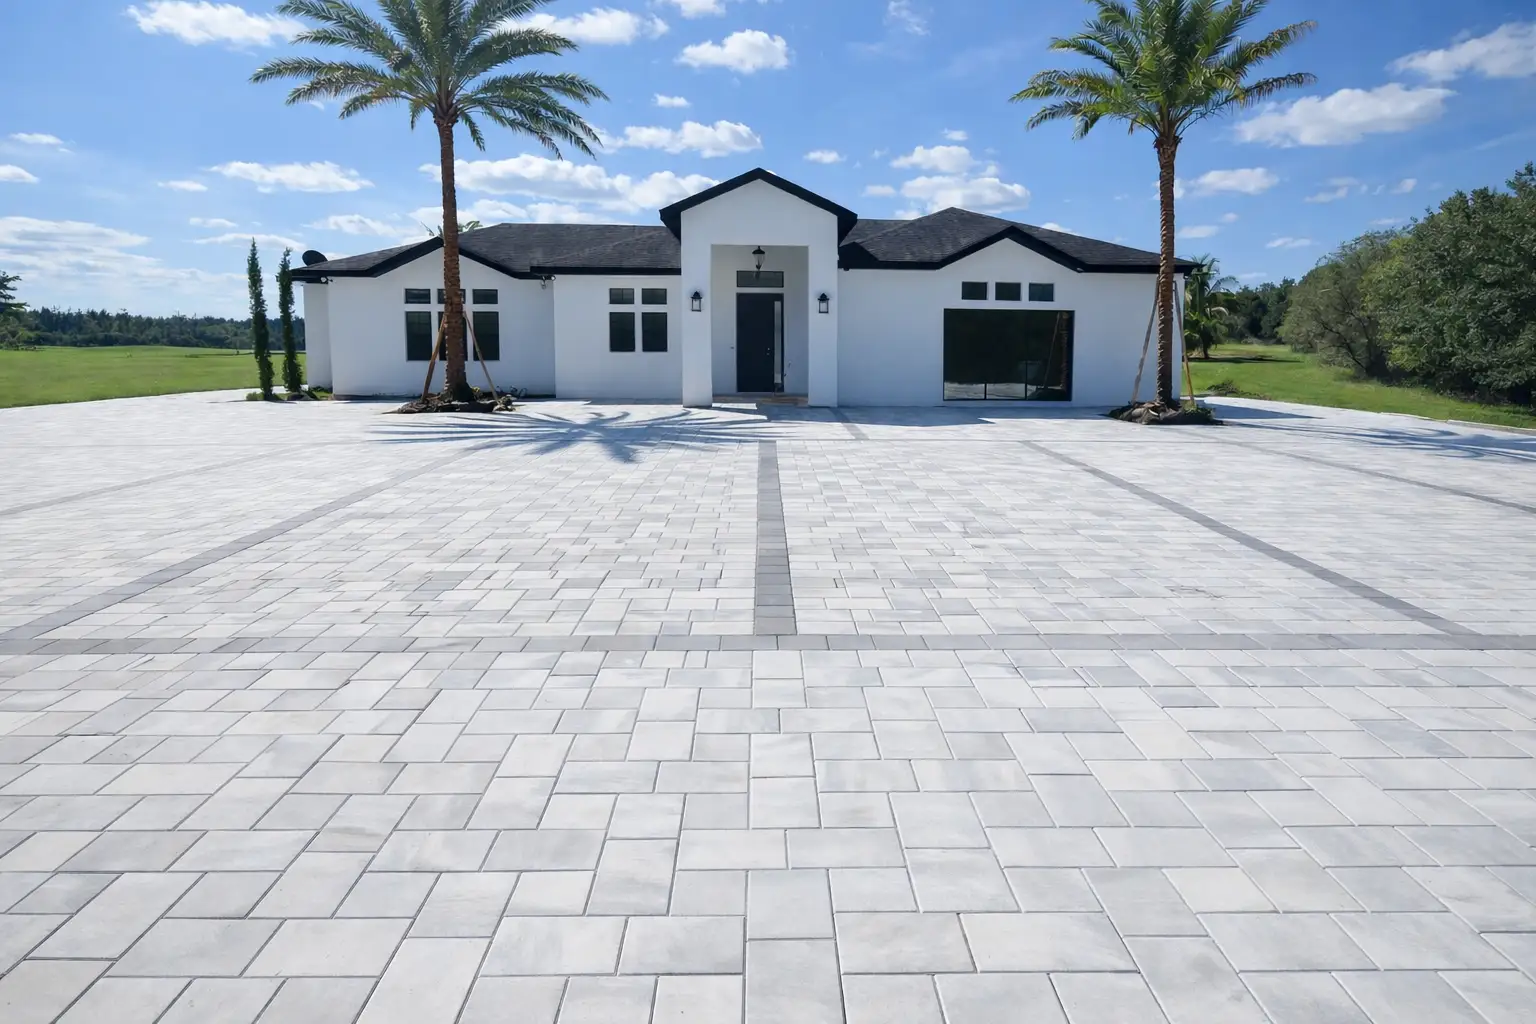
The short answer is a resounding yes. In fact, the modular nature of interlocking stones is why they are a preferred choice for high-end hardscaping in Central Florida. Unlike a monolithic concrete slab, which is a single, rigid structure, a paver system is flexible. The units are held in place by friction and joint sand, not mortar or glue. This allows them to "breathe" with the ground movement, which is essential in our sandy Florida soil.
When a single stone cracks due to impact or stains from an oil leak, you aren't looking at a structural failure of the entire system. You are looking at a localized cosmetic or surface issue. Because the stones are individual pieces, we can extract one without compromising the structural integrity of the surrounding area.
This repairability is a major reason why cities and municipalities often use pavers over utility lines. If a pipe bursts, they can simply lift the pavers, fix the pipe, and put the same stones back. For a homeowner in St. Cloud or Orlando, this means that maintenance is cost-effective and relatively simple. If you are curious about the different types of stones available for your home, you can find more info about paver services on our website.

Essential Tools for a Successful DIY Replacement
Before you start prying at your patio, you need to gather the right equipment. Using the wrong tools can lead to chipped edges on the healthy pavers surrounding the damaged one. To answer the question of how can individual pavers be replaced effectively, we recommend having these items on hand:
- Paver-puller: This is a specialized tool with thin jaws that slide into the joints. It’s the safest way to lift a stone straight up.
- Two Flathead Screwdrivers: If you don't have a paver-puller, two sturdy screwdrivers can work. You'll use them to pry the stone from opposite sides.
- Putty Knives: These offer more surface area than screwdrivers, which helps prevent accidental chipping of the adjacent stones.
- Rubber Mallet: Essential for "setting" the new paver into the sand bed without cracking it.
- Masonry Chisel and Hammer: Only needed if the paver is so badly damaged that it needs to be broken into pieces to be removed.
- Joint Sand (or Polymeric Sand): To fill the gaps once the new stone is in place.
- Level: To ensure the new stone sits perfectly flush with its neighbors.
Having these tools ready ensures a professional-grade repair. For those who prefer to leave the heavy lifting to experts, you can check out more info about our services to see how we handle everything from maintenance to full installations.
Step-by-Step Guide: How Can Individual Pavers Be Replaced Safely?
Replacing a paver is a straightforward process, but it requires patience. If you rush, you might end up with a replacement that sits too high (creating a trip hazard) or too low (creating a puddle spot).
Removing the Damaged Stone
The first step is loosening the "grip" of the joint sand. Over time, sand can become very hard, almost like mortar.
- Clear the Joints: Use a small screwdriver or a stiff brush to scrape out as much sand as possible from the four sides of the damaged paver.
- The Prying Technique: Insert your screwdrivers or putty knives into the joints on opposite sides. Gently wiggle them to break the friction.
- The Wire Hanger Trick: If the paver is stubborn, you can cut two 8-inch pieces of a wire clothing hanger. Bend the ends into 1-inch hooks. Slide these hooks down into the joints, twist them so they catch the bottom of the paver, and pull straight up.
- Destructive Removal: If the paver is already shattered, it might be easier to use a masonry chisel and hammer. Start in the center of the crack and break the stone into smaller, manageable chunks. Be extremely careful not to strike the edges of the good pavers nearby. Always wear safety goggles and gloves for this part!
Preparing the Base and Installing the New Unit
Once the old paver is out, you'll see the sand bedding layer. It’s rarely perfectly flat after an extraction.
- Level the Sand: Use a small trowel to smooth out the sand. If the paver was sunken, you may need to add a little bit of fresh bedding sand or crushed limestone.
- The 1/4 Inch Rule: A pro tip is to add about 1/4 inch more sand than you think you need. When you tamp the paver down later, it will settle into the base.
- Click and Drop: Hold the new paver over the hole. Align one edge against a neighboring paver (the "click") and then lower it into place (the "drop"). This prevents you from "plowing" the sand bed and creating an uneven surface.
- Hand Tamping: Use your rubber mallet to tap the paver into the sand. Check it with your level. It should be perfectly flush with the stones around it. If it’s too low, pull it out and add more sand; if it’s too high, tap a bit firmer or remove a tiny bit of sand.
For more complex repairs involving larger areas of your backyard, you can find more info about patio services on our dedicated page.
Ensuring a Seamless Look After Repair
One of the biggest concerns homeowners have is whether the new stone will stick out like a sore thumb. Since the original pavers have been exposed to the Florida sun and rain since April 2026, they will naturally look different than a stone fresh from the pallet.
How Can Individual Pavers Be Replaced to Match Existing Stones?
The best way to ensure a match is to use spare units from the original installation. We always recommend that our clients in Kissimmee or Winter Park keep a small stack of extra pavers in the garage or behind the shed for this exact reason.
If you don't have spares, you'll have to buy new ones. To help them blend:
- Weathering: New pavers are often "dusty" or more vibrant. You can "age" them slightly by rubbing some dirt or old joint sand over them.
- Color Blending: If you have to replace several stones, don't put all the new ones in one spot. Swap a few "old" clean stones from a hidden corner of the patio into the repair area, and put the brand-new stones in that hidden corner. This "shuffles" the colors so the repair isn't obvious.
- Paver Sealers: Once the repair is done, applying a fresh coat of sealer over the entire patio can help unify the color and give the whole surface a refreshed, consistent look.
How Can Individual Pavers Be Replaced to Prevent Future Shifting?
A repair is only as good as the finishing touches. To prevent the new stone from wiggling or sinking, you must stabilize the joints.
- Polymeric Sand: We highly recommend using polymeric sand for repairs. This is a special mix of sand and binders that hardens when misted with water. It acts like a "glue" that keeps the paver in place and prevents weeds from growing in the gap.
- Joint Stabilization: Sweep the sand into the joints until they are full. Tap the paver again with the mallet to help the sand settle, then add more until the sand is about 1/8 inch below the paver surface.
- Base Compaction: If the original paver sank, it's a sign that the base wasn't compacted enough or that there is a drainage issue. Ensure the ground beneath the sand is solid before you put the new stone in.
- Drainage Check: Make sure water isn't pooling in that specific spot. Standing water is the enemy of a stable paver base.
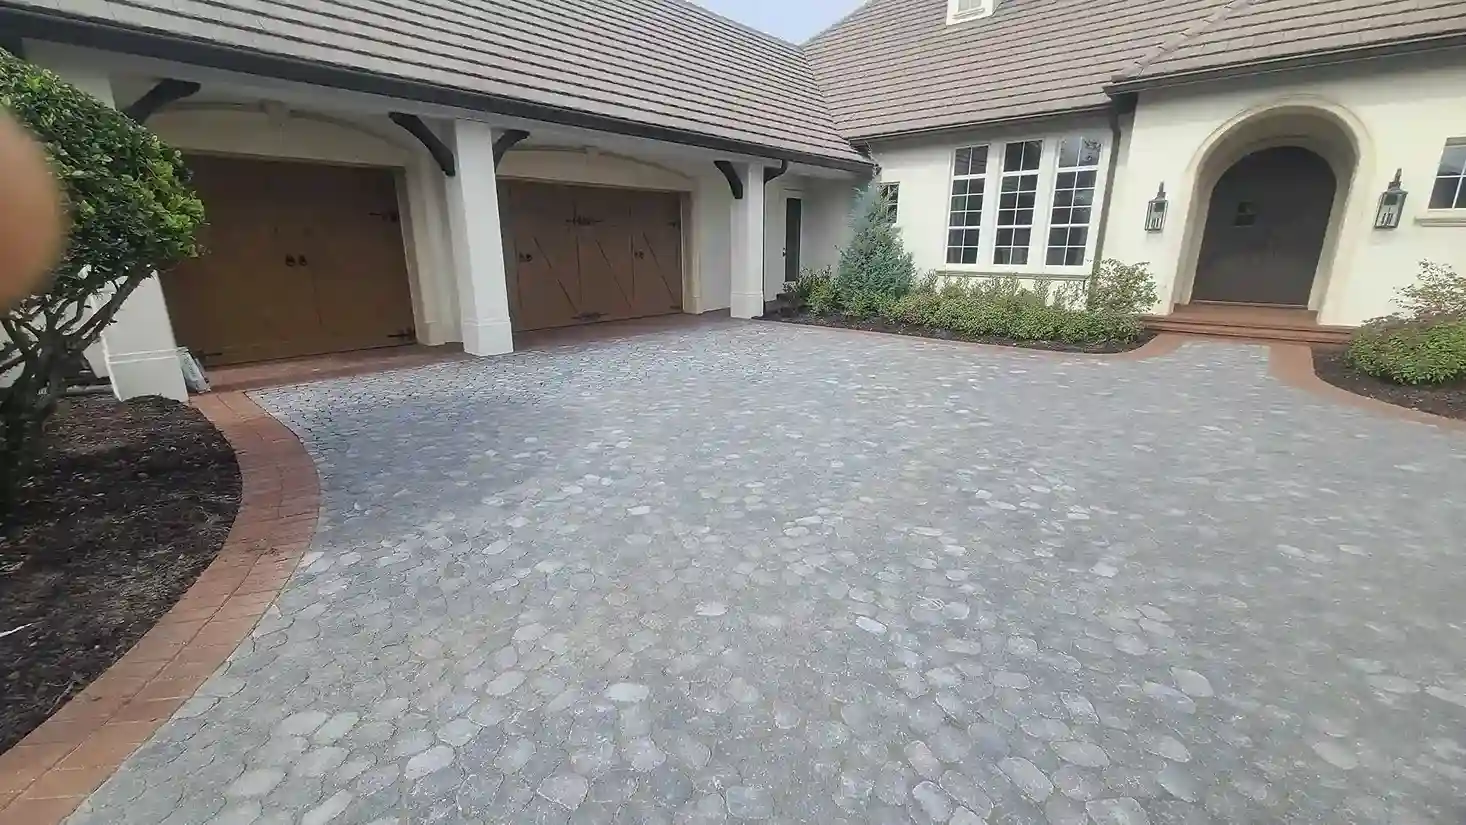
If you are dealing with a driveway that sees heavy vehicle traffic, you can find more info about driveway services to ensure your repair can handle the weight.
When to Call a Professional for Hardscape Repairs
While a single-paver swap is a great DIY project, some issues signal a deeper problem. You should consider calling the team at Alliance Pavers if you notice:
- Sub-base Failure: If you replace a paver and it sinks again within a few weeks, the deep gravel base or the soil beneath it has failed. This requires professional excavation and re-compaction.
- Large-Scale Sinking: If an entire section of your driveway in Lake Mary or Clermont is dipping, it’s likely an installation or drainage issue that a single-paver swap won't fix.
- Specialized Patterns: Complex patterns like circular fans or intricate herringbone can be difficult to piece back together without professional experience.
- Professional Compaction: For driveways, we use heavy plate compactors that provide thousands of pounds of force—something a hand mallet simply can't replicate.
Frequently Asked Questions about Paver Replacement
What causes individual pavers to crack or sink?
In Central Florida, the most common causes are heavy vehicle loads (like delivery trucks), shifting sandy soil, or invasive tree roots. Often, poor initial compaction of the base leads to "soft spots" where pavers eventually sink.
Can I reuse a paver if it is only sunken and not broken?
Absolutely! This is one of the best ways to maintain a perfect color match. Simply lift the sunken paver, add and level fresh sand to the base, and put the same stone back in. Just make sure to clean the old sand off the sides of the stone so it fits back in tightly.
How long should I wait to walk on a replaced paver?
If you used standard joint sand, you can walk on it immediately. However, if you used polymeric sand, you should wait at least 24 to 48 hours for the polymers to fully cure and harden, especially before driving a car over it or letting heavy rain hit it.
Conclusion
At Alliance Pavers, we’ve spent the last 25 years perfecting the art of hardscaping across Central Florida, from St. Cloud to Maitland. As a family-owned company, we understand that your outdoor space is an investment in your home’s value and your family’s comfort.
Whether you are tackling a single stone swap yourself or you’ve decided it’s time for a professional touch-up, the beauty of pavers lies in their longevity and their ability to be repaired. With a little patience and the right technique, your patio or driveway can look as good as the day it was installed.
If you’re ready to transform your outdoor space with professional paver solutions, or if you need expert help with a repair that’s a bit too big for a DIY weekend, give us a call. We pride ourselves on exceptional craftsmanship and a stress-free experience that stays on time and on budget.