what we are offering
We are experts in every aspect of outdoor projects, from initial planning to final installation and beyond!
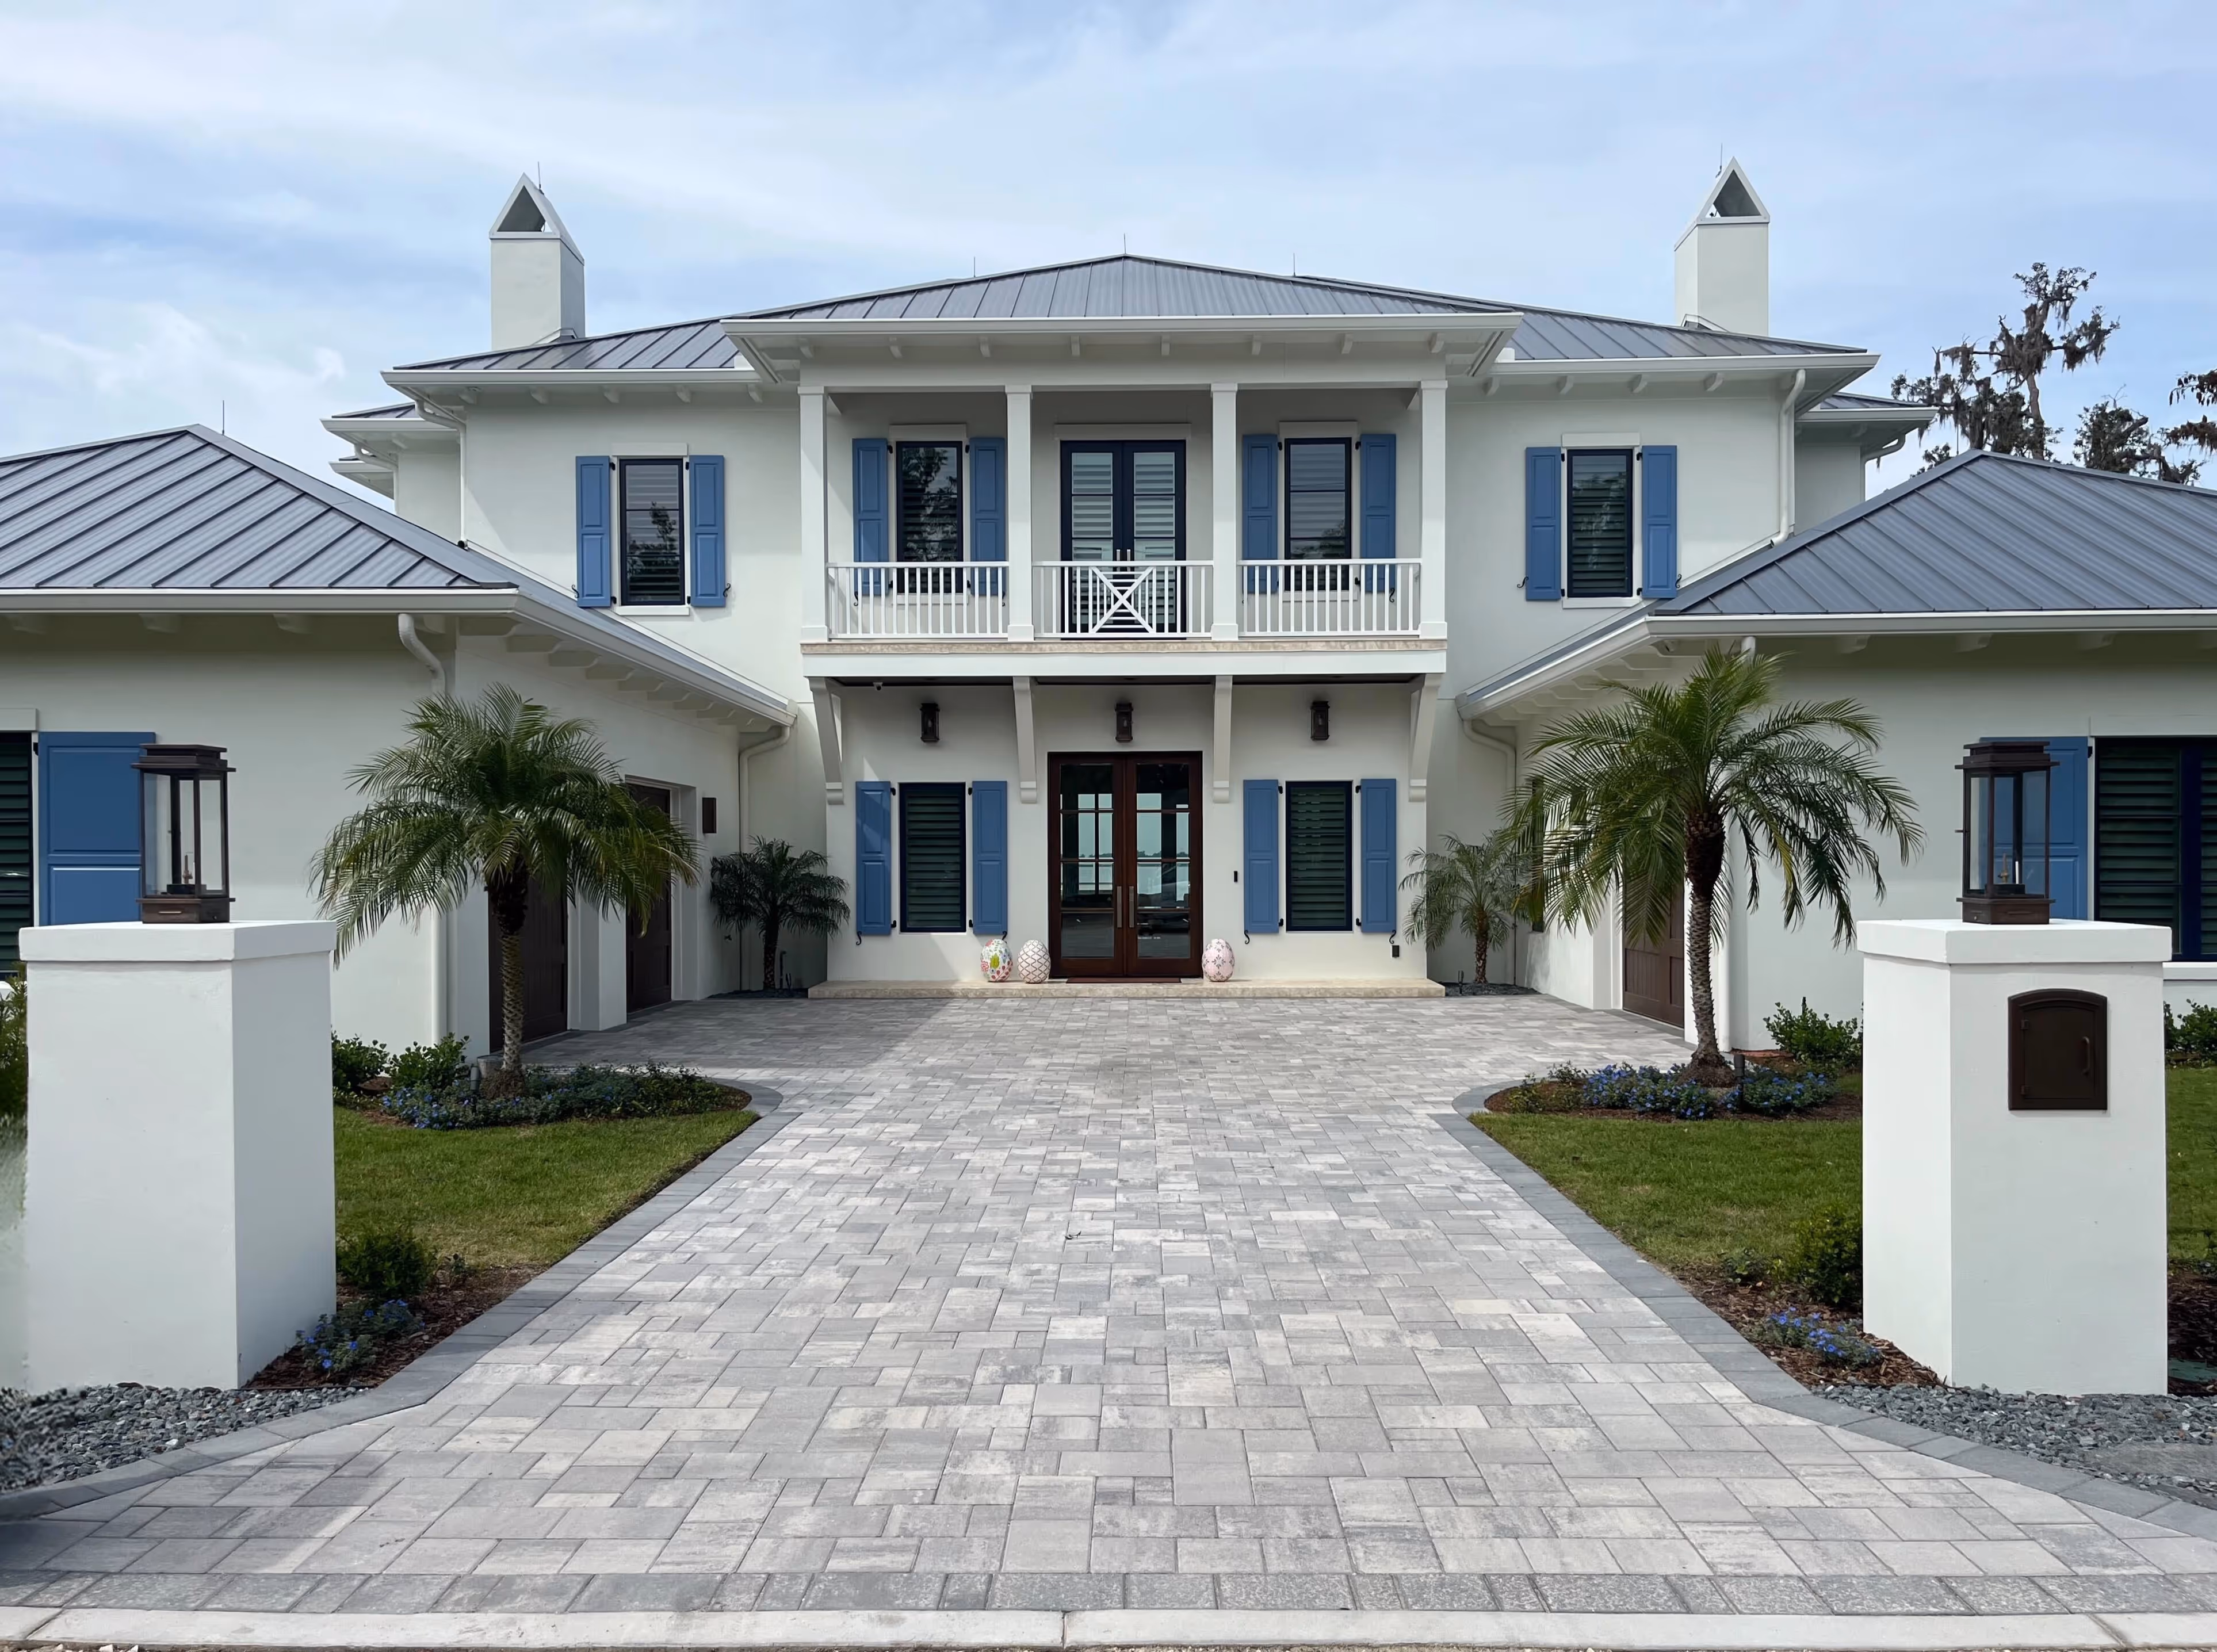

Our team combines years of hands-on experience with top-quality materials and innovative techniques to ensure every outdoor project is built to last and exceeds expectations.
We are experts in every aspect of outdoor projects, from initial planning to final installation and beyond!
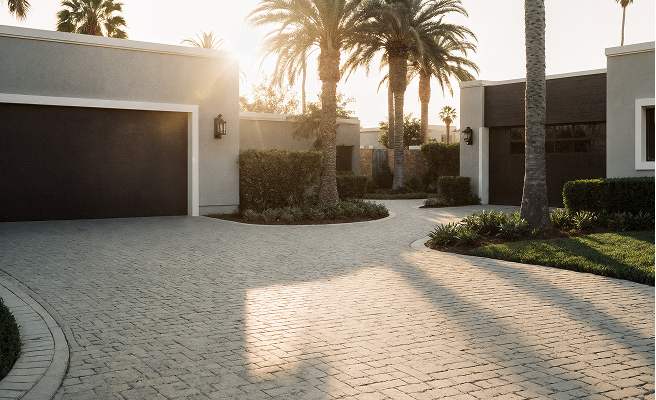
Driveways
We specialize in designing and installing durable, visually appealing driveways that enhance your property’s curb appeal and stand up to heavy daily use.
%2520(1).avif)
Kitchens
We create stunning, functional kitchens tailored to your lifestyle, combining expert craftsmanship with high-quality materials to deliver spaces that are both beautiful and practical.
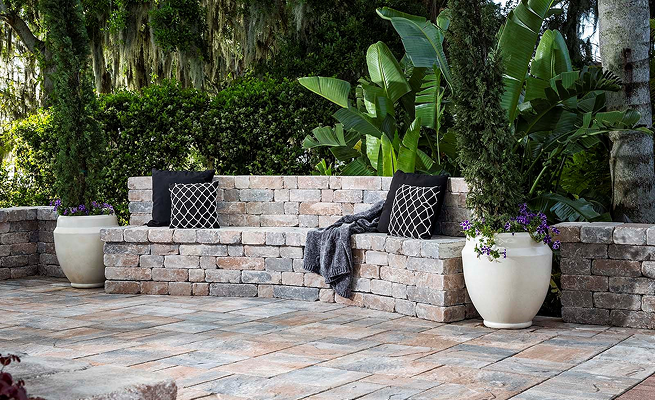
Patios
We design and build custom patios that blend comfort and style, providing the perfect outdoor space for relaxation, entertaining, and enjoying the beauty of your home.

Pools
We design and construct beautiful, long-lasting pools that transform your backyard into a relaxing oasis, combining expert engineering with stylish, functional designs.
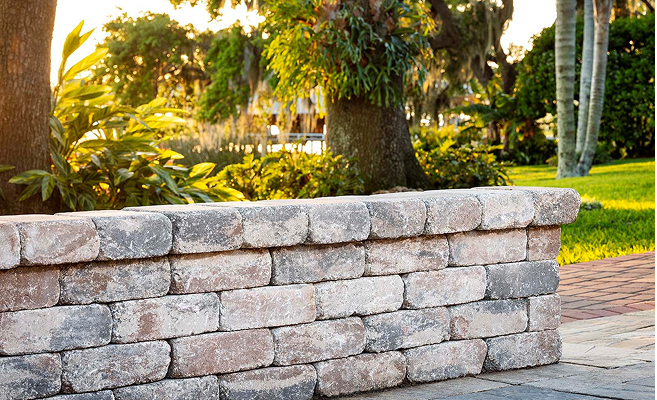
Walls
We build strong, visually striking walls that add structure, privacy, and curb appeal to your property while complementing your overall landscape design.
Pavers
We install high-quality pavers with precision and care, creating durable, low-maintenance surfaces that enhance the beauty and functionality of any outdoor space.

Don’t take our words for it! Hear it from our customers.
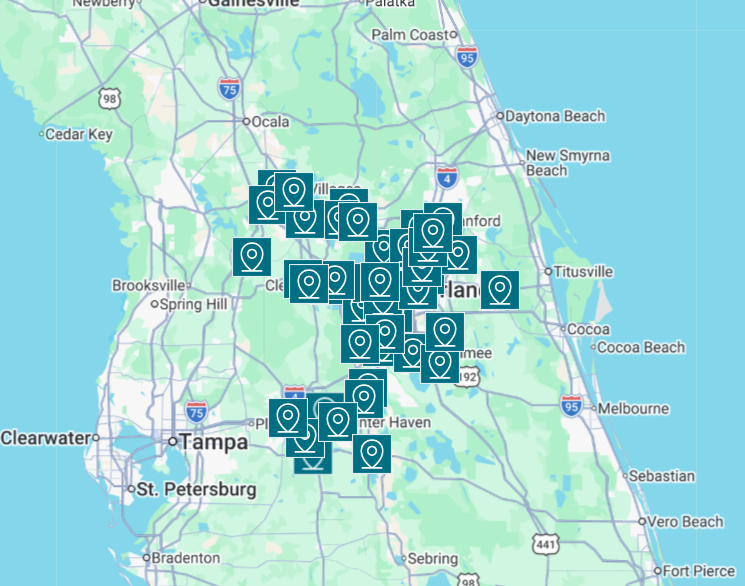
Service Areas