The Truth About Cinder Block Retaining Walls
Build a lasting cinder block retaining wall. Learn expert tips for planning, construction, drainage, and maintenance. Get started today!

Why Cinder Block Retaining Walls Are Worth Considering
A cinder block retaining wall can transform sloped terrain into usable, beautiful outdoor space while preventing costly soil erosion. But before you commit to this popular hardscaping solution, it's important to understand the basics.
Cinder block walls are built from concrete masonry units (CMUs) stacked with mortar on a solid concrete footing. They are best for permanent walls 2-6 feet high that require strong soil retention. Key advantages include a 50+ year lifespan, excellent strength, and customizable finishes. However, they require a concrete footing and a proper drainage system, and should not be used for very tall walls (over 6 feet) without professional engineering.
Today's "cinder blocks" are actually concrete masonry units made from cement and aggregate, offering serious structural strength. Their purpose is to hold back earth, create level areas, prevent erosion, and manage water runoff. Unlike segmental walls that interlock without mortar, cinder block walls are mortared together on a concrete foundation, making them a more permanent and complex structure.
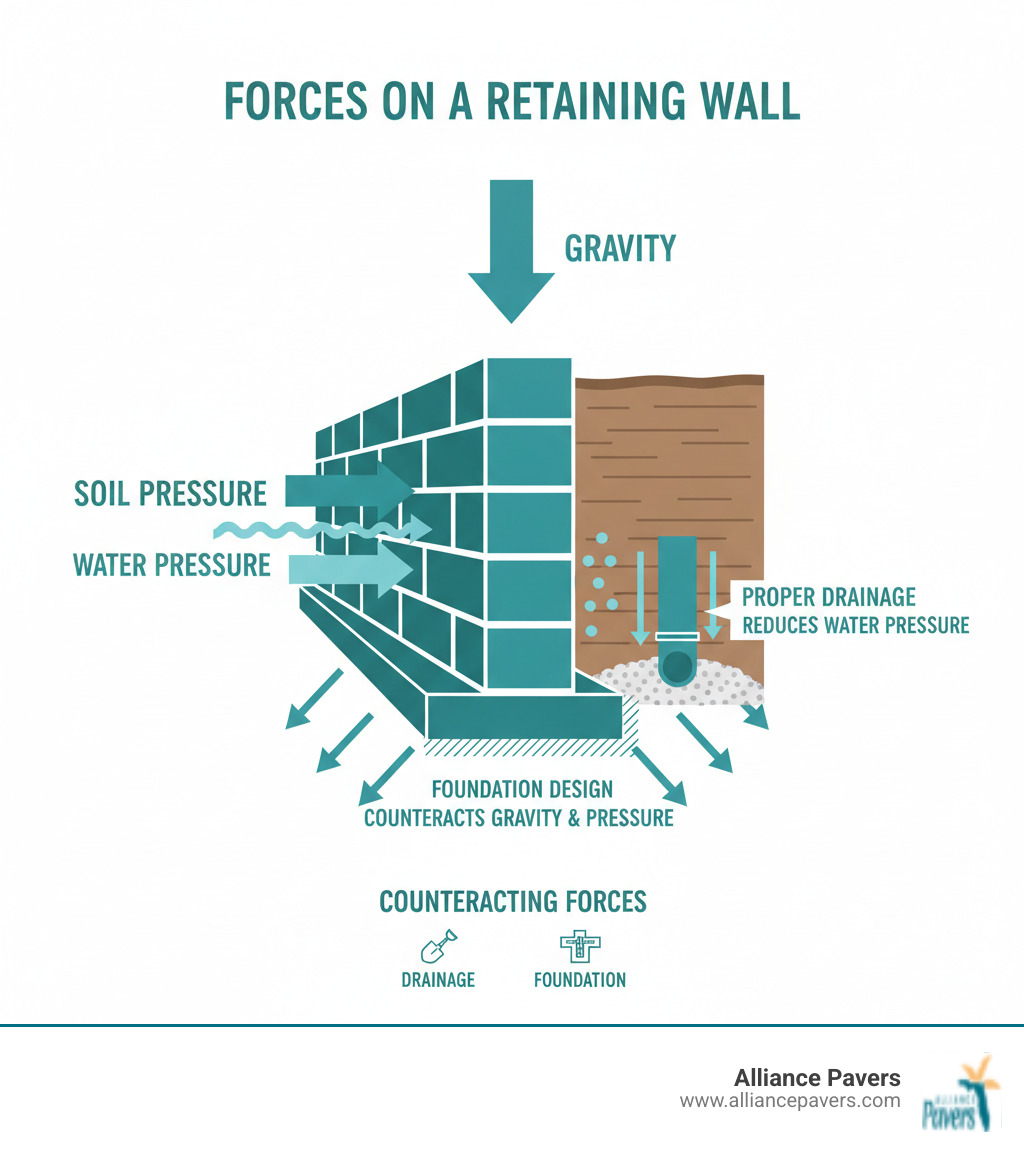
A cinder block retaining wall must be designed to manage the powerful forces of nature. It constantly withstands soil pressure, gravity, and displacement from frost or saturated soil. A properly constructed wall holds back the earth with unwavering stability and longevity. This understanding of forces is fundamental to our approach to Working with Slopes in Hardscape Design, ensuring every project is built to last.
Cinder Block Walls vs. Other Materials
Choosing the right material for your retaining wall is a critical decision. Cinder block retaining walls are a popular choice, but understanding how they compare to other options ensures you make the best decision for your project.
Cinder blocks offer an impressive combination of strength, handling serious soil pressure with ease; durability, with a lifespan of 50+ years; and versatility, allowing for custom finishes like paint, stucco, or stone veneer.
Here's how cinder block retaining walls compare to your other main options:
FeatureCinder Block (CMU)Segmental Retaining Wall (SRW)TimberPoured ConcreteConstruction MethodMortared blocks with rebar reinforcementDry-stacked interlocking blocksStacked or bolted timbersMonolithic concrete pourFoundation TypeConcrete footing requiredCompacted gravel baseGravel base with buried timbersConcrete footing requiredLifespan50+ years50-100 years15-30 years50-100 yearsBest Use CasesMedium to tall walls, custom finishesDIY-friendly shorter walls, landscapingGarden beds, temporary solutionsVery tall walls, heavy loads
Cinder Block (CMU) vs. Segmental Retaining Walls (SRW)
The primary difference between these two is their construction method.
Cinder block retaining walls use mortared construction. Blocks are bonded with mortar on a concrete footing below the frost line, creating a solid, rigid structure. Vertical rebar and grout-filled cores are often added for incredible strength against soil pressure.
Segmental retaining walls (SRWs) use dry-stack construction. These blocks have interlocking mechanisms and sit on a compacted gravel base instead of a concrete footing. This method offers more flexibility, making it suitable for some DIY projects.
While both systems are effective, cinder blocks provide a permanent, engineered feel ideal for larger projects requiring maximum strength. For more details on the segmental option, check out our guide on Segmental Retaining Walls.
Cinder Block vs. Timber and Poured Concrete
In terms of longevity, cinder block retaining walls offer a great balance of performance and practicality. A cinder block wall can last 50+ years, far outliving timber walls, which typically need replacement in 15-30 years due to rot and pests. Cinder blocks are immune to these issues.
Poured concrete walls match the lifespan of cinder blocks, but their installation is far more complex. Building the extensive formwork for a poured wall requires professional equipment and expertise. Cinder blocks are more manageable, offering a systematic build process that still delivers professional-grade strength.
Cinder block retaining walls provide the durability of concrete with more construction flexibility, outlast timber by decades, and create a solid foundation for your landscape design.
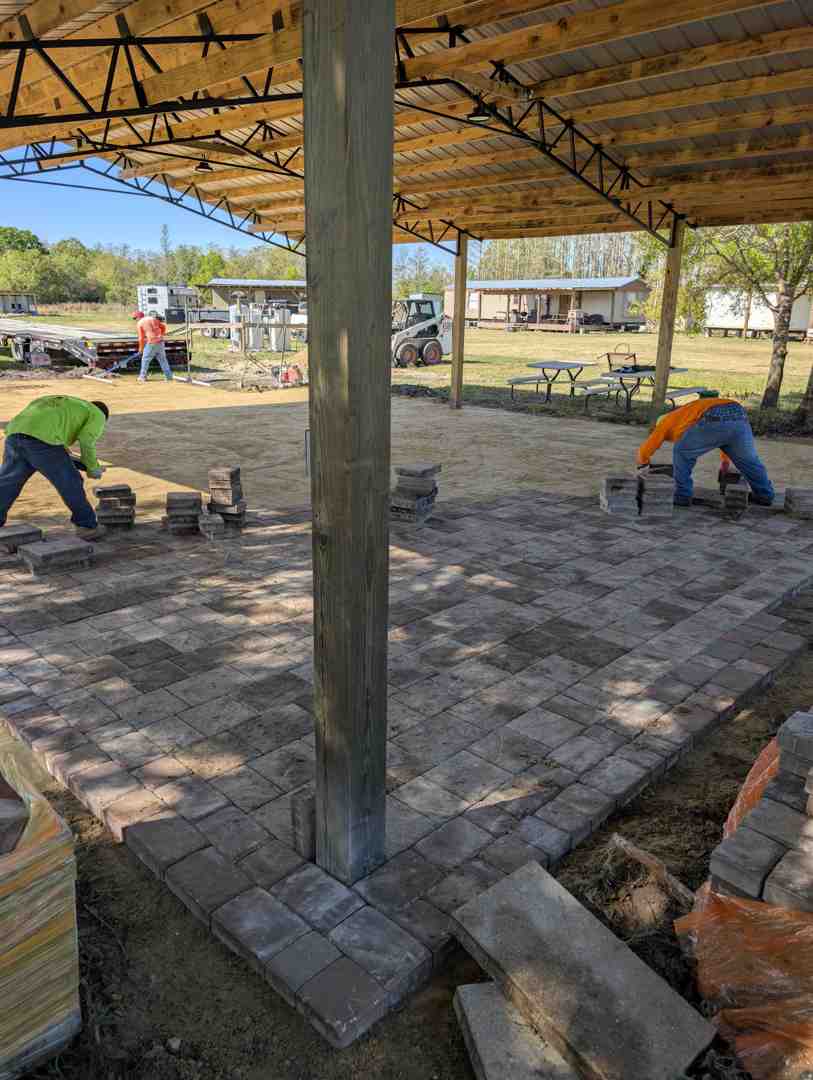
How to Build a Cinder Block Retaining Wall
Building a cinder block retaining wall can completely transform your outdoor space, turning a difficult slope into a beautiful, functional feature. However, this is not a typical weekend DIY project.
A proper cinder block retaining wall must handle significant structural forces. Mistakes can be costly and dangerous, as a failing wall can damage property and create safety risks.
So, when is it a DIY project versus a job for the pros? An experienced DIYer might handle a simple garden wall under 3 feet high. However, taller walls or those retaining significant soil pressure require professional attention. Ask yourself: How high is the wall? What are the soil conditions? Do I have masonry and concrete experience? Most walls over 4 feet require permits and engineering.
At Alliance Pavers, our 25 years of experience have shown that the difference between a lasting wall and a failing one is proper planning, foundation, and drainage. For significant retaining wall projects, professional expertise is invaluable. You can learn more about our comprehensive Hardscaping Services.
Planning Your Cinder Block Retaining Wall
Thorough planning is the first step to a successful cinder block retaining wall.
Begin with a site assessment. Observe water flow, identify potential underground utilities, and note any tree roots or existing structures that could interfere.
Next, determine the wall height and length. Taller walls face exponentially more soil pressure. For significant grade changes, a terraced design with multiple shorter walls is often a better, more attractive solution.
Don't ignore local permit requirements. Most cities require permits for walls over 3-4 feet high to ensure safety and proper construction. For instance, Chicago has specific rules for walls over 4 feet, as seen in this Example from Chicago. Always check with your local building department before starting.
Before digging, locate all underground utilities. Call 811 (the national "Call Before You Dig" number) at least 72 hours in advance. This service is free, required by law in most areas, and crucial for safety.
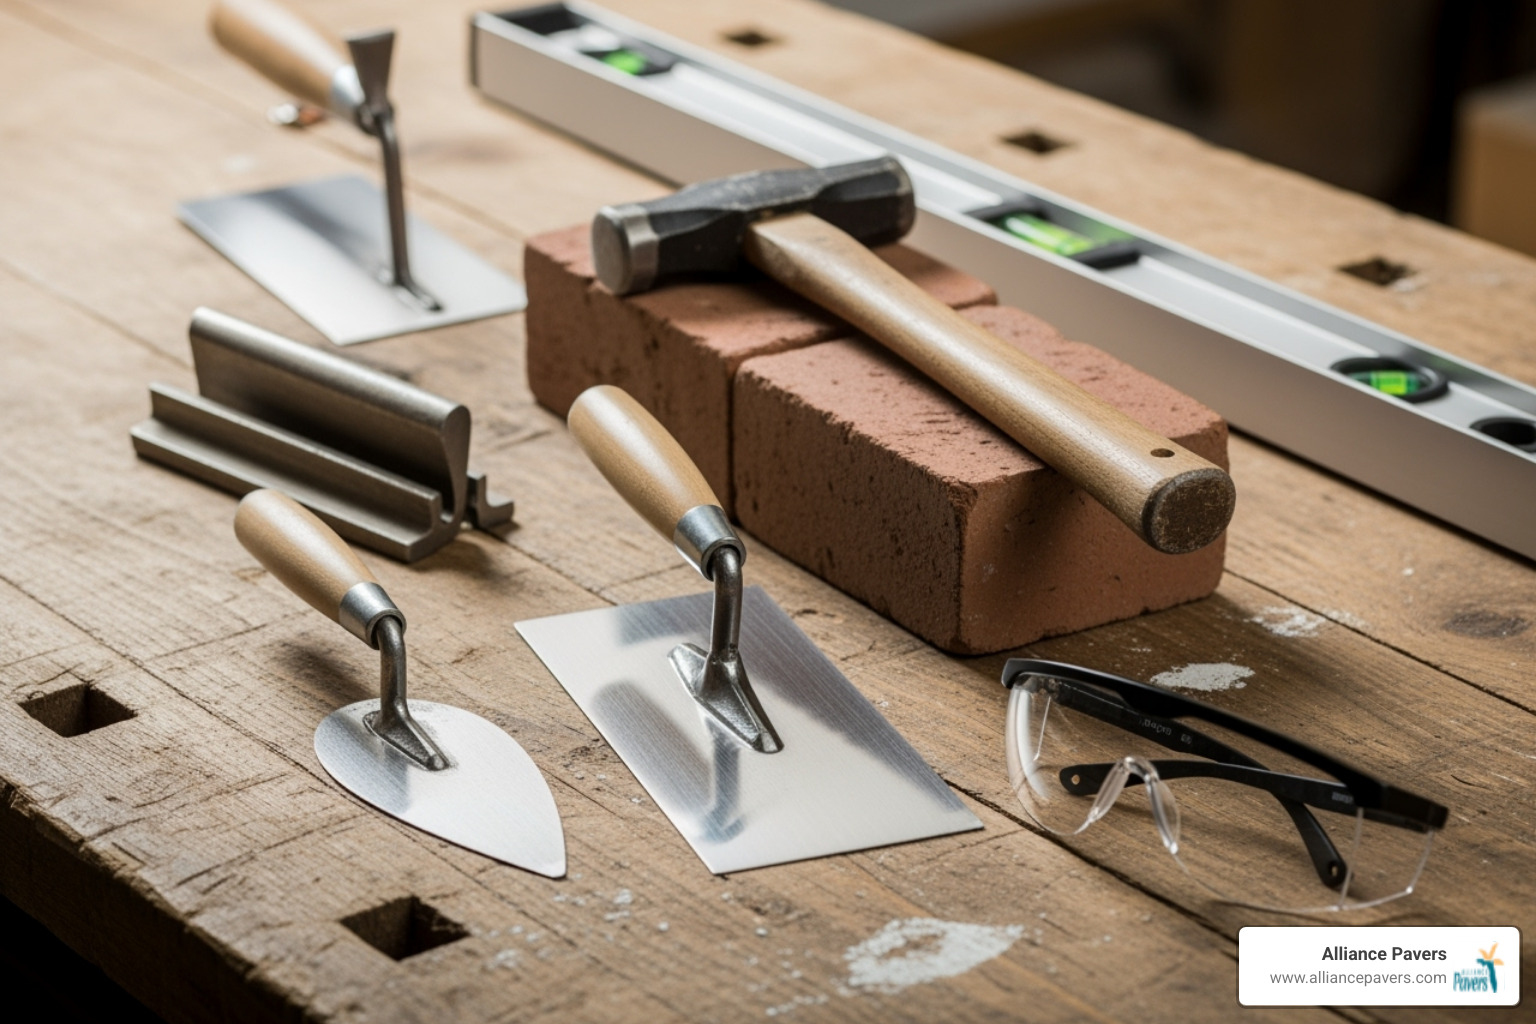
Finally, prioritize safety precautions. Masonry work involves heavy lifting and power tools. Always wear safety glasses, gloves, and a dust mask. Use proper lifting techniques and keep the work area clear.
Step 1: The Foundation and Footing
A wall is only as good as its foundation. A cinder block retaining wall requires a proper concrete footing to last.
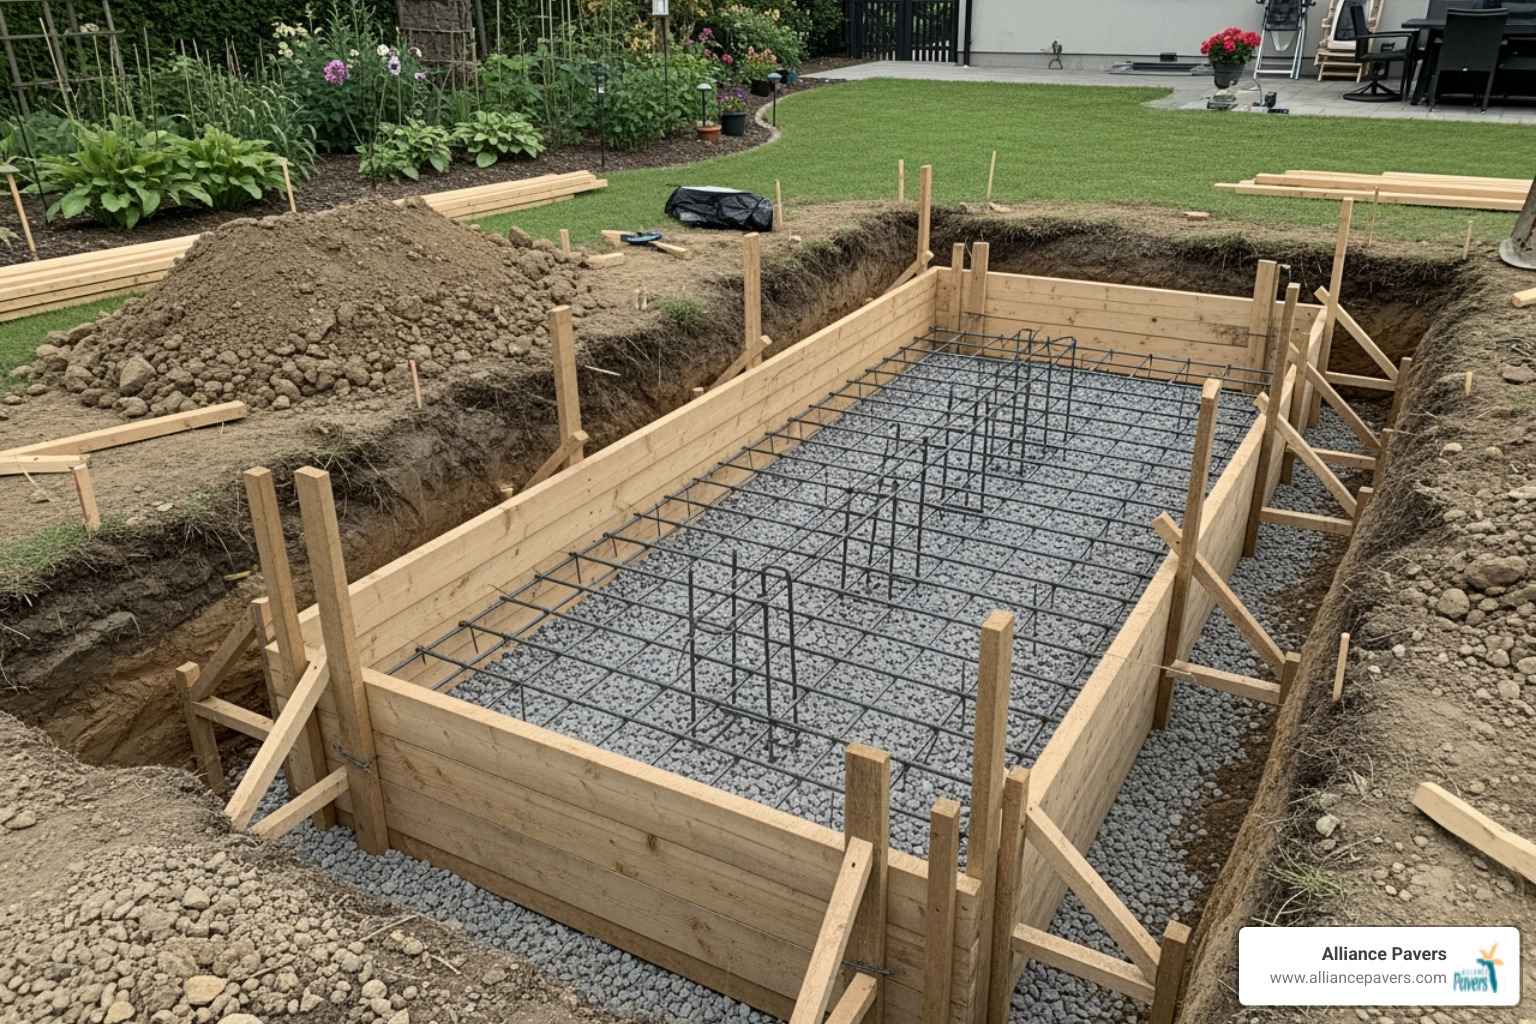
Excavation begins by marking the wall's path and digging a trench at least twice the width of your blocks (e.g., 18-24 inches wide for 8-inch blocks). The depth must extend below your local frost line to prevent heaving.
The trench depth and width are critical for stability, distributing the wall's weight to prevent settling. Ensure the trench bottom is level and compacted.
For pouring a concrete footing, set up forms to create a foundation that is typically 8-12 inches thick and extends 6 inches beyond each side of the wall.
Reinforcement with rebar is crucial. Place two parallel runs of #4 rebar in the lower third of the footing to provide tensile strength and prevent cracking.
Allow for proper curing time. Concrete needs at least 3-7 days to gain sufficient strength before you begin laying blocks. Keep the footing moist during this period by covering it.
Step 2: Laying the Blocks
Laying the blocks for your cinder block retaining wall requires precision and patience.
- Mortar Mixing: Use a 1:3 ratio of portland cement to masonry sand, adding water until it reaches a thick, peanut-butter-like consistency. Mix only what you can use in 30 minutes.
- Laying the First Course: This is the most critical course. Spread a 3/4-inch mortar bed on the footing, place the first block, and use a level and mallet to ensure it is perfectly positioned.
- Staggering Joints: Use a running bond pattern, where each block overlaps the joint below it by half. This distributes weight and adds strength.
- Using a Level: Constantly check that each block and the entire course are level and plumb (vertically straight). Small errors will compound as you build.
- Reinforcing with Vertical Rebar: For taller walls, place #4 rebar vertically through the block cores every 24-32 inches, extending from the footing to the top of the wall.
- Filling Block Cores: After laying a few courses, fill the cores containing rebar with concrete or grout. This creates solid, reinforced columns within the wall for maximum strength.
Step 3: Ensuring Proper Drainage
More retaining walls fail from poor drainage than from structural issues. Water buildup behind a cinder block retaining wall creates immense hydrostatic pressure that can cause it to fail. The goal is to give water an easy escape route.
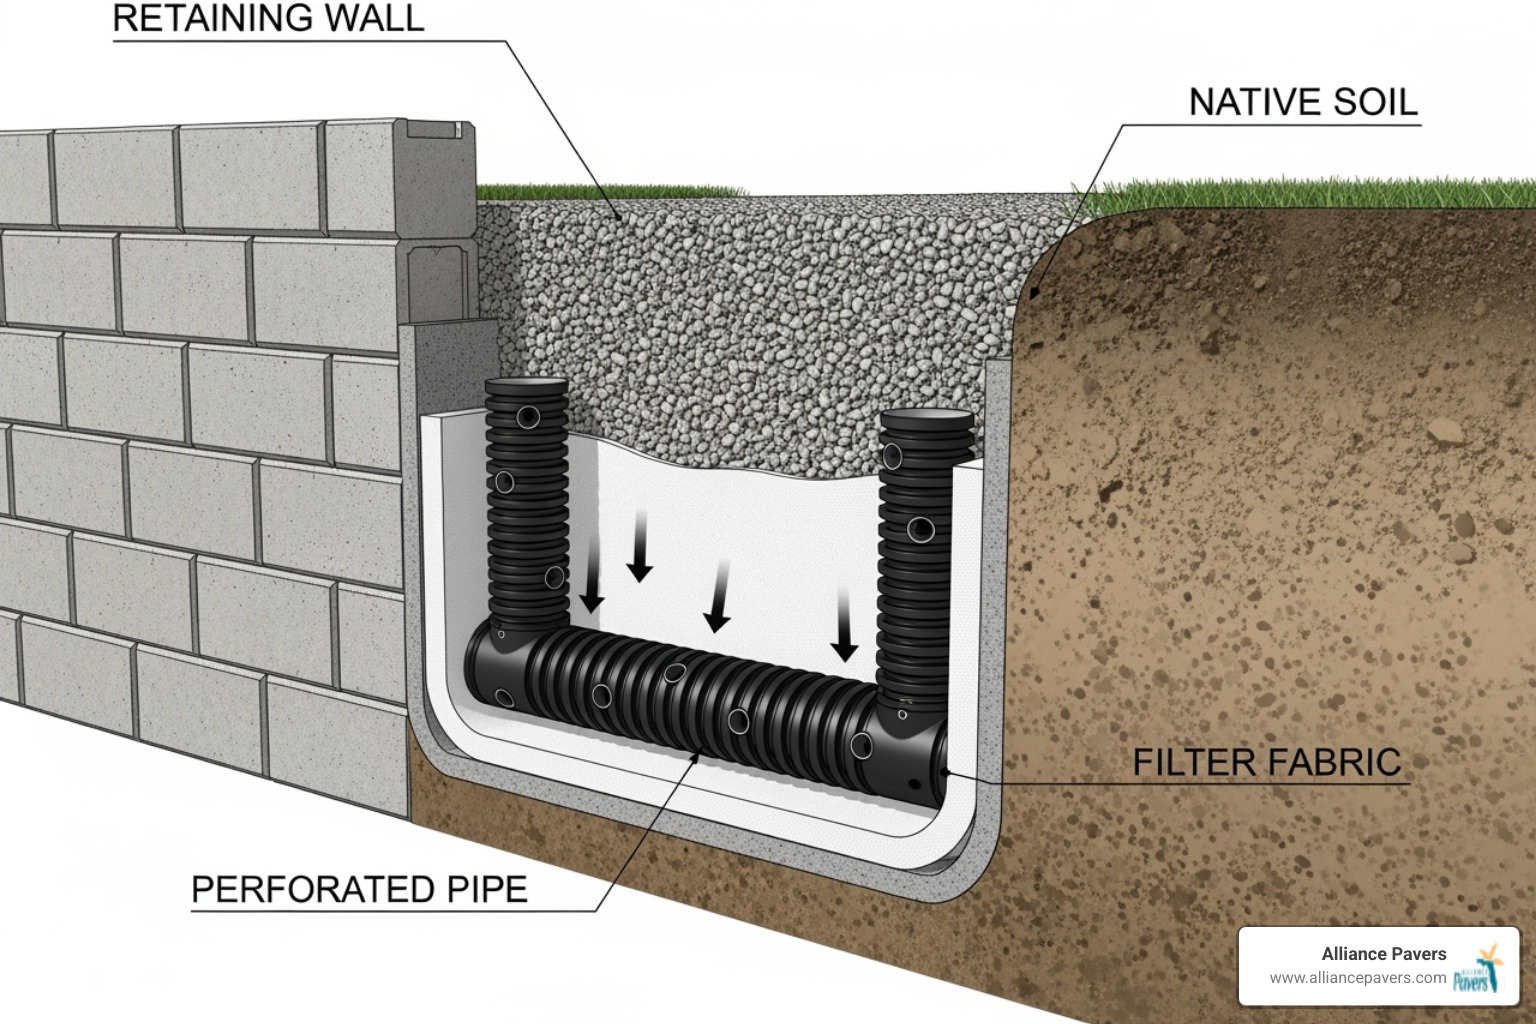
Saturated soil is heavy, and frozen water expands with incredible force. A proper drainage system is not optional; it's essential for the wall's longevity.
- Gravel Backfill: Place at least 18 inches of clean, angular gravel behind the wall, from the footing to just below the top. This creates a porous zone for water to drain through.
- Perforated Drain Pipe: At the base of the gravel, install a 4-inch perforated pipe (holes down) sloped to a safe outlet away from the wall. This pipe collects and carries water away.
- Weep Holes: These small openings in the bottom course of blocks provide an additional escape route for water, acting as a backup. Space them every 6-8 feet.
- Geotextile Fabric: Wrap the gravel backfill in this filter fabric to prevent soil from clogging the drainage system, ensuring it works for decades.
Proper drainage is what separates a wall that lasts 50+ years from one that fails. This is also a key part of Preventing Soil Erosion with Retaining Walls.
Finishing and Maintaining Your Wall
The final touches and proper maintenance turn your functional cinder block retaining wall into a beautiful, long-lasting landscape feature. A well-built wall is a workhorse, playing a crucial role in Preventing Soil Erosion with Retaining Walls.
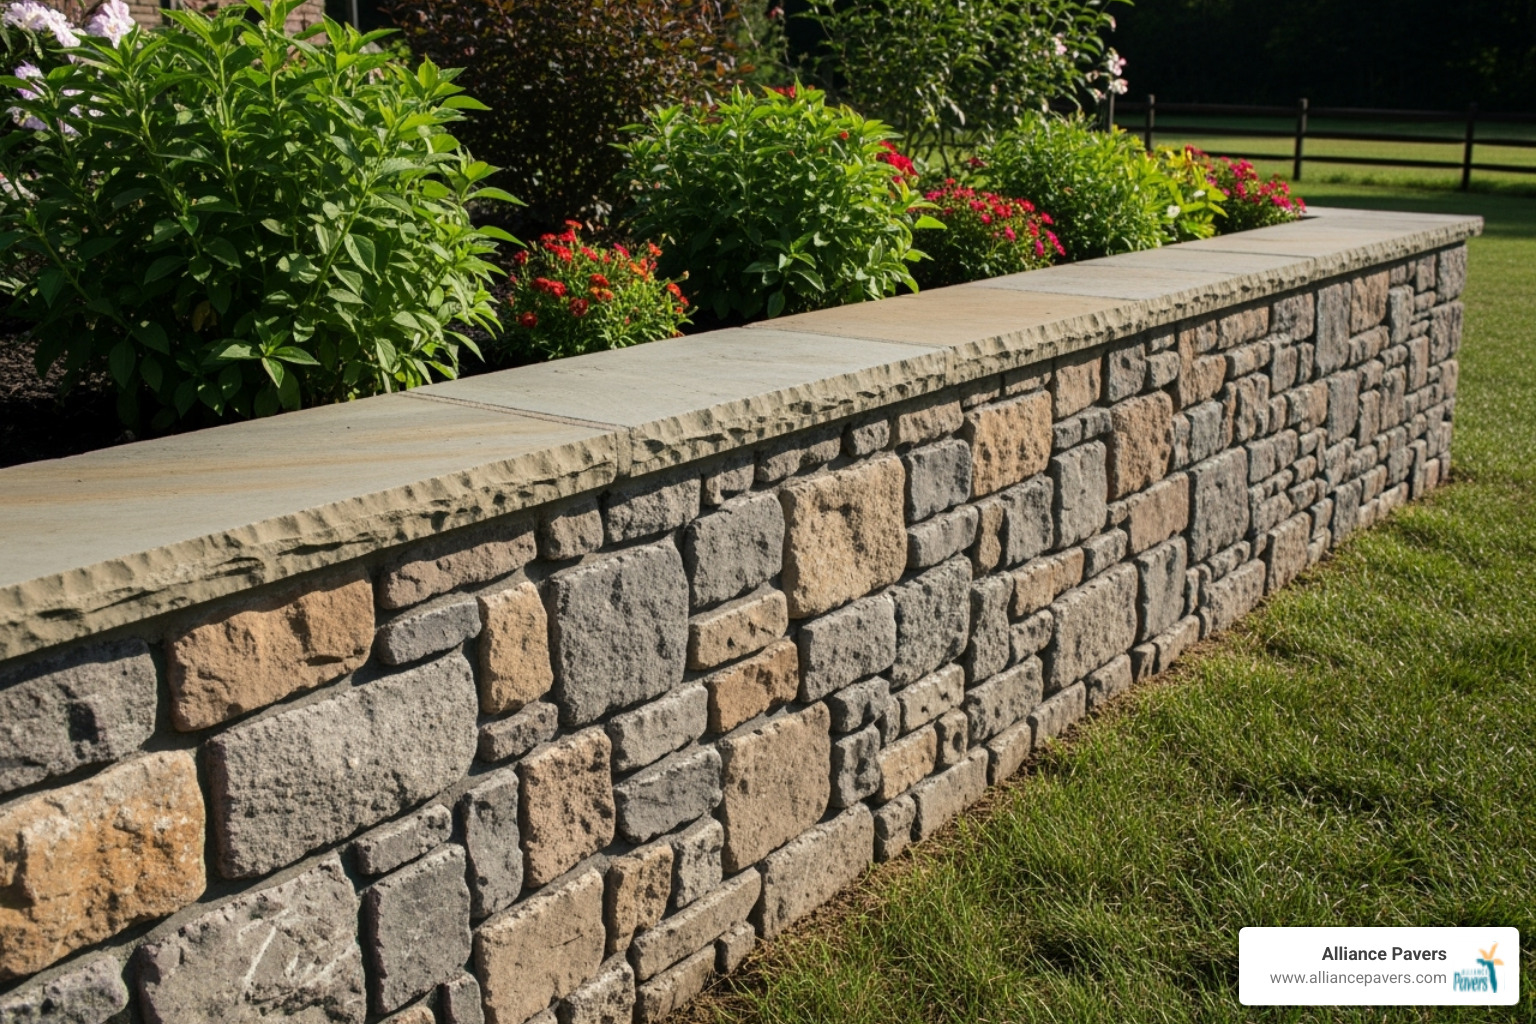
Aesthetic Finishes for a Custom Look
Raw cinder blocks are a blank canvas. With the right finish, your wall can become a stunning focal point.
- Paint: Specialized masonry paint offers a quick, budget-friendly color change and adds a protective layer.
- Stucco: This application creates a smooth, sophisticated finish that provides excellent weather protection.
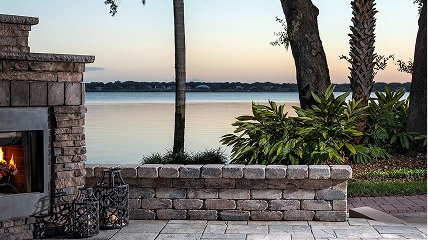
- Stone Veneer: For a dramatic change, thin stone veneer gives the look of a solid stone wall. Our team has extensive experience with Retaining Wall Stone Facade installations.
- Capping Stones: These protective and decorative caps provide a polished, finished look and help shed water.
Lifespan and Maintenance for Your Cinder Block Retaining Wall
A properly built cinder block retaining wall can last 50 years or more with simple, consistent care.
- Inspect Regularly: Twice a year, check for cracks, leaning, bulging, or eroding mortar.
- Address Issues Promptly: Seal small hairline cracks with masonry caulk. For significant cracking or bulging, seek immediate professional attention to prevent major problems.
- Clean the Surface: A gentle scrub with mild detergent will remove dirt and mildew. Use a pressure washer on a moderate setting to avoid damaging the finish or mortar.
- Keep Drainage Clear: This is the most critical task. Ensure weep holes and drain outlets are free of leaves and debris. A clogged drainage system can destroy a wall.
With proper finishing and care, your wall will be a reliable and attractive feature for decades.
Frequently Asked Questions about Cinder Block Walls
Homeowners often have questions about cinder block retaining walls, as they are significant, permanent structures. Here are answers to the most common concerns.
Do I need a permit to build a retaining wall?
Most likely, yes. Permit requirements vary by location, but most municipalities require them for retaining walls over 3 to 4 feet tall. This is because taller walls are significant structures that must meet safety codes. Some areas, like Los Angeles, have very strict rules. Always check with your local building department before starting to avoid costly fines or having to rebuild.
How high can a cinder block retaining wall be?
For DIY projects, we recommend staying under 4 feet. Professionally engineered cinder block retaining walls can be much taller (10+ feet), but this requires deeper footings, more reinforcement, and advanced drainage to handle the exponential increase in soil pressure. For slopes requiring more than 4 feet of retention, building two shorter, terraced walls is often a safer and more attractive option than one massive wall.
What is the most critical part of building a retaining wall?
Without question, it's proper drainage. Water buildup behind a wall creates immense hydrostatic pressure, a relentless force that is the number one cause of retaining wall failure. A system that includes a perforated drain pipe, gravel backfill, and filter fabric is not an optional expense—it's insurance for your entire project. Proper drainage ensures your cinder block retaining wall will last for 50 years or more.
Conclusion
Throughout this guide, we've explored cinder block retaining walls together - from understanding what makes them tick to comparing them with other materials, walking through each construction step, and learning how to keep them looking and performing their best for decades to come.
What becomes crystal clear is that a cinder block retaining wall offers an impressive combination of strength, versatility, and longevity. These walls can transform challenging slopes into beautiful, functional outdoor spaces while providing reliable soil retention for 50 years or more. Whether you're dealing with erosion issues, want to create terraced garden beds, or simply need to make better use of sloped terrain, cinder blocks deliver proven results.
The secret sauce? It all comes down to proper construction, especially that crucial foundation and drainage system we talked about. Get these fundamentals right, and you're setting yourself up for success. Skip corners here, and even the best materials won't save you from future headaches.
We know that tackling a cinder block retaining wall project can feel overwhelming. Between permits, excavation, concrete work, and all those technical details about drainage and reinforcement, it's a lot to manage. That's where having the right team makes all the difference.
At Alliance Pavers, we've been helping families in St. Cloud, FL create beautiful, lasting outdoor spaces for 25 years. As a family-owned company, we understand that your retaining wall isn't just about holding back soil - it's about creating the outdoor space where your family will make memories for years to come. We handle everything from initial design through final cleanup, ensuring your project stays on time, on budget, and built to last.
Ready to see what's possible for your property? Explore our stone retaining wall services and let's discuss how we can bring your vision to life.