The Ultimate Guide to Scheduling Your Florida Paver Project
Learn how to plan your paver installation timeline in St. Cloud, FL: phases, weather tips, permits & more for your dream patio or driveway.
How to Plan Your Paver Installation Timeline in St. Cloud, Florida
How to plan your paver installation timeline is something every Central Florida homeowner needs to think through carefully — because a paver project is rarely as simple as picking a pattern and calling a crew.
Here's a quick look at what a typical paver installation timeline involves:
- Planning and design – 1 to 2 weeks (measurements, permits, HOA approvals, material selection)
- Site preparation – 1 to 3 days (excavation, grading, utility marking, base compaction)
- Paver installation – 2 to 5 days (laying, cutting, edge restraints, joint sand)
- Curing and settling – Up to 1 week (polymeric sand activation, initial stabilization)
- Post-install use – Walk on it within 24 to 48 hours; drive on it after 48 to 72 hours
For most homeowners in St. Cloud, a small patio (200–400 sq. ft.) takes 2 to 4 days of active work. A driveway or larger outdoor living space can run 1 to 2 weeks from first shovel to finished surface — and that's before you factor in Florida's rainy season, permit timelines, or contractor availability during peak spring months.
The good news? Most of what causes delays is completely avoidable with the right plan in place.
In this guide, we walk through every stage of the process — from pulling permits to the moment your family is actually out there enjoying the space — so you know exactly what to expect and when.

Understanding the Typical Paver Installation Phases
When we look at how to plan your paver installation timeline, it is helpful to view the project as a series of specialized phases. While the "laying of the stones" is the most visual part, it actually represents a smaller portion of the total labor compared to the groundwork. At Alliance Pavers, we’ve spent 25 years refining this process in the St. Cloud and Orlando areas to ensure every project stays on track.
The process begins with a site assessment. We evaluate the existing terrain, looking for elevation changes and potential drainage issues. In Central Florida, our sandy soil requires specific stabilization techniques to prevent your investment from shifting over time. Once the plan is set, we move into excavation and paver services that prioritize a "bulletproof" foundation.
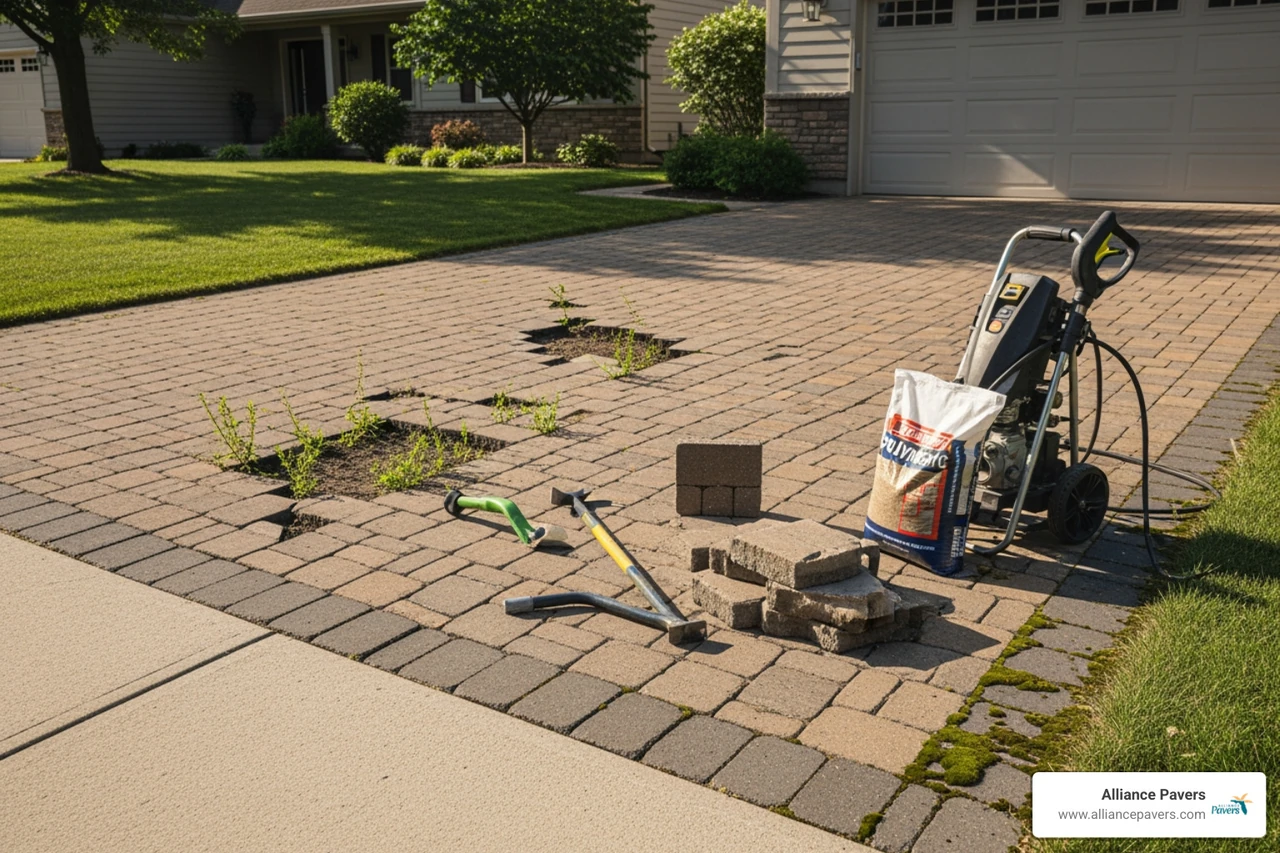
How to plan your paver installation timeline for site preparation
Site preparation is the most labor-intensive phase and usually spans one to three days. It starts with a call to 811. Before a single shovel hits the dirt, underground utilities must be marked. This is a non-negotiable safety step that can take three to five business days for the utility companies to complete, so we factor this into your early schedule.
Next comes excavation. For a standard patio or walkway, we typically dig 7 to 9 inches deep. If we are installing a driveway, that depth increases to 9 to 11 inches to account for a thicker base that can support vehicle weight. We then compact the subgrade soil until it is firm. In many Florida installations, we use geotextile fabric between the soil and the gravel base to provide extra stabilization. Finally, we install a compacted aggregate base in 2-inch "lifts," compacting each layer to 95% density to ensure a rigid platform.
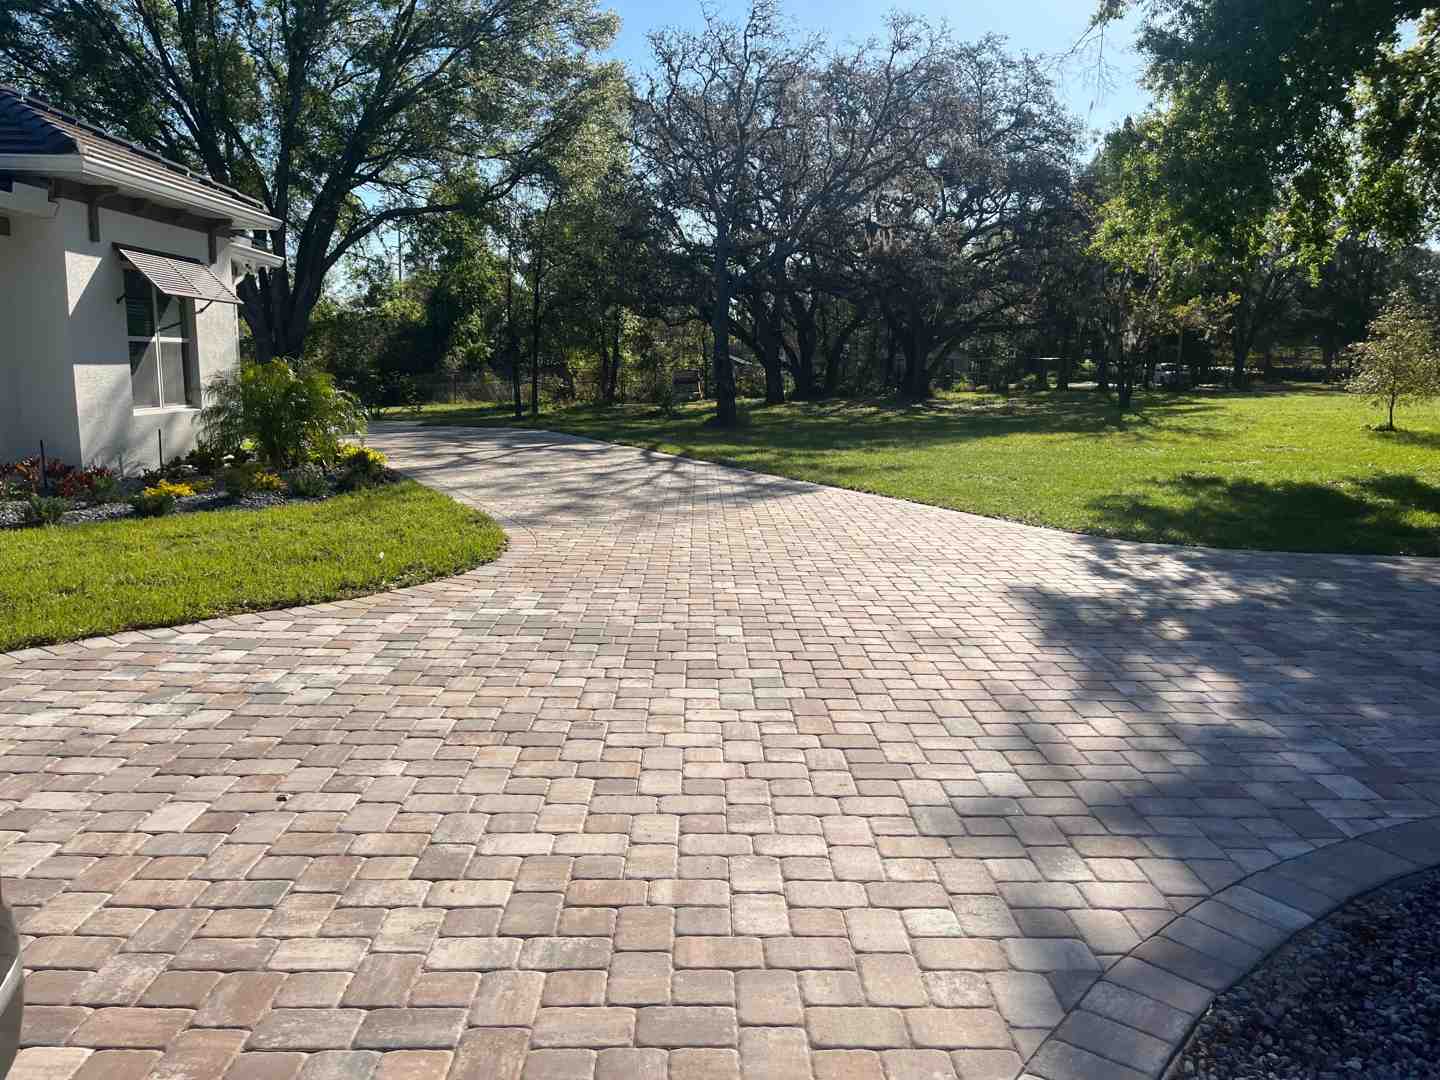
The laying and finishing stage
Once the base is perfectly graded and a 1-inch layer of bedding sand is screeded, the fun begins. Laying the pavers is surprisingly fast for a skilled crew, often covering 200 to 400 square feet per day. However, intricate patterns like herringbone or those requiring many cuts around curved edges will extend this window.
After the pavers are set, we install edge restraints—plastic or concrete borders that keep the stones from spreading outward. The final touch is sweeping in joint sand. We highly recommend polymeric sand, which activates with water to create a strong, flexible bond. This prevents weed growth and keeps insects from making a home between your pavers.
Key Factors That Influence Your Project Duration
Not all paver projects are created equal. A simple rectangular walkway in Kissimmee will move much faster than a multi-level pool deck in Lake Nona with integrated lighting.
Factors that can shift your timeline include:
- Project Size: A 200-square-foot patio might wrap up in two days, while a 1,200-square-foot driveway often requires a full week of on-site work.
- Design Complexity: Simple running bond patterns are quick. Multi-directional patterns, borders, and inlays require precision cutting that adds hours to the labor.
- Site Access: Can we get a skid-steer into your backyard? If we have to hand-carry thousands of pounds of stone through a narrow side gate, the timeline will naturally expand.
- Material Availability: We always recommend finalizing your stone selection early. Some specialty colors or shapes may have lead times of several weeks.
| Project Type | Typical Square Footage | Estimated Installation Time |
|---|---|---|
| Small Walkway | 100 - 200 sq. ft. | 1 - 2 Days |
| Standard Patio | 200 - 400 sq. ft. | 2 - 4 Days |
| Medium Driveway | 600 - 1,000 sq. ft. | 4 - 7 Days |
| Large Complex Design | 1,000+ sq. ft. | 1 - 2 Weeks |
Managing weather delays in your Florida paver installation timeline
In Florida, the weather is our most unpredictable partner. During the summer months, afternoon thunderstorms are almost a daily occurrence. Rain doesn't just make things muddy; it can halt excavation, prevent proper base compaction, and wash away joint sand before it has a chance to cure.
If we are in the middle of a "washout" during hurricane season, we may have to pause work to protect the subgrade from saturation. We always build a 25% "weather buffer" into our internal schedules to account for these delays, ensuring we don't over-promise on a finish date.
Impact of project scope on the schedule
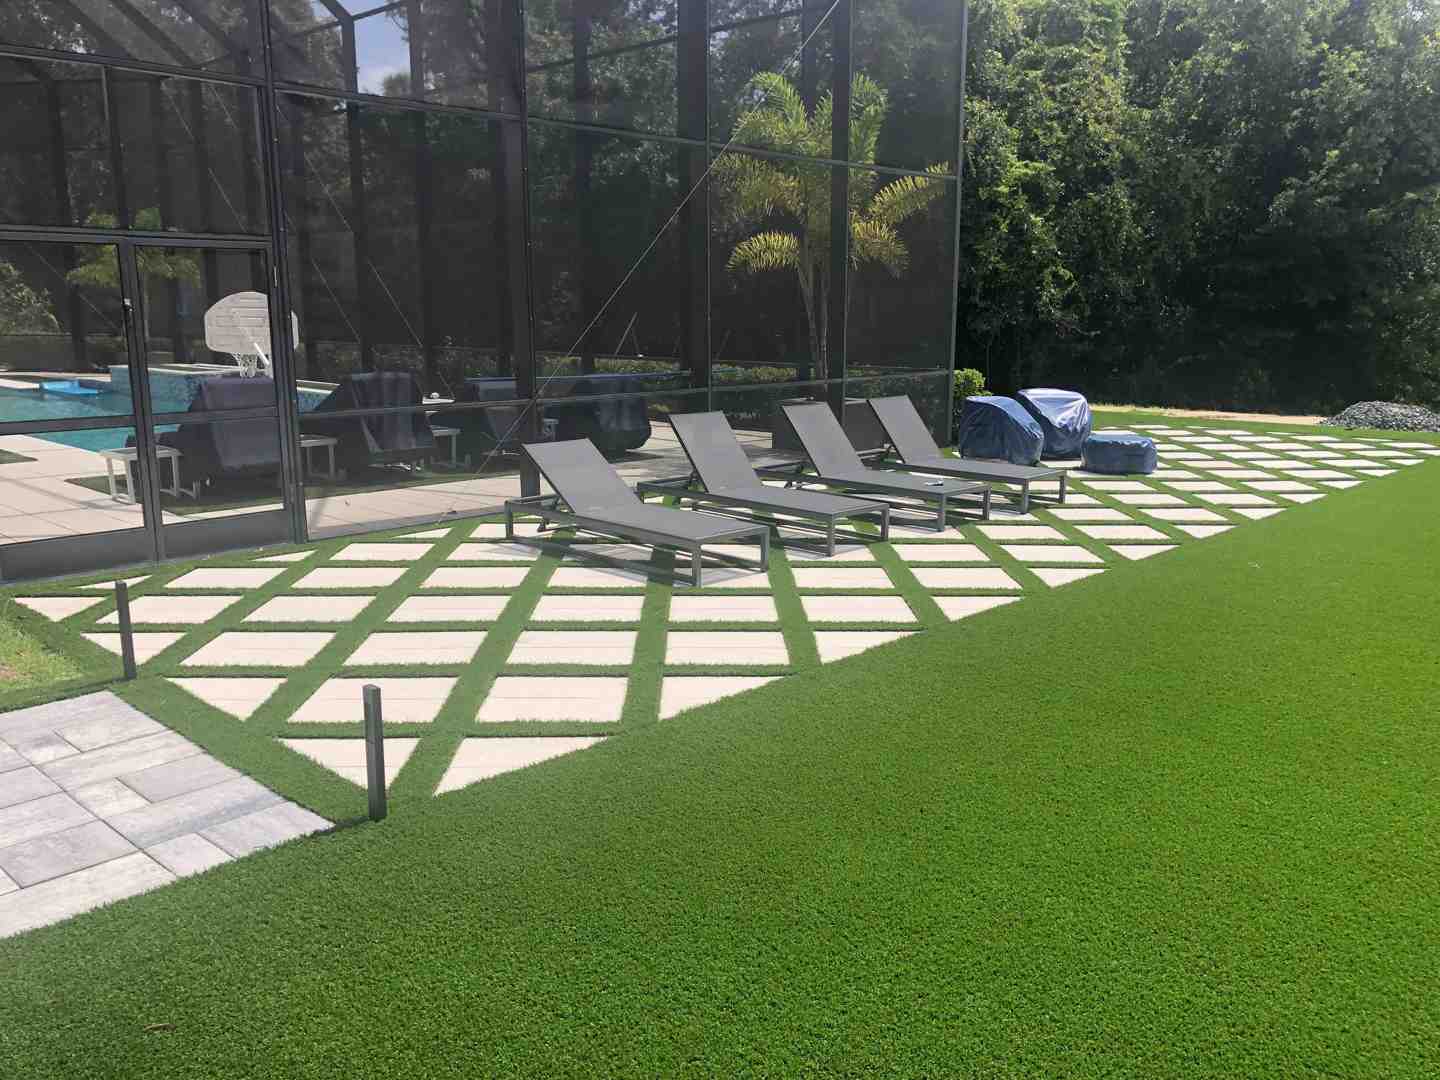
The scope of your project dictates the depth of the foundation. A simple garden walkway only needs a few inches of base, but an outdoor kitchen requires reinforced footings to handle the weight of appliances and stone cabinetry. Similarly, pool deck services often involve coordinating with pool contractors, which can extend the calendar duration of the project even if the "active" paving days remain the same.
How to plan your paver installation timeline from Permitting to Completion
One of the biggest "hidden" time-wasters in any project is the paperwork. In areas like St. Cloud, Celebration, or Winter Park, building codes and HOA (Homeowners Association) approvals are strictly enforced.
Getting your HOA to sign off on your design can take anywhere from two weeks to a month, depending on their meeting schedule. Some municipalities also require drainage plans or hardscape permits for projects over a certain size. We recommend starting this process in the winter (January or February) to ensure you are ready for an April 2026 installation. This avoids the "spring rush" when contractors and permit offices are at their busiest.
Our driveway services include helping you understand these local requirements so your project doesn't get red-flagged halfway through.
Scheduling material delivery and contractor windows
Logistics play a huge role in how to plan your paver installation timeline. We coordinate the delivery of several tons of stone, gravel, and sand. We prefer to have materials delivered a day or two before the crew arrives to ensure there are no inventory surprises.
When the pallets arrive, our crews practice "pallet blending." Pavers are natural products, and colors can vary slightly from one batch to the next. By pulling stones from multiple pallets simultaneously, we create a beautiful, uniform look across your entire surface.
Coordinating with other outdoor upgrades
If you are planning a total backyard overhaul, the pavers are usually the "anchor" of the schedule. However, certain things must happen first. Any underground plumbing for retaining wall services, irrigation lines, or electrical conduits for outdoor lighting should be installed during the excavation phase. It is much easier (and cheaper) to lay a PVC "sleeve" under a new patio before the base is compacted than it is to dig it up later.
Post-Installation: When Can You Use Your New Surface?
The pavers are down, the sand is swept, and it looks beautiful—but don't pull the car into the driveway just yet! Understanding the "waiting period" is vital for the long-term health of your pavers.
While pavers provide an almost "instant" patio, the joint sand needs time to stabilize. If you use the surface too early, you could displace the sand or cause the pavers to shift before they've had a chance to "nestle" into the bedding layer.
Curing times for different traffic types
We follow a strict set of guidelines for post-installation use to protect your investment:
- Pedestrian Traffic (Walking): You can typically walk on your new patio services within 24 hours. If we applied a sealant, we might ask you to wait 48 hours to ensure the coating isn't marred.
- Light Vehicle Traffic (Cars/SUVs): Wait at least 48 to 72 hours before driving on a new driveway.
- Heavy Equipment (RV/Trucks): For heavy loads, we recommend a full 72-hour wait to ensure the base and joints are fully locked in.
- Sealing Window: If you didn't opt for pre-sealed pavers, we usually recommend waiting 60 to 90 days before applying a professional sealer. This allows any "efflorescence" (a natural white salt residue) to escape the stone first.
Long-term stability and settling
During the first few weeks, you might notice a small amount of sand "settling" in the joints. This is normal. As the pavers experience their first few rain cycles, the sand packs down tighter. We recommend a routine inspection after the first month to see if any joints need a quick "top-off" of sand. Proper drainage performance should also be monitored during the first heavy Florida downpour to ensure water is moving away from your home's foundation as planned.
Frequently Asked Questions about Paver Timelines
How long does a standard 400 sq. ft. patio take to install?
For a professional crew with the right equipment, a 400-square-foot patio typically takes 2 to 3 days of active work. Day one is for excavation and base prep; day two is for laying and cutting; day three is for finishing touches like edge restraints and joint sand.
Does rain stop the installation process?
Yes, it can. We cannot compact a base that is saturated with water, as it won't reach the necessary density. Additionally, polymeric sand must be applied when the pavers are completely dry. If we apply it during a drizzle, it can create a "white haze" on the surface of the stones that is very difficult to remove.
How far in advance should I book a contractor in St. Cloud?
In Central Florida, our "busy season" starts in early spring. If you want a project completed by April or May, you should ideally reach out to us in January or February. This gives us plenty of time for the design phase, HOA approvals, and securing your spot on the production calendar.
Conclusion
Planning a paver project in St. Cloud or the surrounding Orlando areas doesn't have to be stressful. By understanding how to plan your paver installation timeline, you can set realistic expectations and ensure your outdoor upgrade is ready exactly when you need it.
At Alliance Pavers, we bring 25 years of local expertise to every job. As a family-owned business, we treat your backyard like our own, prioritizing craftsmanship and clear communication from the first site visit to the final compaction. Whether you are in Kissimmee, Lake Nona, or Clermont, we are ready to help you build a space that lasts for decades.
Start your project with Alliance Pavers today and let us handle the logistics while you dream of your new outdoor oasis.