Your Patio's Blueprint: The Step-by-Step Guide to Brick Installation
Master brick patio installation! Get DIY tips, design ideas, maintenance advice, or connect with expert brick patio installers.
Why Professional Brick Patio Installation Creates Long-Lasting Outdoor Spaces
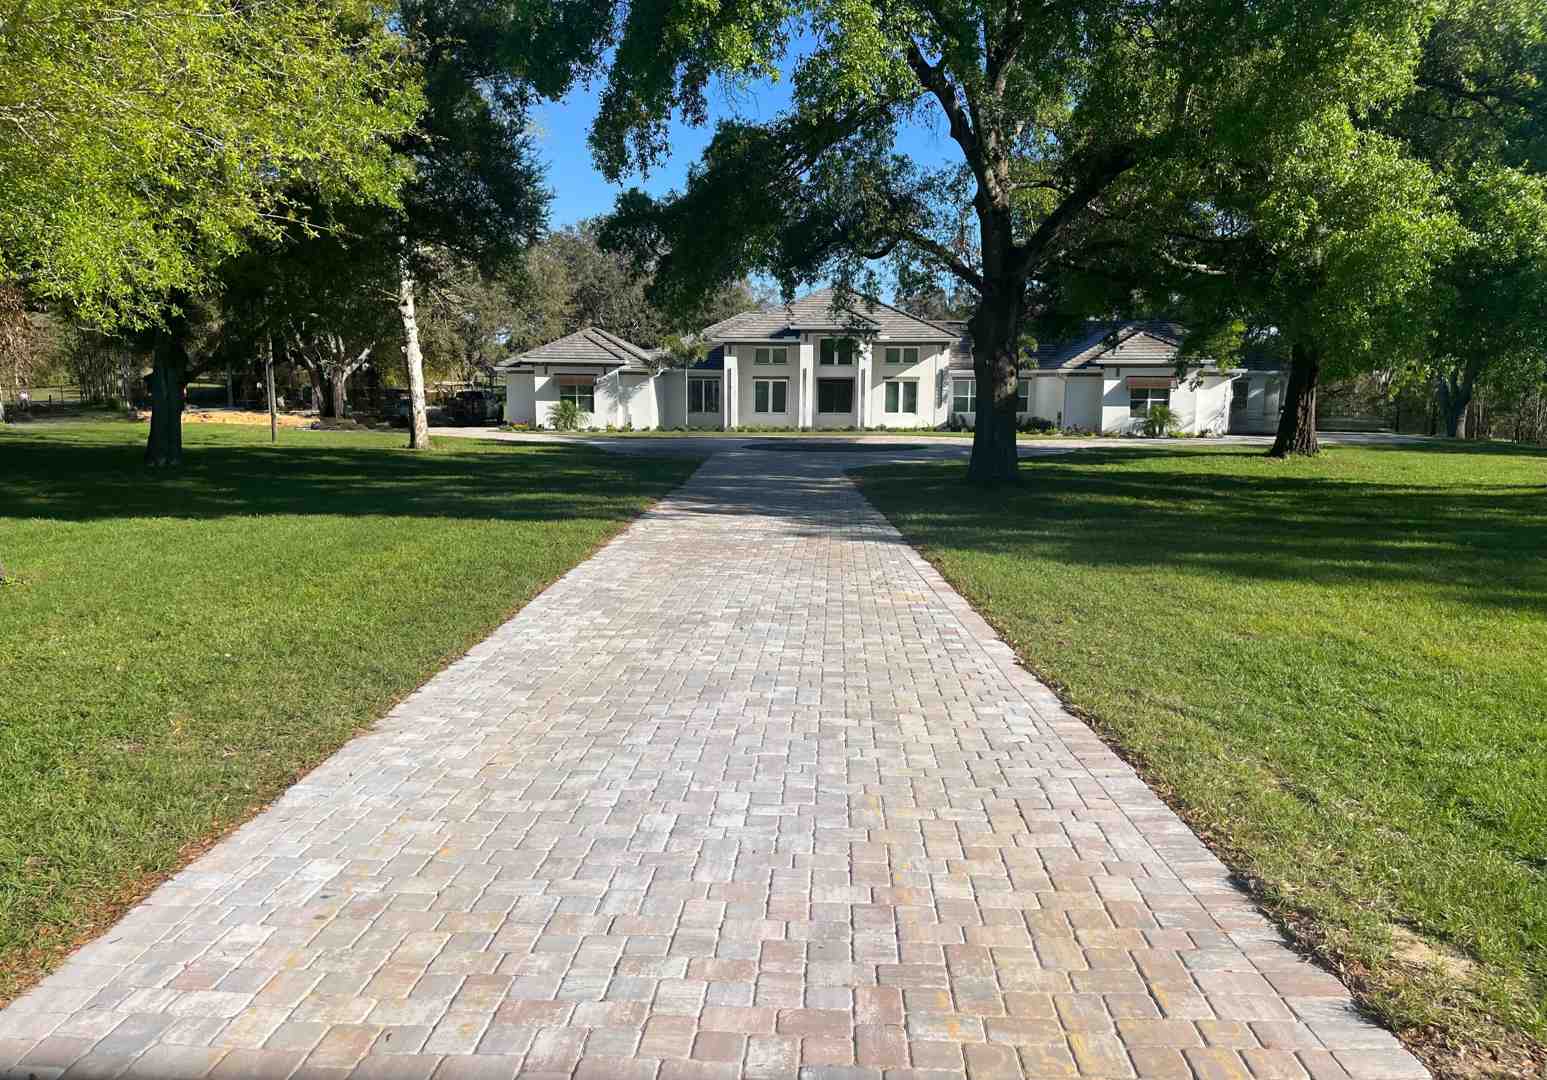
Brick patio installers transform ordinary backyards into stunning outdoor living spaces that boost your home's value and provide years of enjoyment. These skilled professionals handle everything from design planning to the final sealing, ensuring your patio stands the test of time.
What Professional Brick Patio Installers Do:
- Site preparation - Proper excavation, grading, and drainage setup
- Base construction - Installing crushed stone, sand, and proper compaction
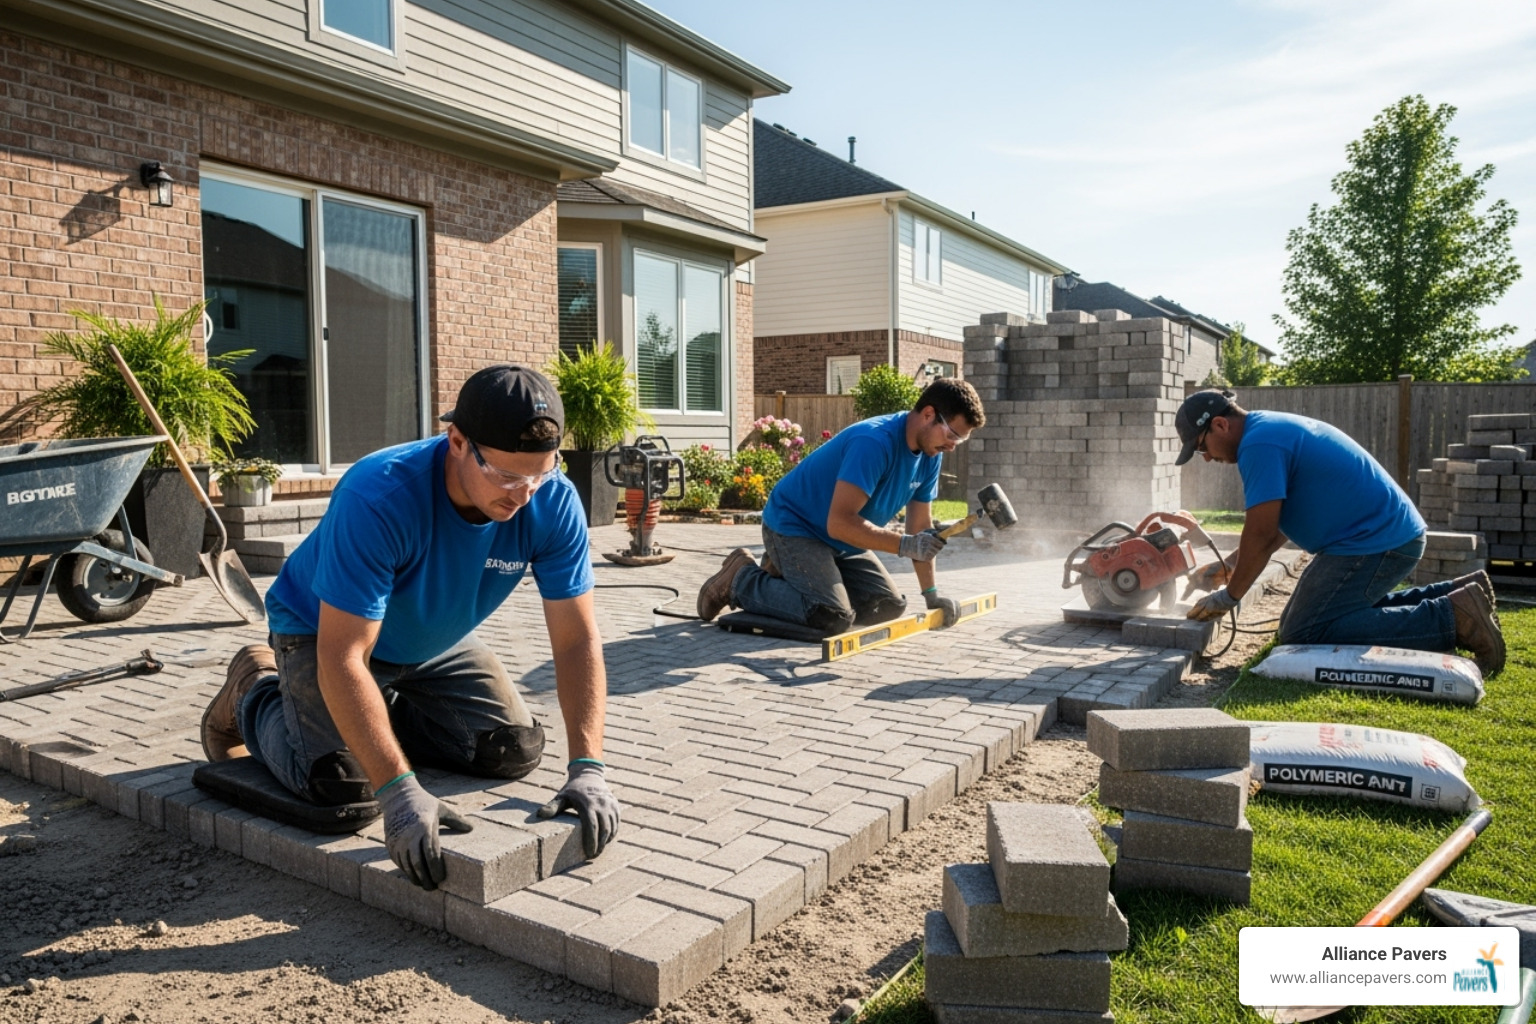
- Paver installation - Precise laying, cutting, and alignment of bricks
- Finishing work - Joint sanding, compaction, and sealing
- Design consultation - Pattern selection and 3D visualization
- Quality assurance - Multi-year warranties on workmanship
The difference between a DIY weekend project and professional installation becomes clear over time. Research shows that properly installed brick patios can last 50+ years with minimal maintenance, while poorly installed ones may show settling, weed growth, and drainage issues within just a few years.
Professional installers bring specialized tools like plate compactors, screeding equipment, and wet saws that most homeowners don't own. They also understand critical details like proper slope for drainage (1 inch drop every 8 feet away from structures) and the right base depth for your soil conditions.
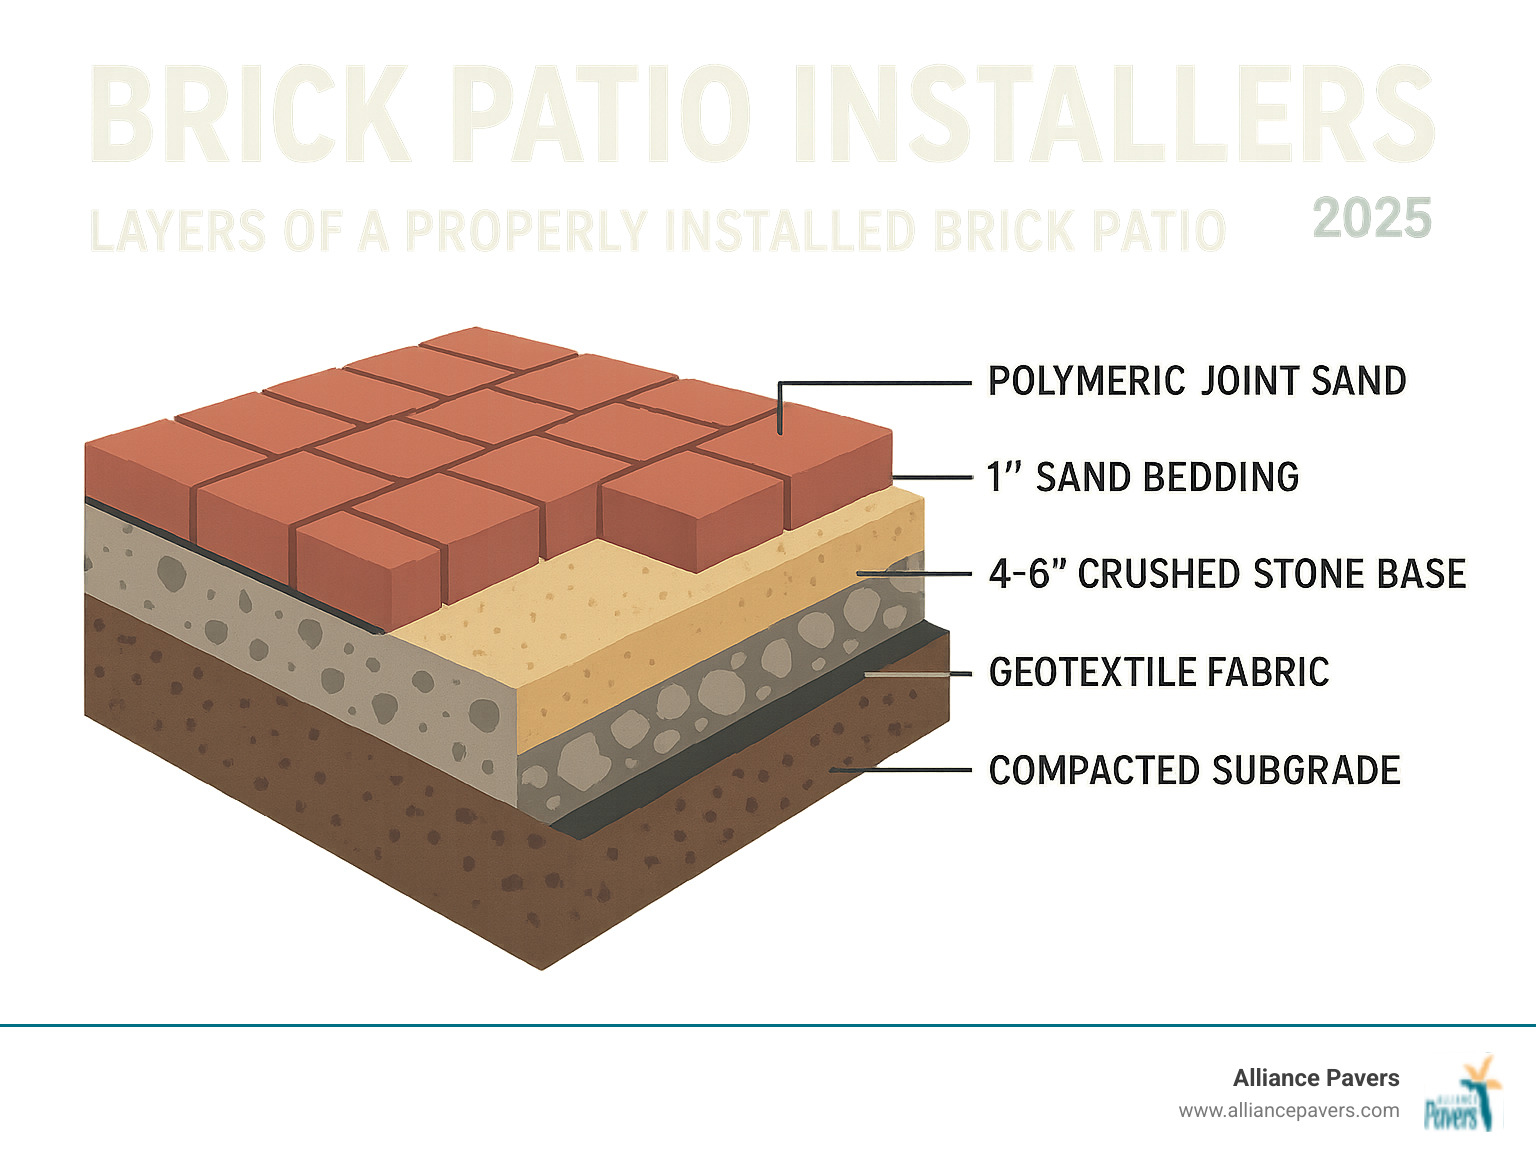
A professionally installed brick patio typically involves multiple layers working together: compacted soil, landscape fabric, 4-6 inches of crushed stone base, 1 inch of leveling sand, the pavers themselves, and joint sand swept between them. Each layer serves a specific purpose in creating a stable, long-lasting surface.
Step 1: Planning Your Perfect Patio
Every great brick patio starts with a solid plan. We'll help you envision how you'll use your new outdoor space—whether for morning coffee, weekend barbecues, or as a peaceful retreat.

Location is everything. We help you find the ideal spot in your yard that gets the right amount of sun and shade, avoiding areas that become too hot or stay soggy after Florida's rainstorms.
Once the location is set, precise measurements are crucial. This helps us plan for proper drainage, calculate the right amount of base materials, and ensure your patio fits perfectly with your landscape.
Next comes choosing your paver pattern. A classic running bond offers clean, modern lines. The herringbone pattern adds visual interest and interlocks the pavers for added strength. For old-world charm, the basket-weave pattern is a timeless choice. Your pattern choice affects both aesthetics and performance, and as experienced brick patio installers, we'll guide you to the perfect option.
Don't forget the edges. Check out our guide on Paver Edging Ideas to see how the right edging provides a professional finish.
Choosing Your Materials: Brick vs. Pavers
Many homeowners are surprised to learn that "brick patios" often use concrete pavers designed to look like brick. While traditional clay bricks have charm, modern pavers are often a smarter choice for Florida patios.
FeatureClay BricksConcrete PaversNatural StoneCostModerateModerate to HighHighDurabilityGood, but can chip/crack over timeExcellent, highly durable, resistant to crackingExcellent, very long-lastingColor OptionsLimited (traditional reds, browns, some grays)Extensive (wide range of colors, textures, sizes)Unique, natural variations (slate, bluestone, travertine)MaintenanceCan fade, moss growth, require occasional cleaningLow, easy to clean, holds color wellLow, but can be porous and require sealing
Traditional clay bricks have a timeless appeal, but in Florida's climate, they can become porous, leading to moss growth and potential cracking during rare cold snaps.
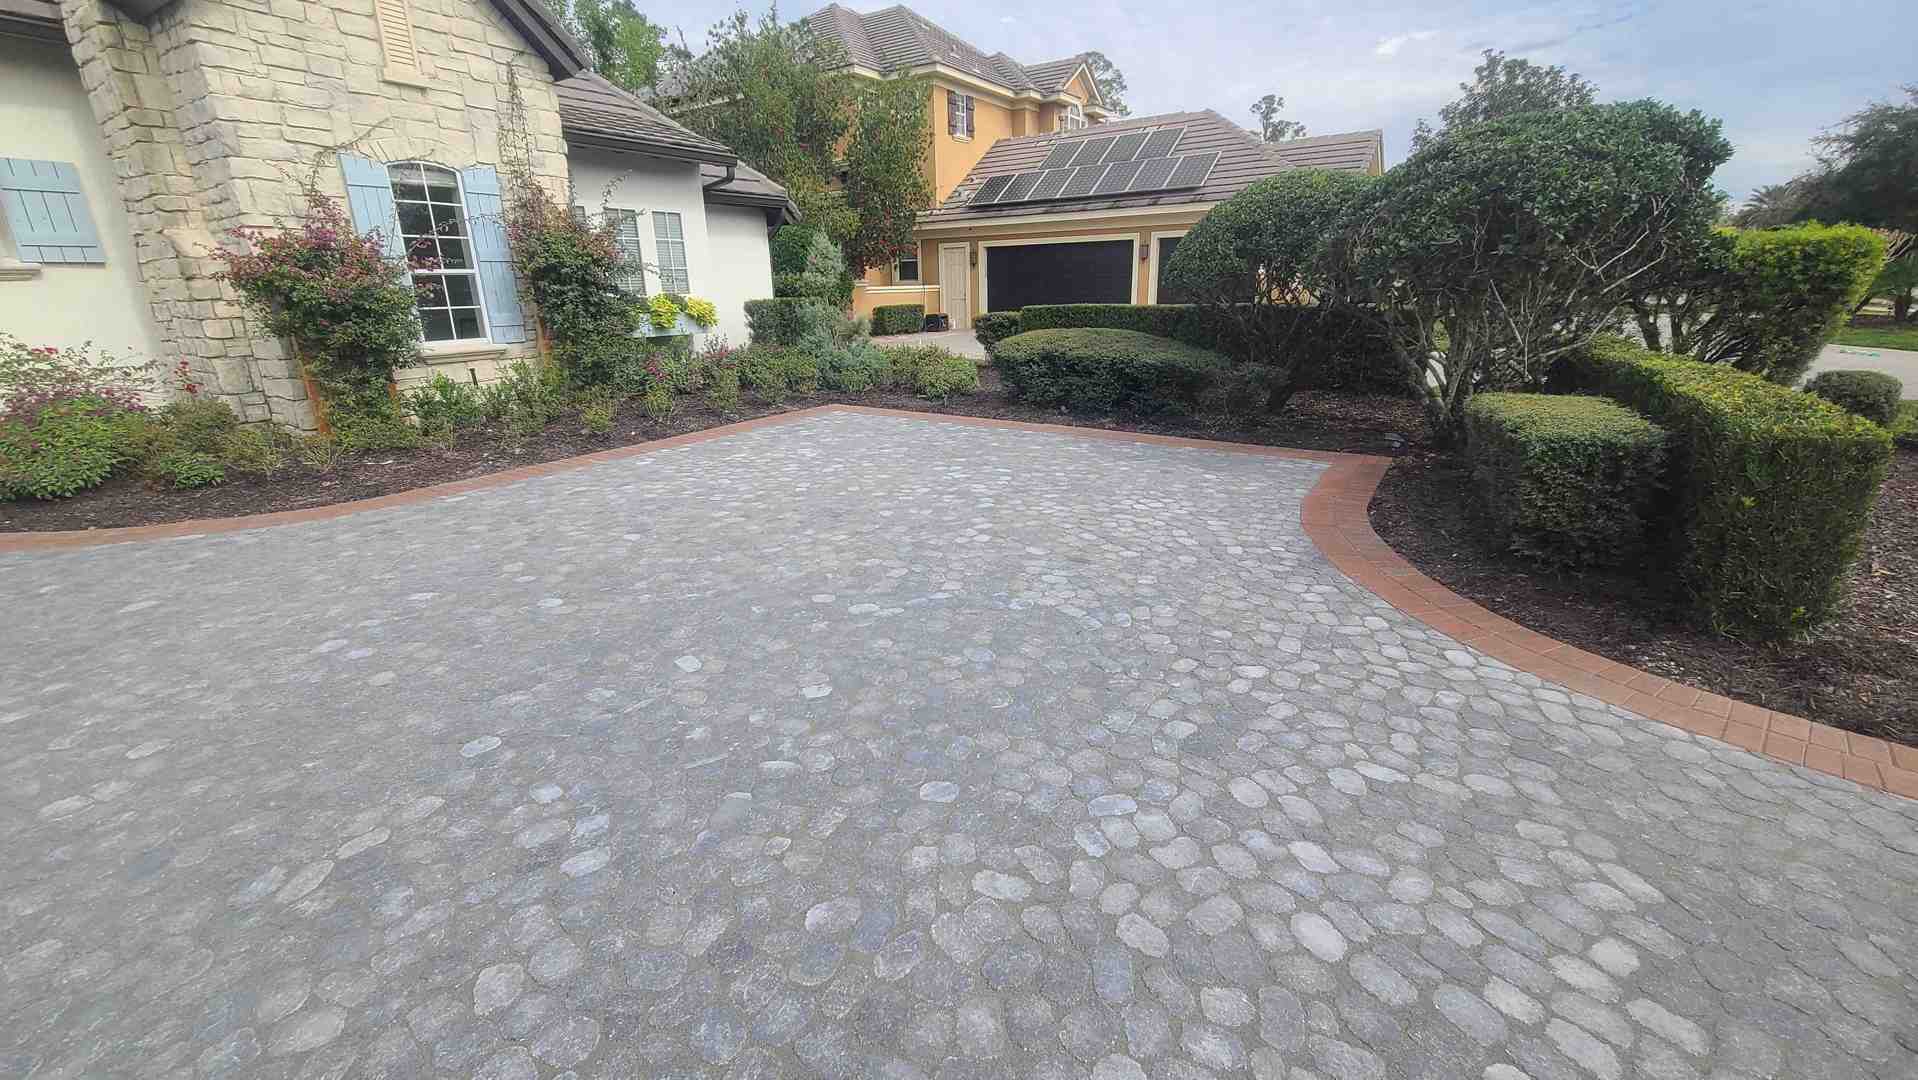
Concrete pavers are the workhorses of the patio world, engineered to handle Florida's heat and rain. They resist cracking, maintain their color well, and can last 50+ years with proper installation. The design options are nearly endless, as shown in our Concrete Patio Paver Ideas.
Natural stone like travertine or slate is the luxury option, creating a one-of-a-kind patio. While it requires a larger initial investment, it also provides the highest return on your property value.
Your choice depends on your budget, style, and how you'll use the patio. We help you weigh these factors to find the perfect materials.
Installation Methods: Flexible vs. Mortared
The installation method is a choice between a foundation that can breathe and one that's completely rigid.
Flexible installation (dry-laid) is our preferred method for residential patios. Pavers rest on a prepared base of compacted gravel and sand, locked together with joint sand. This system allows for slight, natural movements with weather changes, preventing the cracking seen in rigid surfaces. A key benefit is its forgiving nature; a damaged paver can be easily replaced without disturbing the rest of the patio.
Mortared installation (wet-laid) involves setting pavers in mortar over a concrete slab. This creates an extremely solid, permanent surface but requires more specialized skills and lacks the repair flexibility of a dry-laid system.
For most homeowners, flexible installation offers the perfect balance of durability, beauty, and practicality—a method we've perfected over 25 years.
Step 2: The Professional Installation Process
This is where planning meets execution. Our experienced brick patio installers turn your dream into a solid reality that will serve your family for decades.
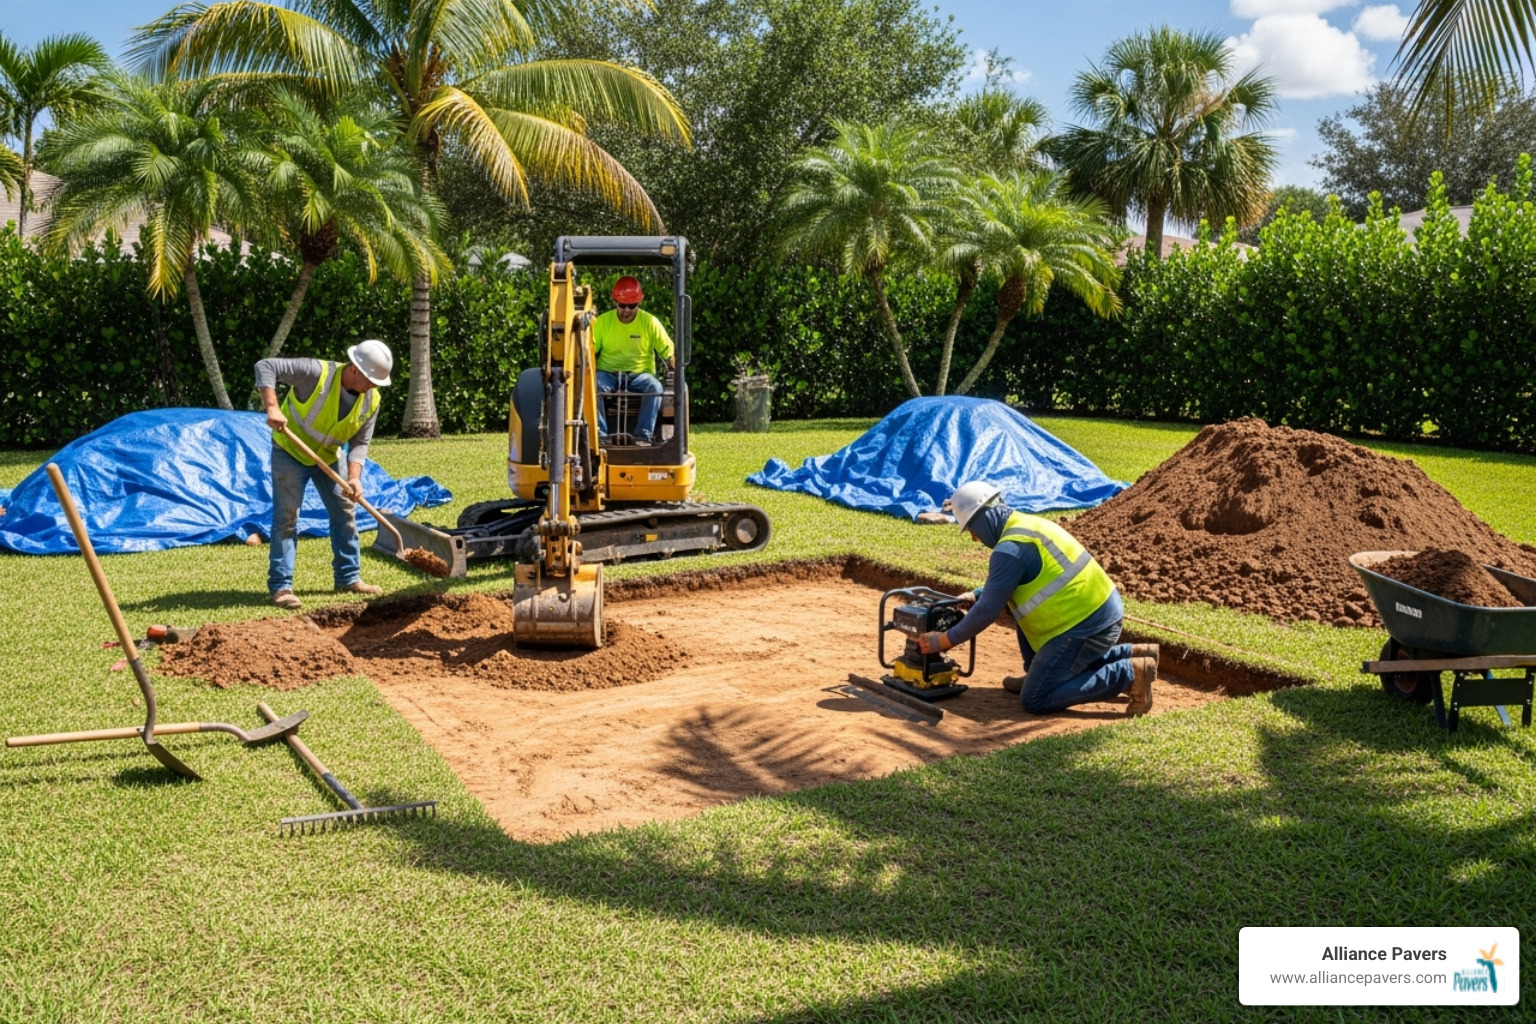
Our crew begins with careful site preparation, clearing the area and excavating to the proper depth (typically 8 inches). The difference between professional and DIY work is clear during excavation and grading. The subgrade must be perfectly level and free of debris to prevent settling. We then create a gentle slope (about 1 inch per 8 feet) to guide rainwater away from your home's foundation, preventing pooling and erosion.
The final prep step is compacting the subgrade with heavy plate compactors. This creates a firm, uniform foundation that won't shift, preventing low spots from forming later. Learn more in our Paver Installation 101: The Complete Guide for Homeowners.
Laying a Rock-Solid Foundation
Your patio's foundation is invisible but critical. Cutting corners on the base is the fastest way to create future problems. The process starts with laying geotextile fabric over the compacted subgrade to prevent the base from sinking and to block weeds.
Next is the crushed stone aggregate base, typically 4-6 inches deep. We use crushed stone because it locks together tightly, creating a stable platform that distributes weight evenly. We compact this aggregate in layers until it's rock-solid, a crucial step for long-term stability.
The bedding sand layer comes next—exactly one inch of fine sand spread over the aggregate. This creates a smooth surface for the pavers. Finally, we use screed bars for screeding to create a perfectly level surface, ensuring your finished patio is flat and properly pitched for drainage.
Laying and Finishing the Bricks
With the foundation perfected, we begin laying the pavers. Edge restraints are installed first to keep the patio from spreading over time. We then begin laying the pavers from a fixed point, working outward in your chosen pattern. Each paver is placed snugly and tapped with a rubber mallet to ensure it's level.
For edges and curves, cutting pavers with wet saws allows for a custom, seamless fit. Once all pavers are in place, we sweep jointing sand (usually polymeric sand) into the gaps. This special sand hardens when wet, locking the pavers together while preventing weeds and ants.
The plate compactor vibrates the entire surface, settling the sand deep into the joints. We repeat this until every joint is full. A final sealing protects your investment from stains, UV fading, and weather, making maintenance easier. To keep your patio looking its best, see our guide on How to Clean Brick Pavers and Keep Them Looking New.
Step 3: Design, Maintenance, and Longevity
Your brick patio is the heart of your outdoor lifestyle. With the right design choices and proper care, it can become an outdoor sanctuary that your family will enjoy for decades.
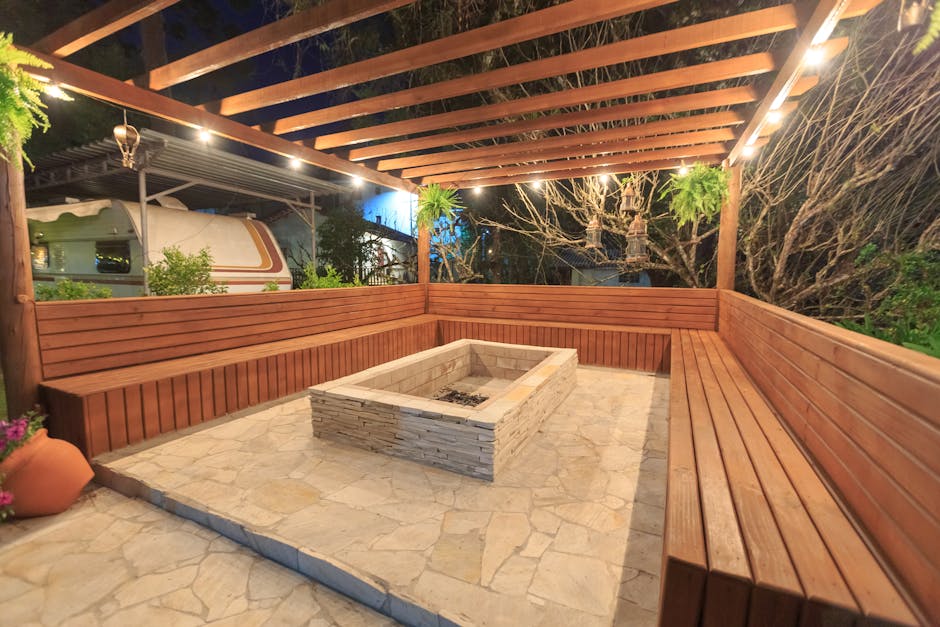
Homeowners are expanding their outdoor living with features like outdoor kitchens, complete with built-in grills and prep areas. Fire pits have become a popular family gathering spot for roasting marshmallows or enjoying a quiet evening. Water features add a peaceful ambiance with the gentle sound of flowing water, while proper lighting extends your patio's usability into the evening. For inspiration, see these 8 Gorgeous Hardscape Lighting Ideas.
When you work with professional brick patio installers, your investment pays dividends for generations. A properly installed paver patio can easily last 25-50+ years, and many last even longer with good care. You're not just building a patio; you're building a family legacy.
Common Maintenance and Troubleshooting
A well-installed brick patio requires surprisingly little maintenance. A few simple habits will keep it looking spectacular.
- Routine cleaning: A regular sweep removes most debris. For a deeper clean, use warm water, a little dish soap, and a stiff brush. Avoid pressure washers and harsh chemicals like bleach, which can damage pavers and sealants.
- Weed prevention: The polymeric sand in the joints creates a strong barrier against weeds. Remove any that appear before they can establish deep roots.
- Re-sanding joints: If you notice joint sand has washed away after a few years, a simple re-application will keep pavers locked in place.
- Sealing every 3-5 years: A quality sealer protects against stains and UV fading, making cleaning easier. It's a small step that provides years of protection.
- Fixing loose or settled pavers: The flexible installation method makes repairs easy. Individual pavers can be lifted and reset without disturbing the entire patio, a straightforward and affordable fix. For more on this, see our guide to Prevent Brick Patio Settling in Doctor Phillips.
With these simple steps, your patio will remain a source of pride for decades.
DIY vs. Hiring Professional Brick Patio Installers
When planning a new patio, many homeowners wonder whether to DIY or hire a professional. While DIY can be appealing, it's important to understand what a professional patio installation truly involves.
- Project Complexity: Proper installation goes far beyond what online tutorials show. It involves precise excavation, grading for drainage, and building a multi-layer foundation. A mistake early on can lead to major issues later.
- Time Commitment: A proper installation is not a single-weekend project. It often takes several weekends of hard work, assuming no setbacks.
- Required Tools & Labor: Professional installation requires specialized equipment like plate compactors and wet saws, which are expensive to rent and difficult to operate. The physical labor of moving tons of soil and materials is also significant.
While the upfront cost of hiring brick patio installers is higher, the long-term value is often greater. We've restored many DIY patios that failed within a few years due to improper installation. Professional work ensures lasting results and comes with the peace of mind of a warranty.
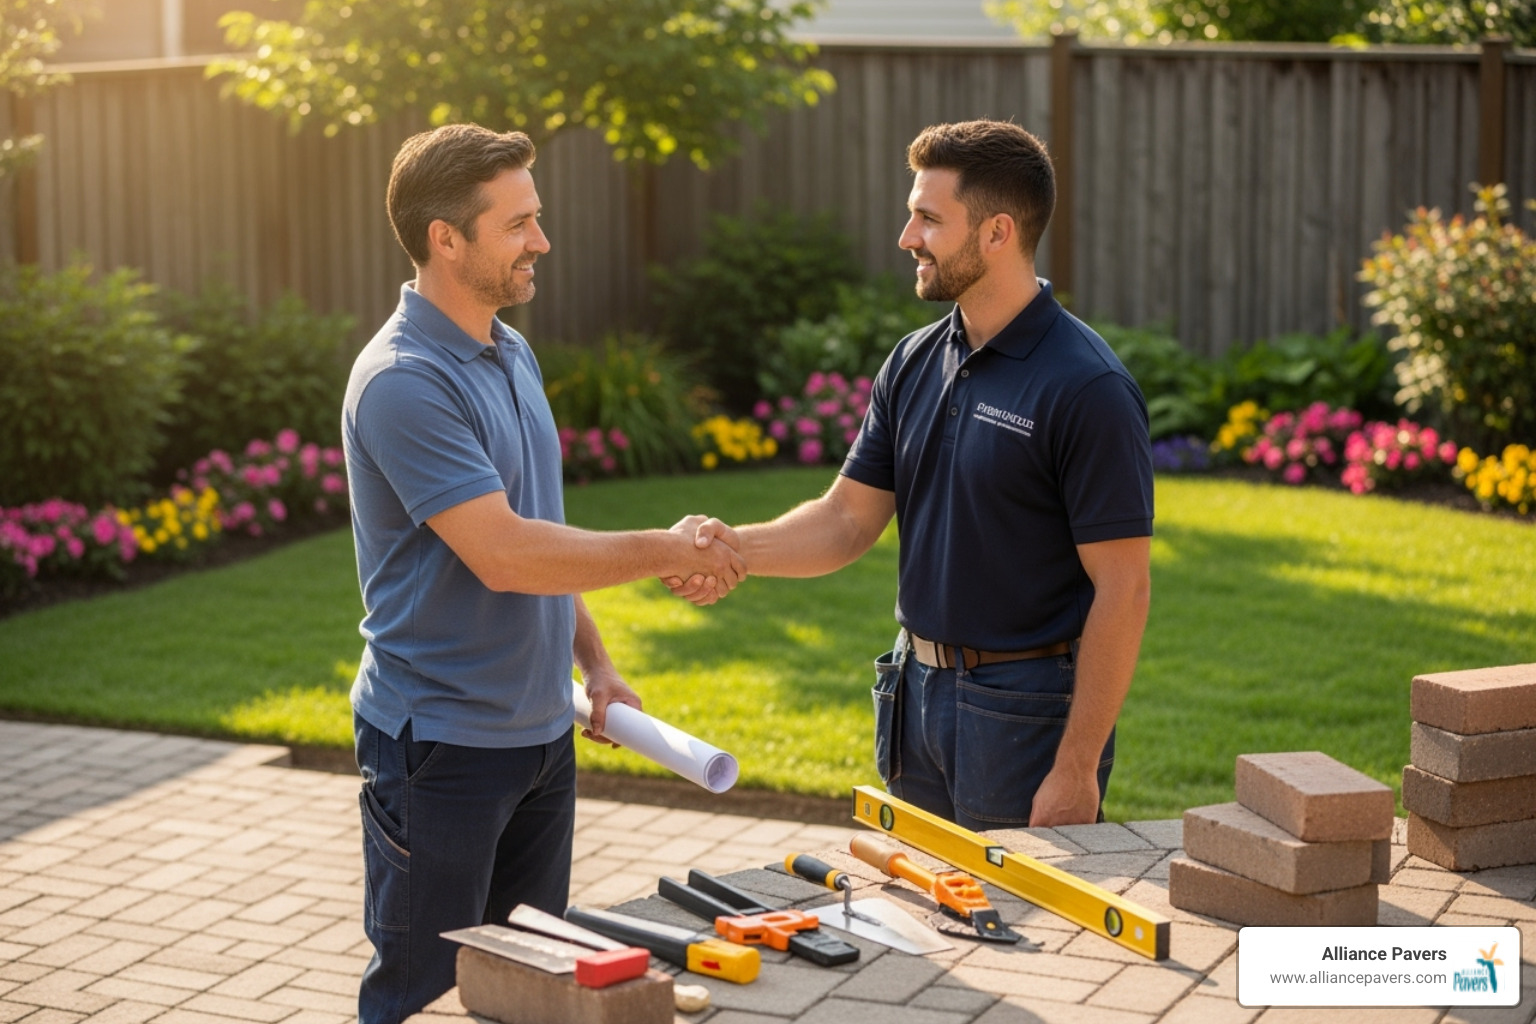
What to Expect from Professional Brick Patio Installers
Our process at Alliance Pavers is refined to be smooth and enjoyable. We start with an initial consultation to discuss your vision and lifestyle. Our 3D design renderings then bring your ideas to life, removing guesswork and helping you feel confident in your choices. You'll receive a detailed quote with a clear breakdown of all costs and a transparent project timeline.
Our expertise shines in the critical, non-glamorous work of proper base preparation and drainage management, which are essential for a long-lasting patio in Florida. Our craftsmanship reflects our family-owned values, and our thorough clean-up leaves you with a beautiful new patio, not a construction zone.
The Cost of Hiring Professional Brick Patio Installers
Understanding what drives the cost of a professional installation helps you make an informed decision. The cost per square foot varies based on material costs (basic pavers vs. natural stone), labor costs (reflecting skill and time), and project complexity (integrated lighting, fire pits, etc.).
The return on investment is compelling. A professionally installed paver patio offers a better ROI than many home improvements by expanding your living space and increasing curb appeal. For a detailed comparison, see our guide on Deck vs. Paver Patio.
At Alliance Pavers, we deliver exceptional value through quality, reliability, and transparency, ensuring your investment brings you joy for decades.
Conclusion
Your journey toward creating the perfect brick patio doesn't have to end with just dreaming about it. Throughout this guide, we've walked together through every step of the process, from that first spark of inspiration to the final protective sealer that locks in your investment.
The benefits we've explored are real and lasting. A professionally installed brick patio doesn't just give you a beautiful place to relax – it actively increases your property value, creates that coveted outdoor living space your family will treasure, and delivers the kind of durability that keeps paying dividends for decades. Whether you choose the timeless appeal of traditional clay bricks, the versatility of concrete pavers, or the natural elegance of stone, you're making a choice that will improve your daily life.
The importance of proper installation cannot be overstated. We've seen too many well-intentioned DIY projects turn into costly repairs because the foundation wasn't quite right or the drainage wasn't properly planned. When professional brick patio installers handle your project, they bring that critical expertise in site preparation, base construction, and precise installation techniques that separate a weekend project from a lifetime investment.
Your patio's long-term value depends entirely on getting it right the first time. That rock-solid foundation we discussed, the careful attention to drainage, the precision in every cut and placement – these details matter tremendously when you're looking at a 50+ year lifespan for your outdoor space.
At Alliance Pavers, we've spent 25 years perfecting our craft right here in St. Cloud, FL, and throughout Central Florida communities like Apopka, Altamonte Springs, Orlando, Kissimmee, and Winter Garden. Our family-owned approach means we treat every project like it's our own backyard, bringing the same care and attention to detail whether we're creating a simple patio retreat or an elaborate outdoor kitchen and entertainment area.
We genuinely love what we do, and it shows in every project we complete. From that first consultation where we listen to your dreams, through the 3D design process that brings your vision to life, to the final walkthrough where we hand you the keys to your new outdoor oasis – we're committed to making the entire experience as smooth and enjoyable as possible.
Ready to turn your backyard dreams into reality? We'd love to show you what's possible for your unique space. Get a free estimate for your brick patio installation in St. Cloud, FL and let's start planning your perfect outdoor living space together. Your future self will thank you for making the call today.