How Turf Installation Works Step by Step for a Flawless Lawn
Discover how turf installation works step by step for a flawless, low-maintenance lawn in Florida. Save water, boost curb appeal!
Why Understanding How Turf Installation Works Step by Step Saves You Time, Money, and Headaches
How turf installation works step by step comes down to six core stages that any Central Florida homeowner can follow for a flawless result:
- Excavate the area 3-4 inches deep and remove all existing grass, roots, and debris
- Grade and compact the native soil with a slight slope (minimum 2%) for proper drainage
- Build the base with 2-3 inches of Class 2 Road Base, compacted in increments to at least 95% density
- Install a weed barrier (skip this for pet areas) before laying the turf rolls
- Lay, cut, and seam the turf panels with all blades facing the same direction
- Secure the perimeter, apply 1-3 lbs per sq. ft. of silica sand infill, power broom the fibers, and rinse
A lot of homeowners in St. Cloud look at their patchy, brown lawn and assume the fix is simple — just roll out some turf and call it done. But a lawn that looks great in April 2026 and still looks great five years from now depends almost entirely on what happens before a single roll of turf hits the ground.
The prep work, the base quality, and the finishing details are what separate a lawn that performs from one that buckles, drains poorly, or develops unsightly seams. Done right, artificial turf is one of the most durable and low-maintenance upgrades you can make to your outdoor space — especially in Florida's demanding heat and humidity.

Ground Preparation and Excavation
The foundation of a long-lasting lawn starts with what we take away. Before any heavy lifting begins, safety is the priority. In Florida, underground utilities can be shallow, so we always recommend calling 811 to have your lines marked before you break ground.
Once the area is marked, the real work begins with sod removal. We typically remove the top 3–4 inches of existing lawn and soil. This depth is critical; it provides enough room for the sub-base materials that ensure your lawn stays level and drains efficiently during those heavy afternoon downpours in Orlando or Kissimmee. If you’re dealing with very soft soil, you might even need to go as deep as 6 inches.
During this phase, we also focus on the "grade." To prevent water from pooling against your home’s foundation, we create a slight slope—usually a minimum of 2%—away from buildings. This ensures that when the rain hits, it moves exactly where it’s supposed to go.
Essential Excavation Tools:
- Sod cutter (for larger areas)
- Flat-head shovels and pickaxes
- Wheelbarrow (you’ll have a lot of dirt to move!)
- Landscape rake
- Tape measure to check depth consistency
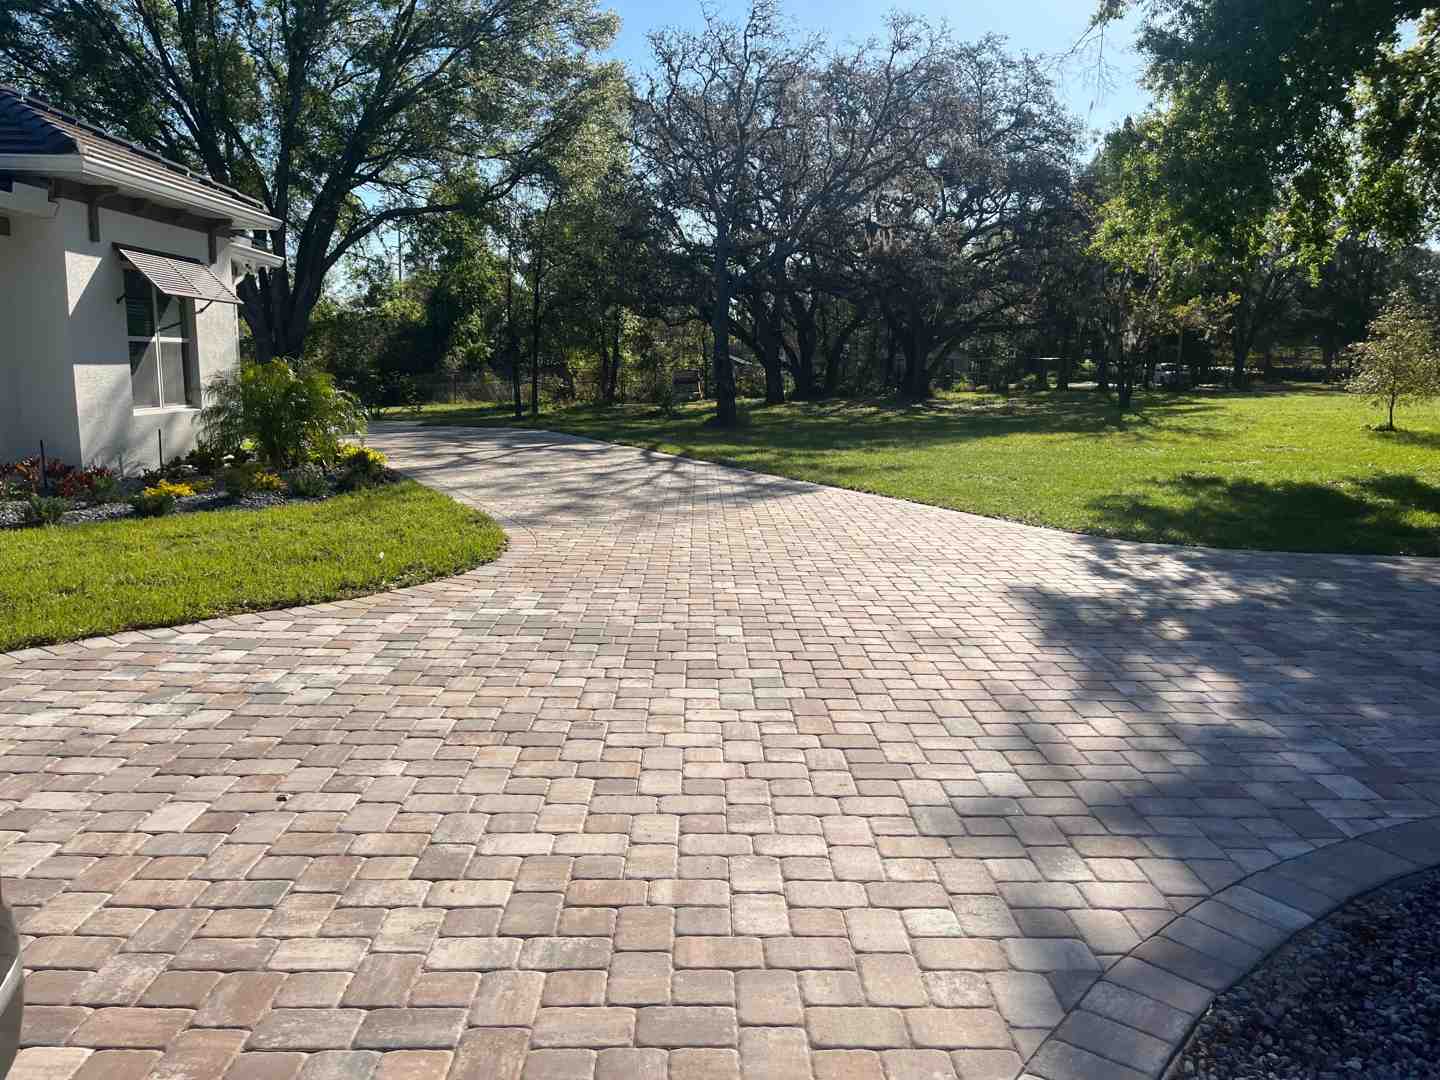
We make sure to remove all large roots, rocks, and organic debris. Leaving roots behind can lead to decomposition pockets later, which cause the turf to sink or become uneven. If you're looking to integrate your new lawn with existing hardscaping, check out our more info about paver services to see how we create seamless transitions between grass and stone.
Building a Solid Foundation: How Turf Installation Works Step by Step
If excavation is the "take away," building the base is the "put back." This is arguably the most important part of how turf installation works step by step. Without a stable sub-base, your turf will eventually wrinkle or shift.
We start by laying down a high-quality aggregate. The industry standard is Class 2 Road Base or decomposed granite. We spread this in layers, usually 2–3 inches deep. A pro tip we use: lightly mist the base material with water as you spread it. This helps the particles settle and creates a much tighter bond during compaction.
Speaking of compaction, a hand tamper won't cut it for a professional-grade lawn. We use a vibratory plate compactor to achieve a 95% compaction rate. You want the base to be so firm that you can walk on it without leaving footprints.
Before the turf goes down, we address two common Florida pests: weeds and gophers. A porous weed barrier is laid over the compacted base to prevent unwanted growth from poking through your drainage holes. However, if you have pets, we often recommend skipping the weed barrier directly under the turf, as it can trap odors. For areas with burrowing activity, a layer of gopher wire provides an extra level of protection.
If your project involves sloped areas or transitions to different elevations, more info about retaining walls can help you understand how we secure the perimeter and manage soil pressure effectively. We always verify the final levelness with a spirit level to ensure there are no low spots where water could sit.
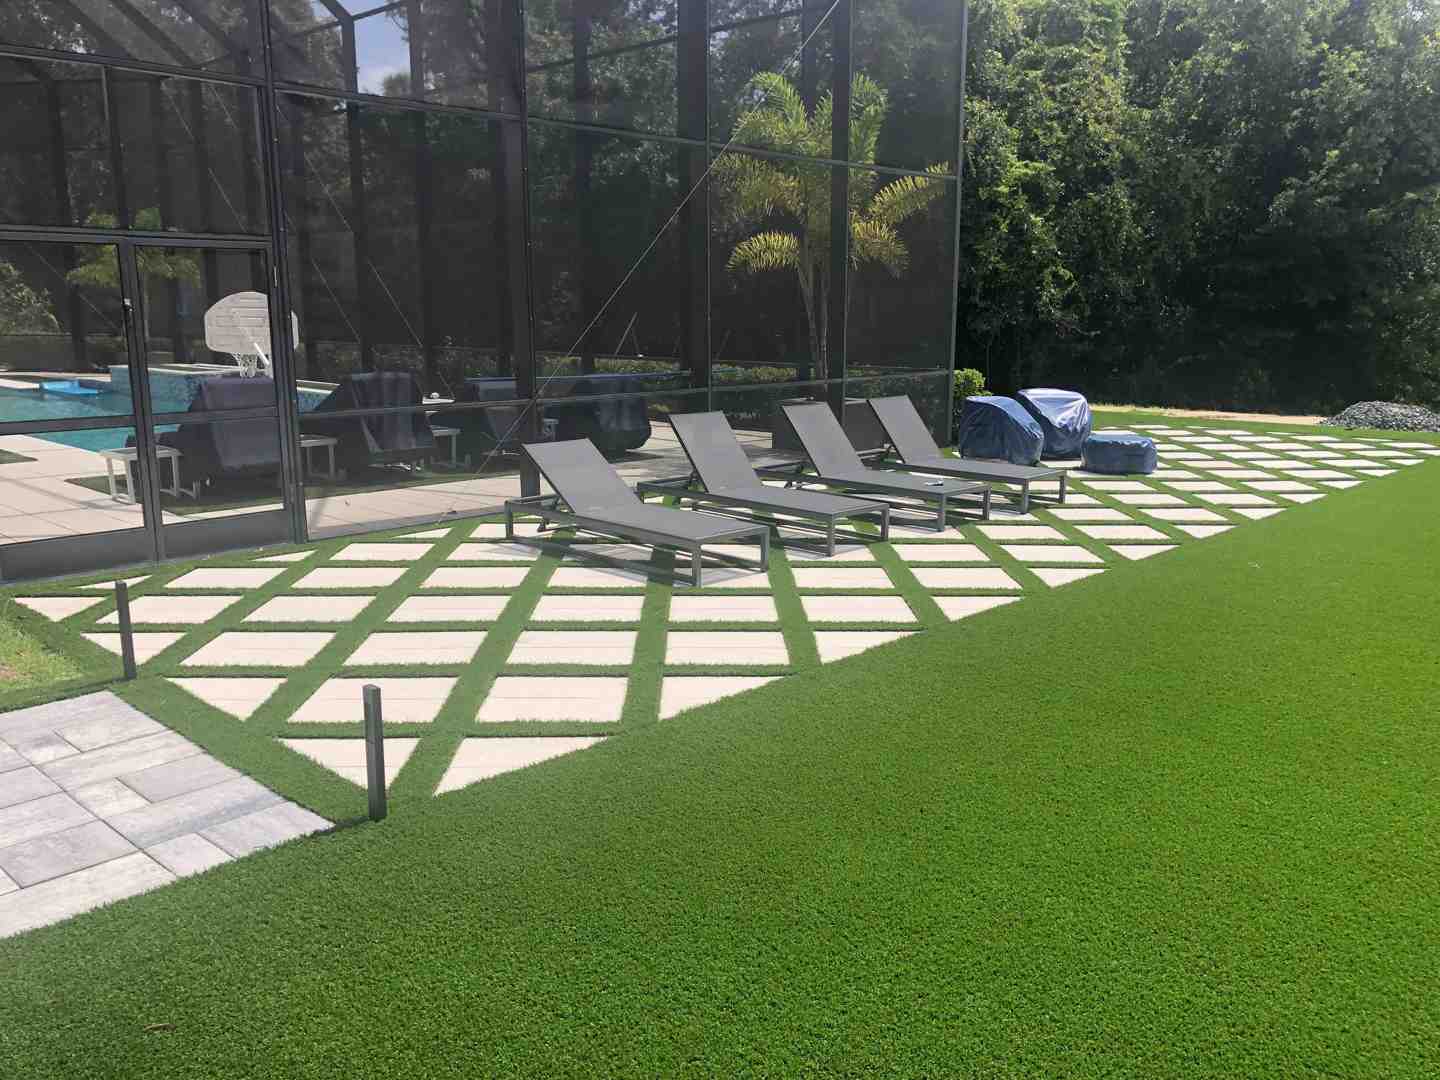
Laying, Seaming, and Finishing Touches
Now for the transformation! Once the base is perfectly smooth and compacted, it’s time to unroll the turf. But don't start cutting just yet. We let the turf "acclimate" in the Florida sun for 30–60 minutes. This allows the backing to expand and the fibers to relax, preventing wrinkles later on.
The secret to a natural-looking lawn is grain orientation. All turf has a "grain"—the direction the blades lean. For the best aesthetic, the grain should always face the primary viewpoint (usually the back porch or the street). When using multiple rolls, every single piece must face the same direction, or your lawn will look like two different colors.
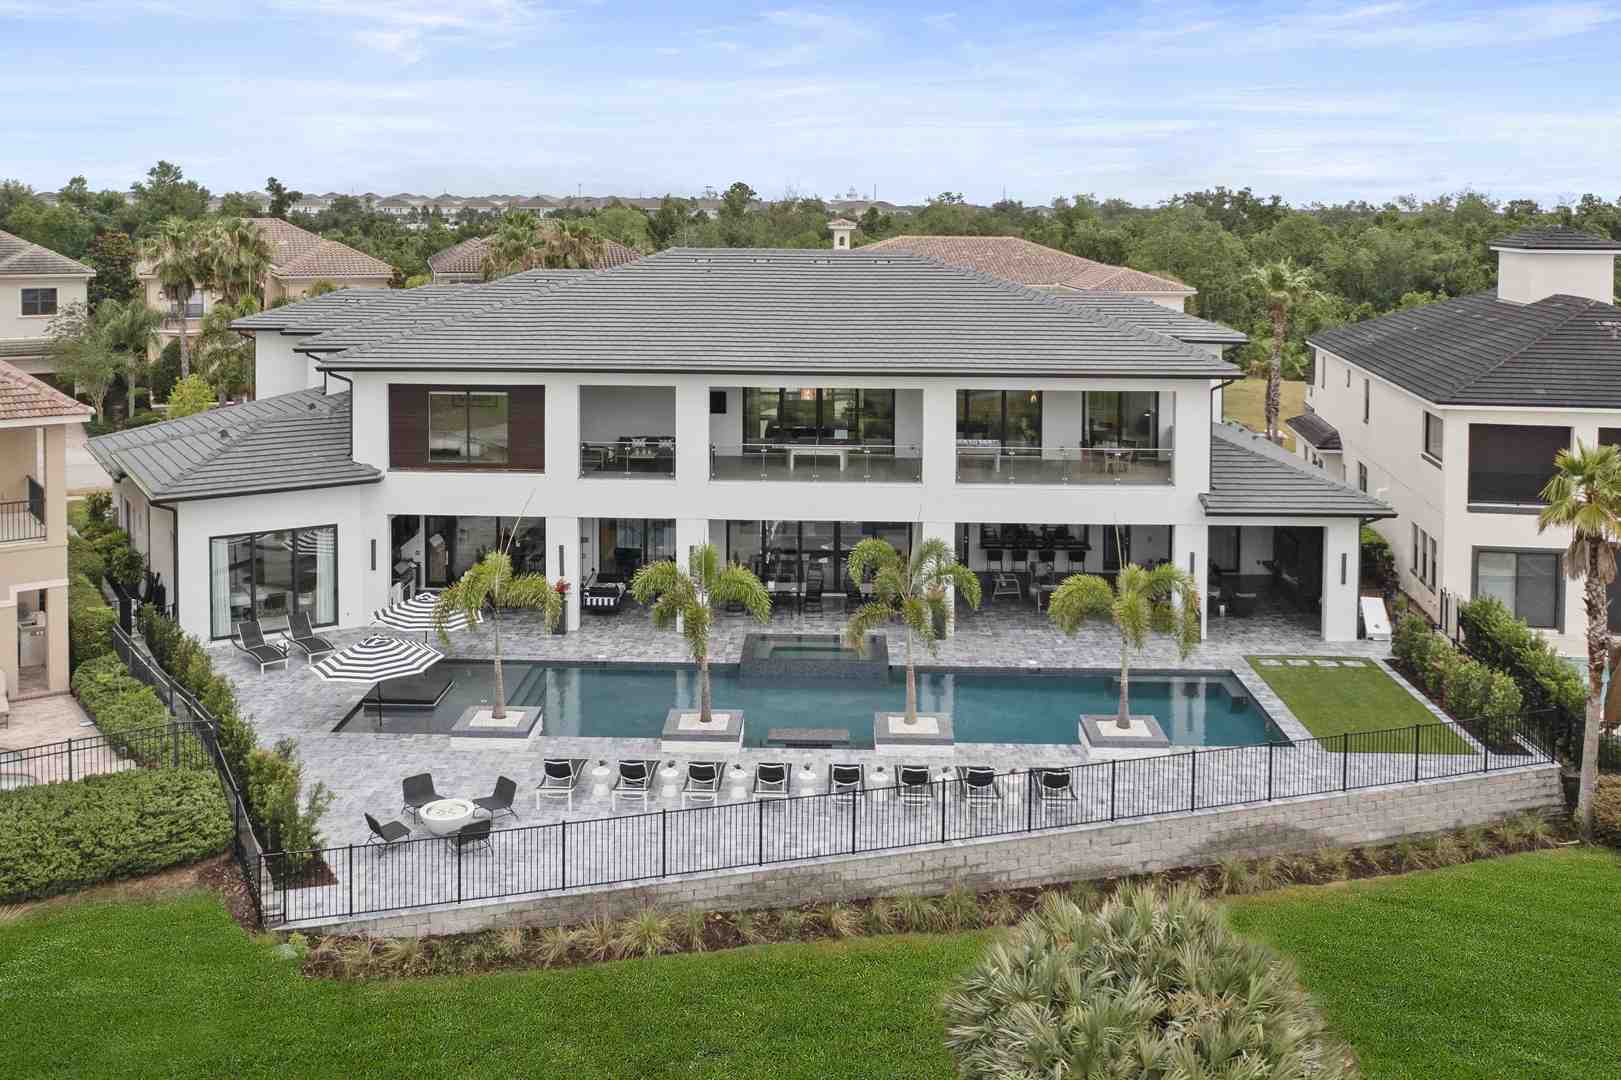
For homeowners in Lake Mary or Windermere looking to upgrade their pool areas, this stage is where the magic happens. You can find more info about pool decks to see how turf creates a slip-resistant, lush border around your swimming area.
When it comes to joining two pieces of turf, we use the "S-cut" method or a very precise straight cut. We lay seam tape down the center and apply a high-strength turf adhesive in an S-pattern. This ensures the glue is distributed evenly and the seam stays invisible and durable under foot traffic.
Precision Cutting: How Turf Installation Works Step by Step around Obstacles
Cutting turf is like tailoring a suit—it requires a sharp blade and a lot of patience. We always cut from the backside of the turf to avoid slicing through the grass blades themselves.
Cutting Essentials:
- Heavy-duty utility knife (change blades often!)
- Carpet kicker (to stretch out any small ripples)
- Wonder bar or tucking tool
- Custom stencils for curved landscape features
We leave about a 1/4 inch to 1/2 inch overhang at the edges. Using a "wonder bar," we tuck this extra material into the perimeter or against the edging for a clean, professional finish. This "tucked" look makes the grass appear as though it’s growing naturally out of the ground.
Final Grooming: How Turf Installation Works Step by Step for Long-Term Durability
To keep the turf in place, we secure the perimeter with 40D 5-inch non-galvanized nails. We space these every 6 inches along the edges and every 3–4 inches along the seams for extra reinforcement.
Next comes the infill. Infill is what keeps the blades standing upright and protects the backing from UV rays. We typically use 1–3 lbs per square foot of rounded silica sand. For pet owners in areas like St. Cloud or Davenport, we recommend Zeolite infill, which helps neutralize odors from pet waste.
We apply the infill using a drop spreader to ensure even coverage. Then, we use a power broom to work the sand deep into the fibers. This "brushes" the blades up, giving them "memory" so they don't mat down over time. Finally, a quick rinse with a hose settles the infill and removes any dust from the installation process.
Frequently Asked Questions about Turf Installation
Should I install a weed barrier under my artificial turf?
In most cases, yes. A porous geotextile weed barrier is excellent for preventing weeds from growing through the drainage holes in your turf. However, there is a major exception: pet areas. For homeowners with dogs, we often suggest omitting the weed barrier or using a specialized antimicrobial layer. Standard weed barriers can trap pet urine, leading to lingering odors that are hard to wash away.
How long does the installation process take before I can use the lawn?
Unlike natural sod, which requires 3–4 weeks to root before you can walk on it, artificial turf is ready for immediate use! Most residential projects in Central Florida take between 1 and 3 days depending on the size and amount of excavation required. Once the infill is brushed in and the area is rinsed, you can host a backyard BBQ that same evening.
What is the best time of year for turf installation in St. Cloud?
While we install turf year-round in Florida, Spring and Autumn are the most comfortable times for the heavy labor involved. The dry conditions of late Spring are particularly efficient because the base materials are easier to compact when they aren't being constantly soaked by summer storms. However, because artificial turf doesn't need a "growing season," any time is a good time to make the switch.
Conclusion
Achieving a flawless lawn doesn't have to be a source of stress. At Alliance Pavers, we bring 25 years of experience to every project, ensuring that your turf installation is handled with the precision and care it deserves. As a family-owned business based in St. Cloud, we understand the local climate and what it takes to build a landscape that lasts.
Whether you are in Orlando, Lake Nona, or The Villages, our team is committed to providing exceptional craftsmanship, on-time delivery, and a stress-free experience that stays on budget. Ready to say goodbye to mowing and hello to a perfect green yard? Transform your outdoor living space today and let us handle the hard part for you.