Patio Paver Repair Made Easy: A DIY Guide
DIY patio paver repair guide: fix sunken pavers, fill gaps & prevent future damage. Restore your patio's beauty and safety today!
Why Your Patio Deserves Better Than Band-Aid Fixes
Patio paver repair doesn't have to mean expensive contractors or living with an eyesore. When pavers sink, shift, or sprout weeds, Central Florida homeowners often think they must either ignore the problem or spend thousands on professional restoration. The good news is that most paver problems are surprisingly fixable with basic tools and a weekend of work.
Quick Answer: Common Patio Paver Repairs You Can DIY:
- Sunken pavers - Remove, add sand base, reinstall
- Loose or wobbly pavers - Reset with proper joint sand
- Wide gaps and weeds - Clean joints, apply polymeric sand
- Minor settling - Level base material and re-lay affected area
- Cracked pavers - Replace individual damaged pieces
The beauty of pavers is their flexibility. Unlike concrete slabs, individual pavers can be lifted, the base corrected, and everything put back like a puzzle piece. As one experienced contractor noted: "Pavers can be repaired in isolated sections without needing to replace the entire patio."
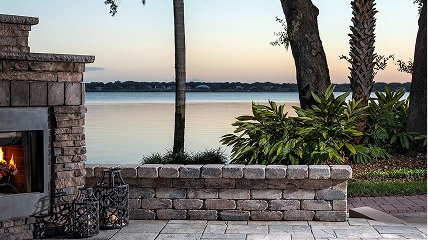
Your outdoor living space is too valuable to let minor issues become major headaches. With the right approach, you can restore your patio's beauty, eliminate tripping hazards, and protect your investment—all while saving significantly on contractor fees.
Understanding Why Pavers Fail: Identifying the Root Cause
Before starting a patio paver repair, it's crucial to understand why your pavers failed. This prevents the problem from recurring. Pavers are designed to be a flexible system, resting on a prepared base of compacted gravel and leveling sand. This allows the patio to move with temperature changes without cracking. When this foundation fails, your patio becomes a bumpy obstacle course.
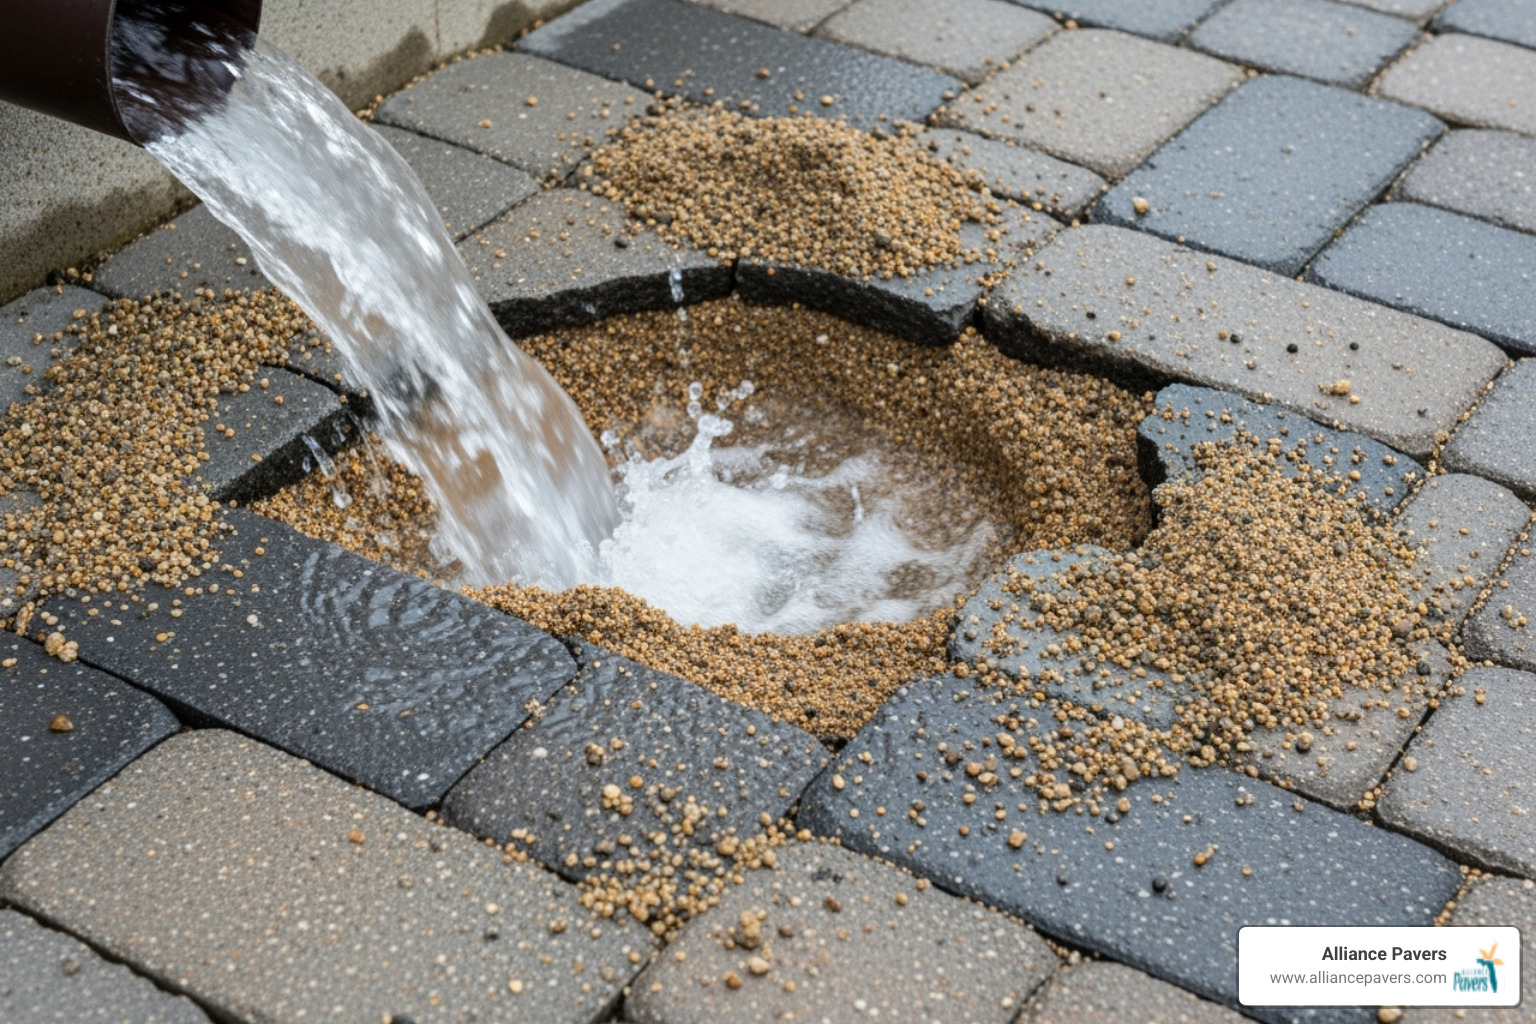
Water is often the biggest troublemaker. Poor drainage from downspouts or improper grading can wash away the sand base. Inadequate base preparation is another common issue. If the original installer skimped on base depth or didn't compact it properly, pavers will eventually sink.
Even in Central Florida, freeze-thaw cycles can cause issues. Water freezes and expands in joints, shifting pavers out of place. Finally, failed edging is like removing the frame from a puzzle; without a solid perimeter, the entire patio can spread outward.
For detailed paver installation standards that professionals follow, check out manufacturer guidelines at Unilock.
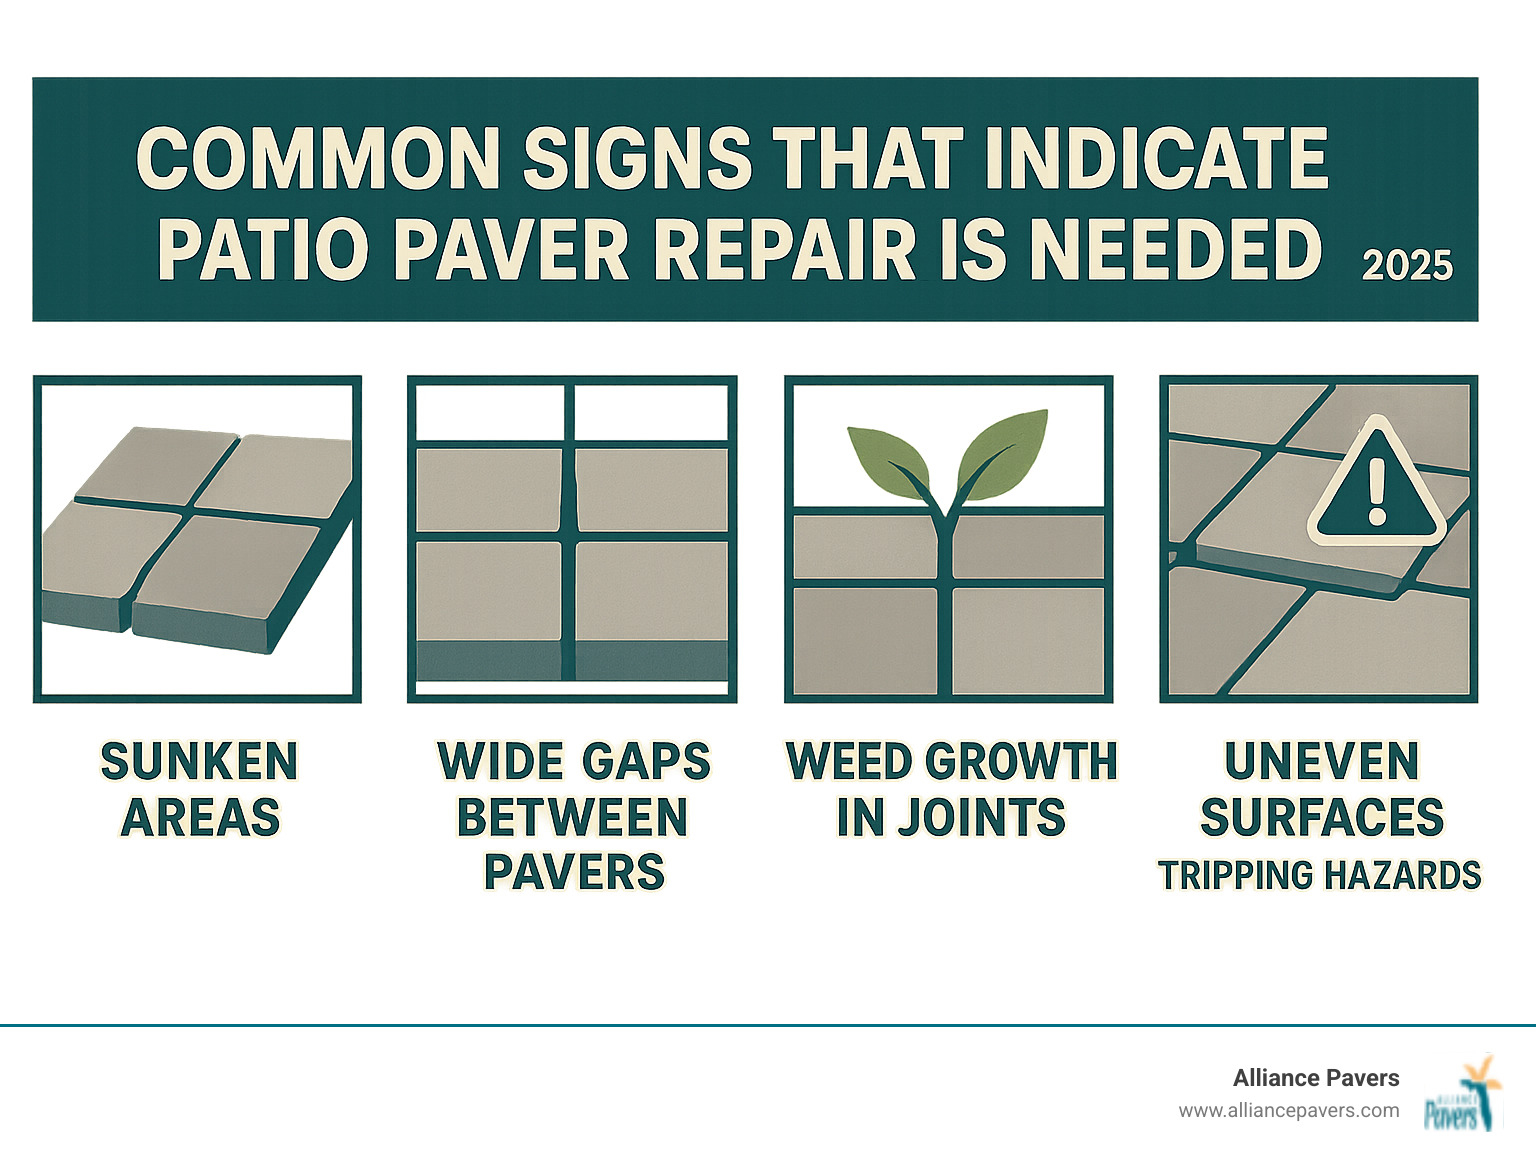
Common Signs Your Patio Needs Repair
Your patio sends distress signals when it needs help. Look for these common signs:
- Wobbly pavers rock when you step on them, indicating the sand base has washed away or settled. They are a significant tripping hazard.
- Sunken or low spots create puddles after rain and show that the base material has washed away or was poorly compacted.
- Wide gaps between pavers mean the joint sand has eroded. These gaps look unsightly and invite weeds.
- Weeds and moss growth signal that your polymeric sand has failed, allowing invaders to take root and push pavers apart.
- Cracked or broken pavers can result from heavy impacts or an unstable base creating stress fractures. The type of damage often depends on your paver material, which you can learn more about in our guide: A Guide to the Different Types of Pavers.
- An uneven surface suggests widespread base issues that need attention.
Diagnosing the Underlying Problem
Effective patio paver repair means treating the cause, not just the symptoms. Here’s how to diagnose the issue:
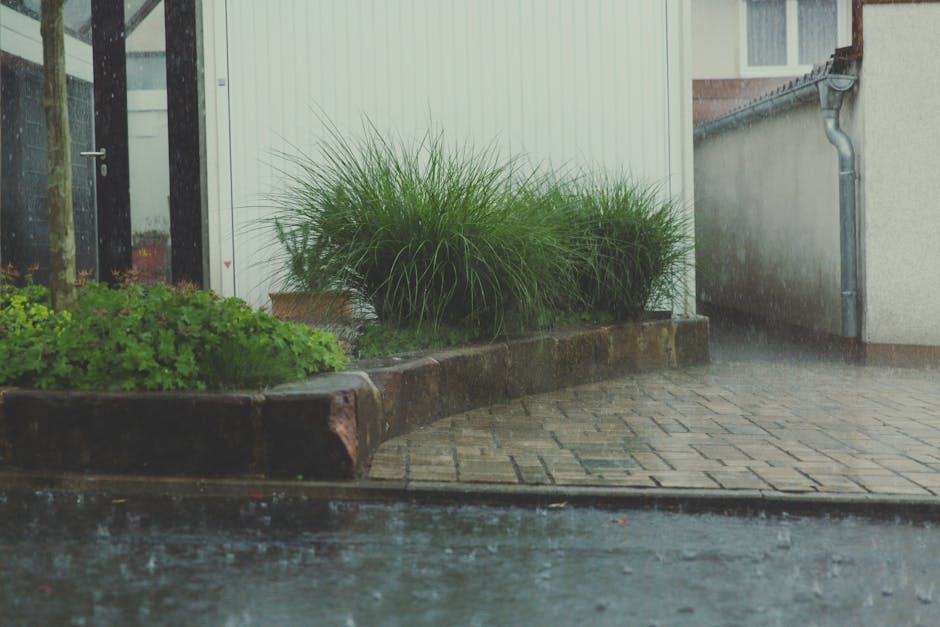
- Check for drainage issues: After a rain, look for pooling water. Are downspouts directed onto the patio? Is the ground sloping toward it? Poor drainage is kryptonite for paver bases.
- Inspect paver edging: Walk the perimeter and look for edging that has shifted or pulled away. If the edging fails, pavers will spread.
- Assess the base material: Carefully lift a paver in a problem area. A proper base has several inches of compacted gravel topped with a thin layer of leveling sand. If the base is shallow or loose, you've found the problem.
- Identify environmental factors: Consider heavy foot traffic, nearby tree roots, or temperature swings that could be affecting the patio.
By diagnosing the root cause, you ensure your repair efforts are a long-term solution. For specific insights about preventing settling issues in our area, check out our article: Preventing Brick Patio Settling in Doctor Phillips.
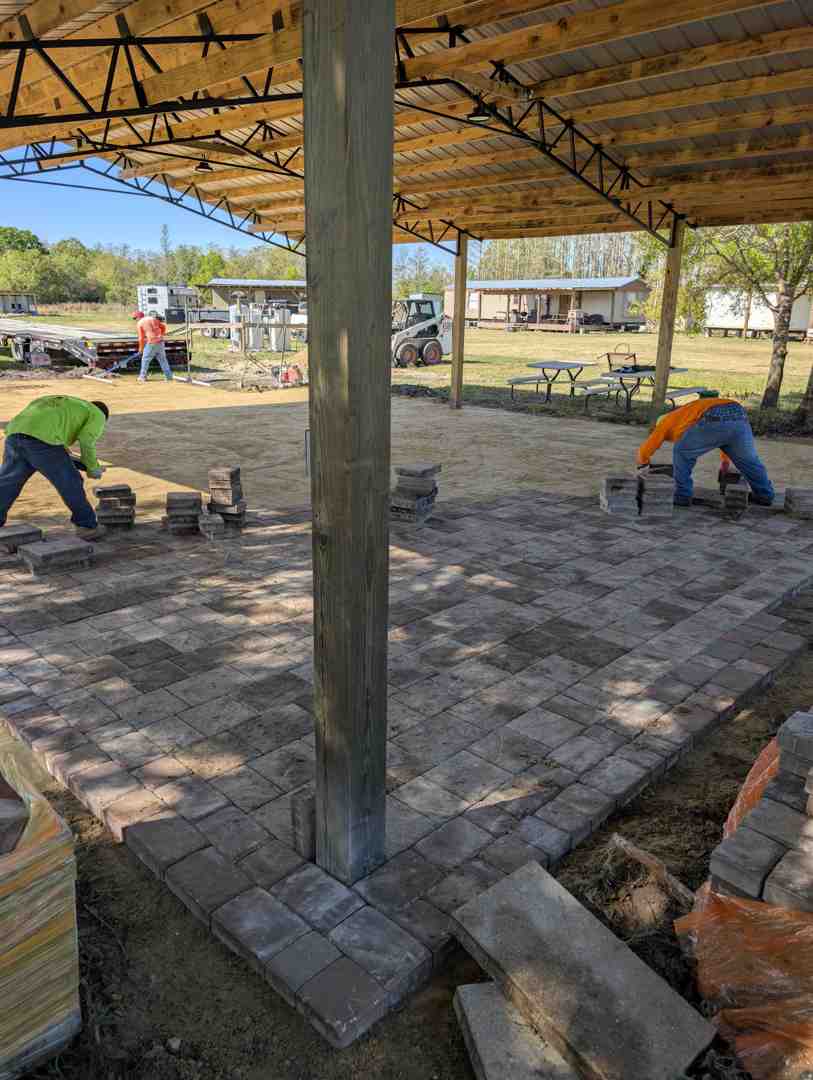
Your Step-by-Step Guide to DIY Patio Paver Repair
It's time to bring your patio back to life. The beauty of patio paver repair is its simplicity. Unlike concrete, pavers are like puzzle pieces that can be lifted, fixed underneath, and reinstalled. Many homeowners can transform their outdoor spaces in a single weekend, saving significantly on contractor fees.

Before you begin, prioritize safety by wearing protective gloves and safety glasses. For a comprehensive understanding of how pavers work, our Paver Installation 101: The Complete Guide for Homeowners provides excellent background knowledge.
Essential Tools and Materials for Patio Paver Repair
Having the right tools makes the job easier. You'll need a pry bar or flathead screwdrivers to lift pavers, a rubber mallet to set them (never a regular hammer), a level, and a shovel. A hand tamper is vital for compacting base materials, and a broom is crucial for sweeping joint sand. You will also need paver sand, crushed stone or paver base, polymeric sand, and a few replacement pavers.
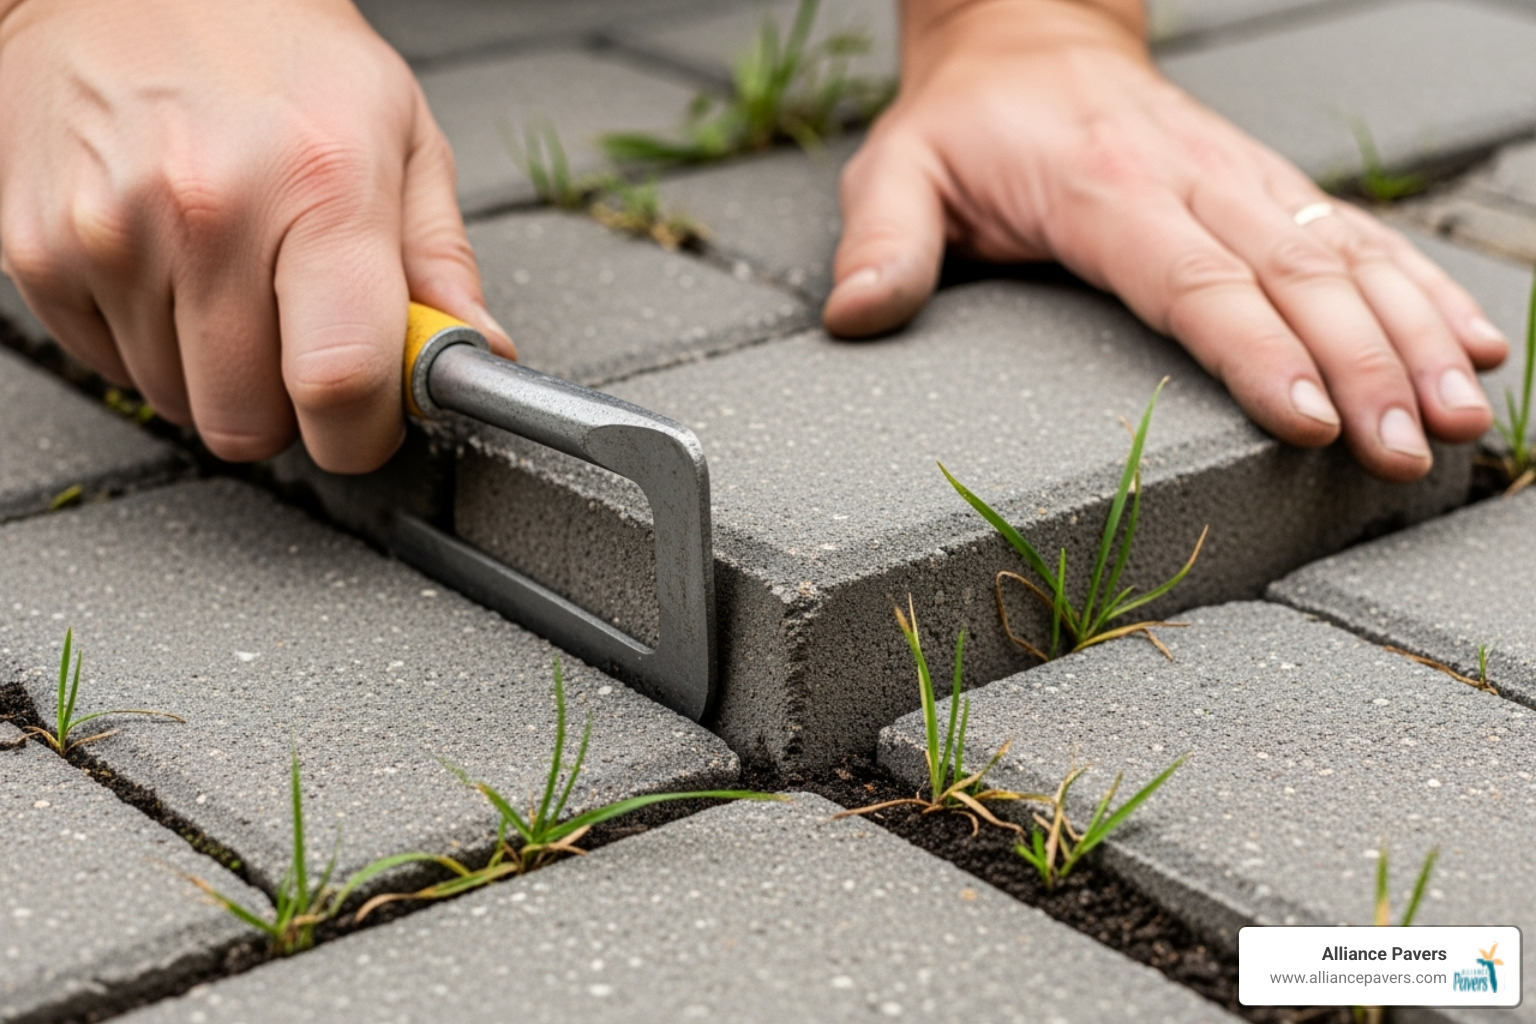
Step 1: Removing the Damaged Pavers
First, identify and mark the pavers that need attention. Loosen the surrounding joint sand, using a light spray of water if it's packed hard. Gently work your pry bar into the joints to lift each paver, working from multiple sides to avoid chipping. Clean any dirt off the removed pavers and stack them neatly in the order you removed them. This simplifies reinstallation. For detailed guidance, see our guide: How to Fix a Loose Paver.
Step 2: Rebuilding and Leveling the Base
This step is critical for a lasting repair. Clear the exposed area of old sand and debris. If the underlying gravel base has holes or soft spots, address them now. Add fresh paver base material as needed, compacting it in 2-3 inch layers with your hand tamper for a solid foundation.
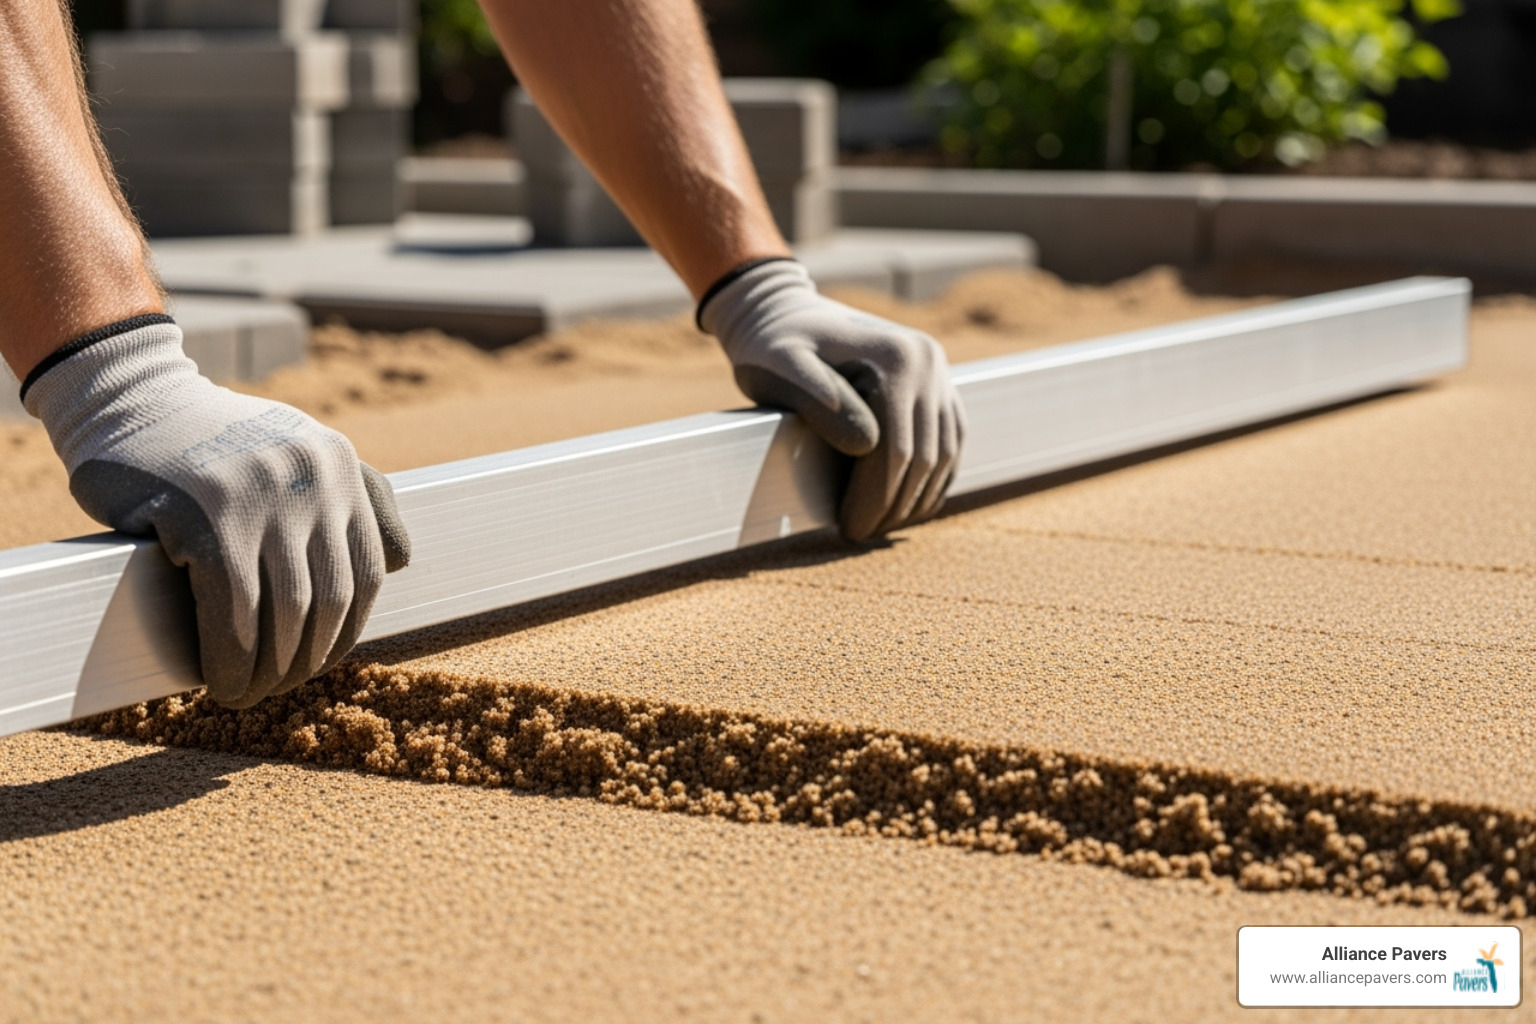
Next, spread about one inch of leveling sand. Use a straight 2x4 as a screed, dragging it across the sand to create a perfectly smooth surface. Ensure you maintain a proper drainage slope of about a quarter-inch drop per foot, away from your house.
Step 3: Reinstalling the Pavers and Finishing Touches
Carefully place each paver back into position, lowering it gently onto the sand bed. Tap each paver with your rubber mallet to settle it, checking frequently with your level to ensure a flush surface. Fill all joints generously with your chosen sand. If using polymeric sand, which we highly recommend, follow the manufacturer's instructions carefully. The final step is to gently mist the area with water to activate the polymers, which will bind the pavers together. Get this right, and your joints will stay put for years.
For area-specific techniques, our article Fixing Loose Patio Pavers in Doctor Phillips offers valuable insights.
Step back and admire your work—you've just completed a professional-quality patio paver repair!
Advanced Care: Sealing, Sanding, and Long-Term Prevention
After completing your patio paver repair, ongoing maintenance is the secret to keeping it looking great. A little care prevents minor issues from becoming major reconstruction projects.
The Critical Role of Polymeric Sand
Polymeric sand is a transformative product for paver longevity. When activated with water, it hardens into a flexible bond that solves multiple problems. It locks pavers together, preventing movement that leads to wobbling and gaps. This hardened barrier also inhibits weed growth and prevents insect infestation by blocking access to the soil beneath. Crucially, polymeric sand resists erosion from rain and power washing, keeping joints filled and pavers stable.
Application is straightforward: sweep the sand into the joints, then gently mist the area with water to activate the binding agents. Allow it to fully cure according to the manufacturer's instructions before resuming heavy use.
Sealing Your Pavers for Protection and Beauty
Sealing pavers is like applying sunscreen and a beauty treatment at once. It provides significant benefits:
- Stain Resistance: A protective barrier makes cleaning up spills from wine, oil, or food much easier.
- UV Protection: In Florida's intense sun, sealers prevent pavers from fading and deteriorating.
- Color Improvement: Sealers, especially "wet look" varieties, enrich the natural tones of your pavers, making them look vibrant.
- Moisture Protection: By reducing water absorption, sealers minimize damage from expansion and contraction during temperature changes.
Water-based sealers are eco-friendly and easy to apply, while solvent-based options offer deeper penetration. Plan to clean and seal your patio every three to five years. For cleaning tips, see our article on Removing Tough Stains From Pavers Sanford.
Best Practices for Preventing Future Damage
The best patio paver repair is the one you never have to do. Follow these simple habits:
- Regular Cleaning: A weekly sweep or blow removes debris that holds moisture and encourages weed growth. A gentle annual power wash can remove grime.
- Maintain Joint Sand: Each spring, inspect your patio and fill any low spots in the joints with polymeric sand. This 20-minute task prevents costly future repairs.
- Ensure Proper Drainage: Your patio should always slope away from your house (a quarter-inch per foot is ideal). Adjust sprinklers to avoid spraying directly on pavers.
- Repair Edging Promptly: The edging holds your patio together. Check it regularly and fix any damage to prevent pavers from spreading. For ideas, explore our Paver Edging Ideas.
- Perform Seasonal Inspections: After heavy storms or weather changes, walk your patio to check for any new wobbles or settling. Catching issues early makes repairs simpler.
Repair or Replace? Making the Right Choice
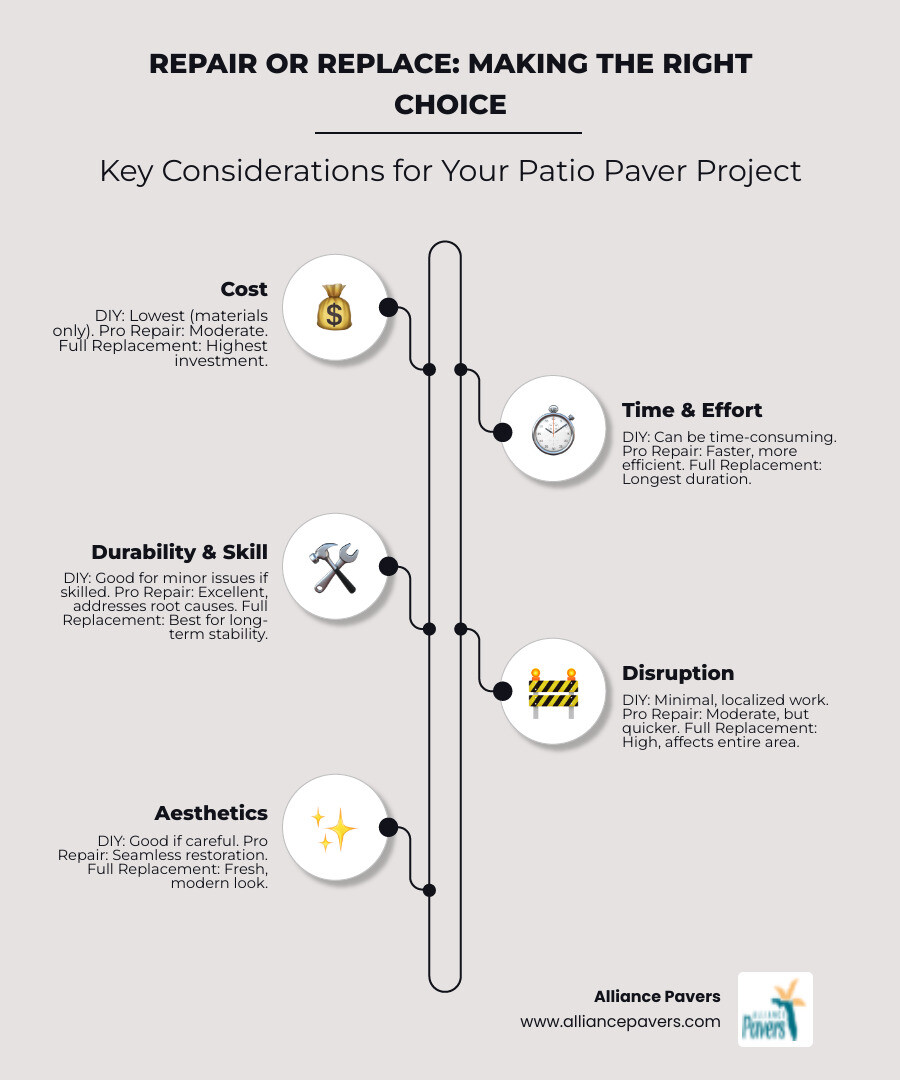
After assessing your patio, you must decide: tackle a patio paver repair yourself, call a professional, or opt for a complete replacement? The right choice depends on the extent of the damage, your budget, and your comfort with DIY projects. The good news is that most paver issues don't require a complete overhaul.
FactorDIY RepairProfessional RepairFull ReplacementCostLowest (materials only)ModerateHighestTimeVaries (can be time-consuming for DIY)Faster, more efficientLongest (installation time + curing)Skill RequiredBasic to IntermediateExpert (experienced crew)Expert (complex project management)ToolsBasic hand tools + tamper (possibly rental)Specialized equipmentHeavy machinery + specialized toolsDurabilityGood for minor issues, depends on DIY skillExcellent, addresses underlying issuesExcellent (new base, new materials)AestheticsGood (if done carefully)Excellent (seamless restoration)Excellent (fresh, modern look)DisruptionMinimal (localized work)Moderate (localized, but faster)High (entire area affected)WarrantyNoneOften comes with a guaranteeTypically includes a warranty
Benefits of Repairing Over Replacing
For most common paver problems, patio paver repair is the clear winner. The benefits are significant:
- Cost Savings: Fixing a section of pavers costs a fraction of a full replacement.
- Convenience: Repairs are localized, so you can fix a problem area without turning your entire backyard into a construction zone.
- Environmentally Friendly: Reusing existing pavers reduces waste and the demand for new materials.
- Preserves Aesthetics: Repair allows you to maintain your patio's original charm. Repaired areas can blend seamlessly, unlike patches in concrete.
- Quick Solution: Small repairs can often be completed in a weekend, quickly restoring safety and beauty.
When to Call a Pro for Patio Paver Repair
While DIY is great, some situations require a professional for patio paver repair.
- Widespread Sinking or Major Base Failure: If large sections are sinking, a professional has the heavy equipment and expertise to properly rebuild the foundation.
- Retaining Wall Problems: If your patio connects to a failing retaining wall, this is a structural issue that requires an expert.
- Lack of Time or Tools: If you lack the time, tools, or confidence, a professional provides peace of mind and a guaranteed result.
Professionals can diagnose complex problems and provide durable, beautiful solutions. The longer a repair is neglected, the more damage occurs to the underlying structure, increasing the final cost. If you're in the Orlando area and need expert help, we offer comprehensive Paver Repair Orlando FL services.
Frequently Asked Questions about Paver Repair
Here are answers to the most common questions we hear about patio paver repair.
What is the typical lifespan of a paver patio?
A properly installed and maintained paver patio can easily last 25-50 years or more. The key factors are the quality of the initial installation (especially base preparation), proper drainage, and consistent maintenance like refilling joint sand and sealing. With proper care, it's a lifetime investment.
Can I repair just one section of my paver patio?
Absolutely. This is a major advantage of pavers. You can remove only the affected pavers, fix the base beneath them, and reinstall them without disturbing the rest of the patio. This spot-repair capability makes patio paver repair convenient and budget-friendly.
How often should I seal my paver patio?
The general rule is every 3 to 5 years. However, this can vary. Florida's intense climate and heavy foot traffic can wear down sealers faster. The type of sealer also matters. A simple test: if water no longer beads up on the surface and instead soaks in, it's time for a fresh coat.
Restore Your Patio and Your Peace of Mind
Stepping onto a perfectly level, beautiful patio should be a source of joy, not stress. Whether you tackle the patio paver repair yourself or hire a professional, taking action is what matters.
Completing a DIY repair brings a deep sense of accomplishment and pride. A well-maintained patio also significantly improves your curb appeal and home value. Most importantly, it restores safety and functionality to your outdoor space, eliminating tripping hazards and creating a welcoming place for family and friends.
Addressing small issues early prevents them from becoming costly major repairs down the road. Think of it as preventive medicine for your outdoor living space.
Sometimes, however, the scope of the damage is best left to experts. Alliance Pavers expertise means you don't have to go it alone. As a family-owned company with 25 years of experience in St. Cloud, FL, we understand Central Florida's unique challenges. We handle everything from diagnosis to final sealing, delivering a stress-free, on-time, on-budget experience.
Whether you choose the DIY route or decide professional help is right for you, the goal is to restore your patio and your peace of mind.
Ready to explore your options? Get a professional assessment for your hardscaping project and let's discuss how we can restore your confidence in your outdoor living space.