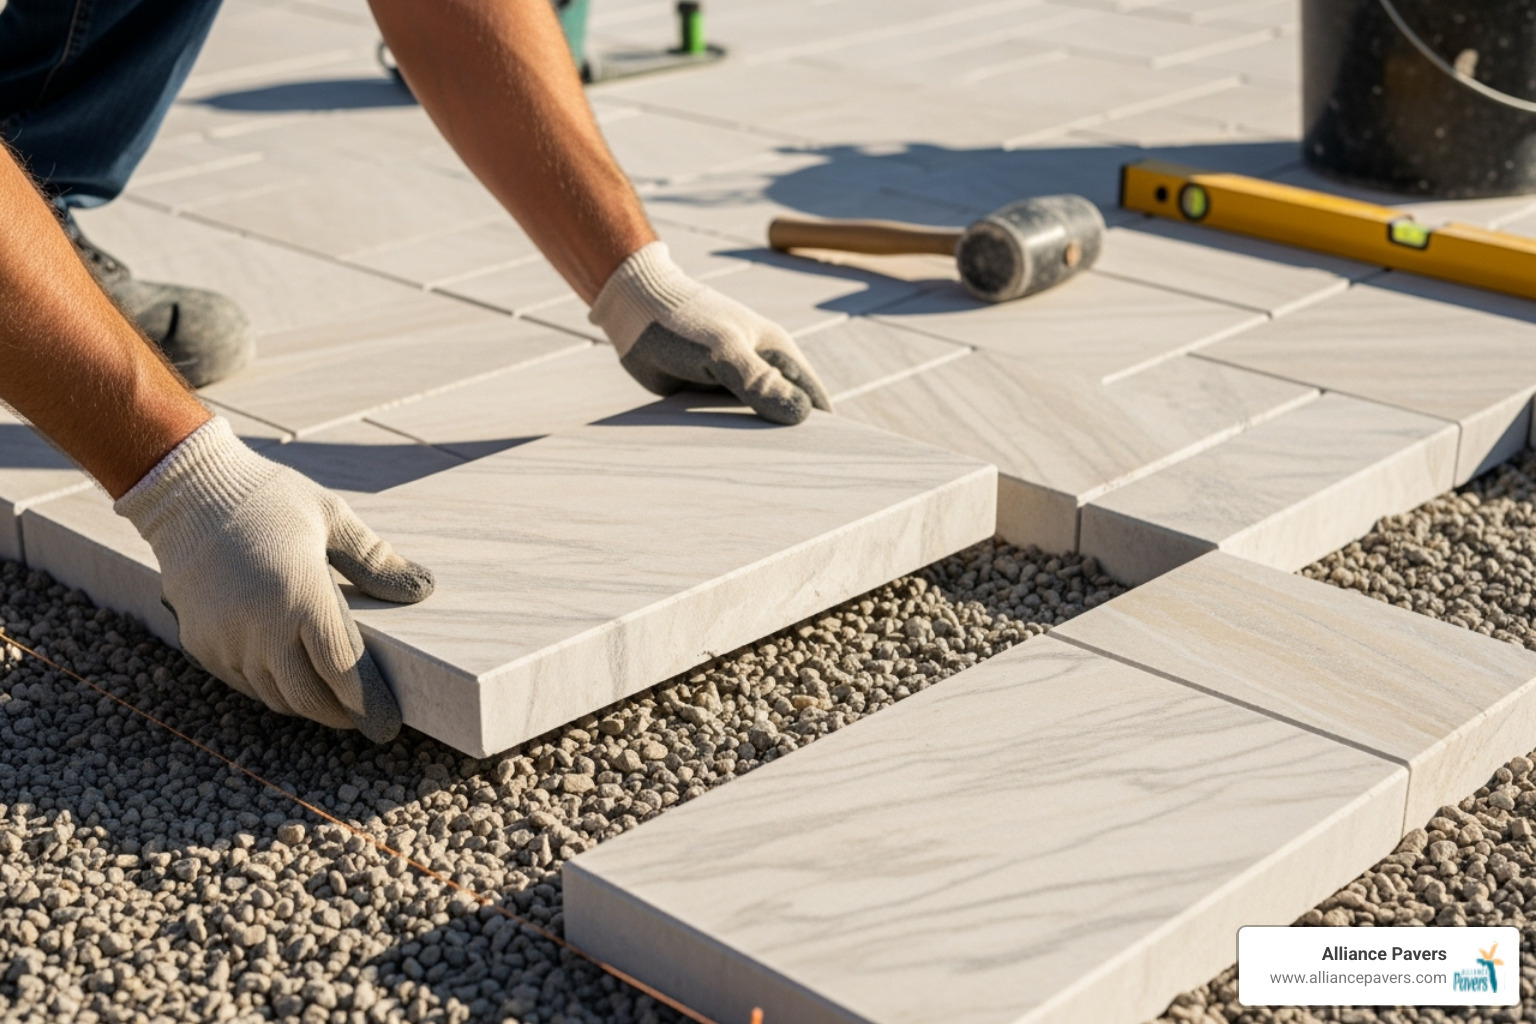
Why Marble Pavers Are the Perfect Choice for Your Outdoor Space
Marble Paver Installation transforms outdoor areas into stunning spaces that combine timeless elegance with lasting durability. With their unique veining and sophisticated appearance, these natural stone pavers are ideal for patios, pool decks, and walkways.
Quick Installation Overview:
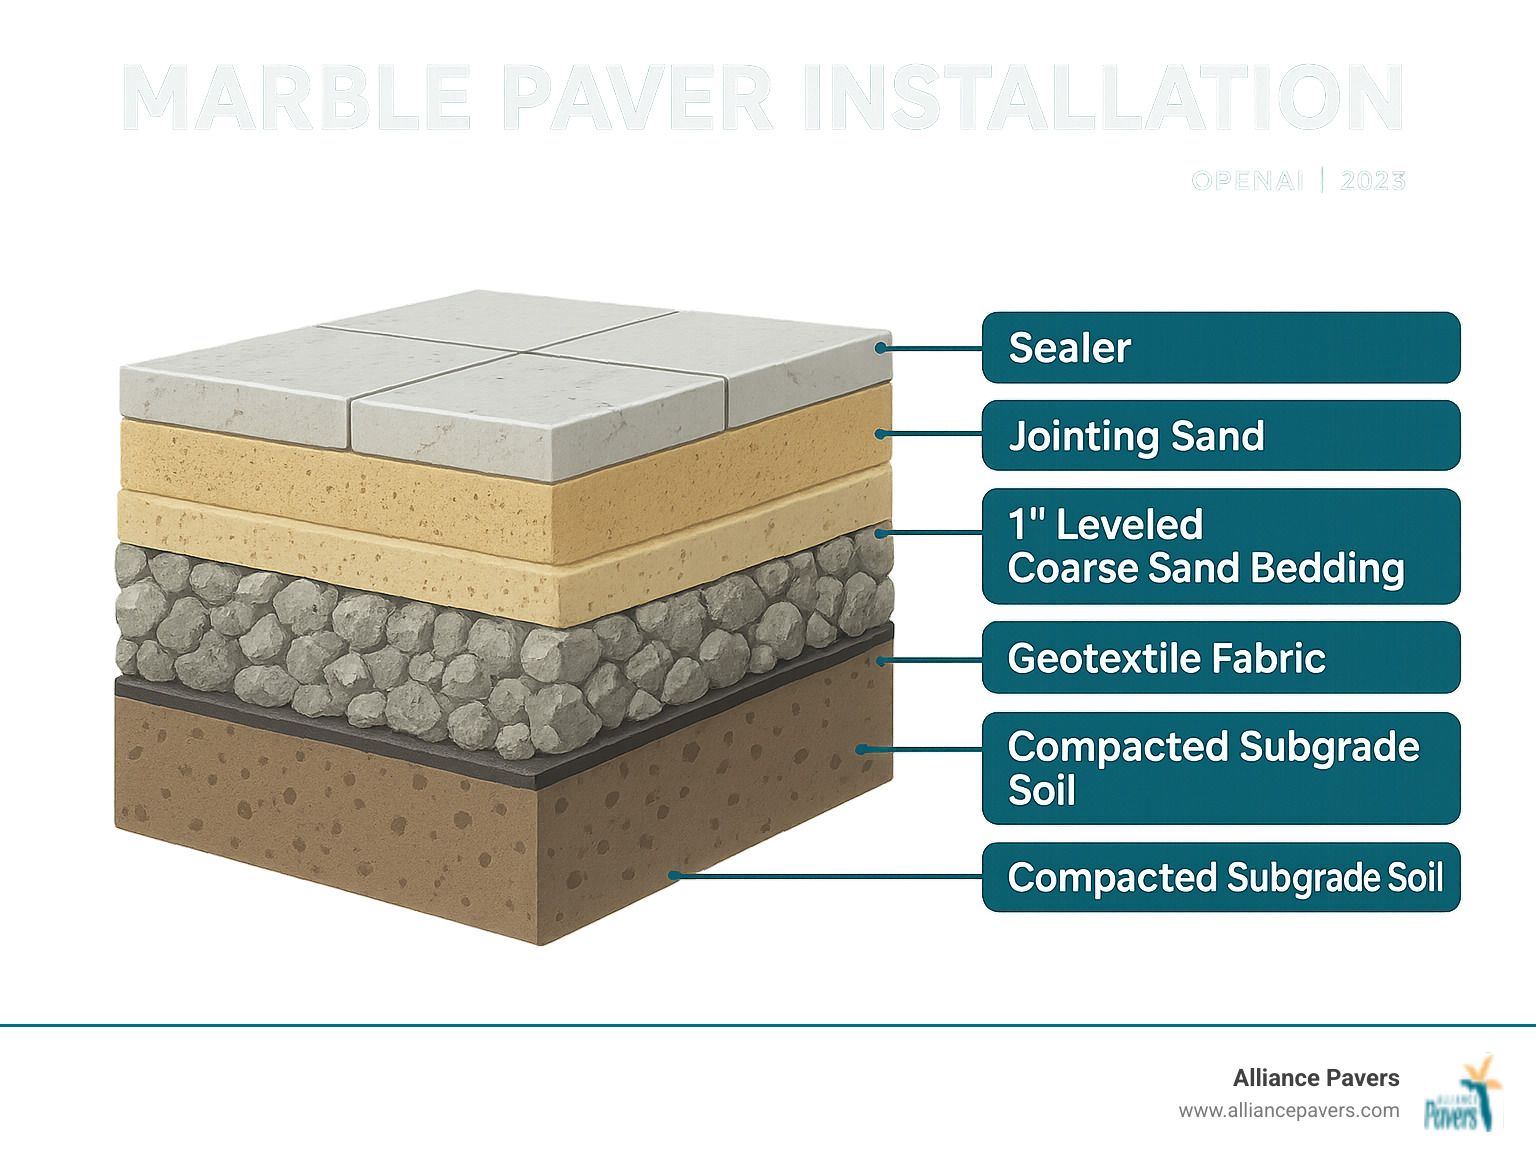
- Site preparation: Excavate 7-9 inches deep (base + sand + paver thickness)
- Base layer: Install 4-6 inches of crushed gravel, compact in layers
- Sand bedding: Spread and level 1 inch of coarse sand
- Paver placement: Lay pavers with consistent 1/8 inch joints
- Finishing: Fill joints with sand, compact, and seal for protection
Marble pavers offer exceptional durability, withstanding heavy foot traffic and extreme weather. Their dense composition resists chips, cracks, and fading, providing a long-lasting solution. The natural resistance to saltwater makes marble ideal for pool areas, and non-slip surface options ensure safety. With proper installation, these pavers can last 50-100 years with minimal upkeep.
Beyond durability, marble pavers add significant property value by improving curb appeal with a touch of luxury. The installation process requires careful base preparation and alignment. Due to the weight of marble (up to 22 lbs per square foot) and the complexity of the work, professional installation is often recommended to ensure quality results.
Essential Prep Work: Tools, Materials, and Site Planning
Proper preparation is the key to a successful Marble Paver Installation. A well-executed plan, from site assessment to material calculation, prevents common issues and ensures a beautiful, lasting result. Before starting, assess your space for slopes, drainage, and underground utilities. Your design should complement your home's architecture and lifestyle needs.
When calculating materials, order 10% extra pavers for cuts and breakage. For help choosing the right pavers, see A Guide to the Different Types of Pavers. Always prioritize safety by wearing safety glasses and hearing protection when using power tools.
Essential Tools and Materials
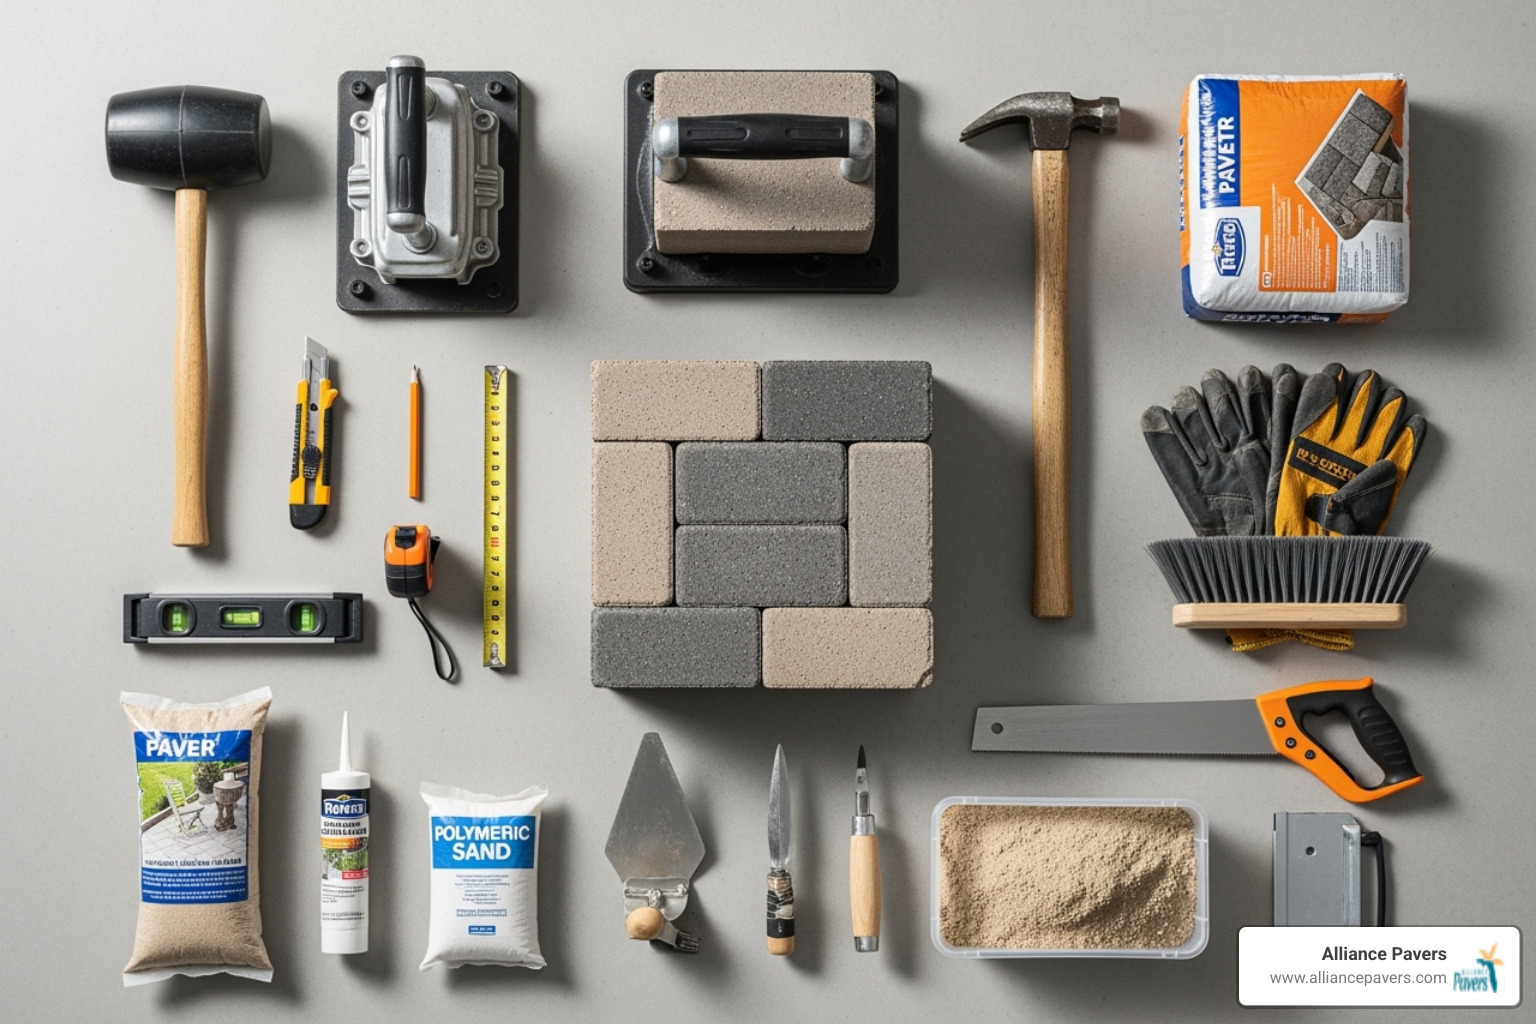
Gathering the right tools and materials is critical. For tools, you will need a shovel, rake, wheelbarrow, level, rubber mallet, plate compactor (with a protective pad for marble), masonry saw with a diamond blade, tape measure, stakes, and a string line. Finishing tools include a push broom and a garden hose.
Your primary materials are the marble pavers. The supporting materials are just as important: crushed gravel (e.g., 3/4 minus) for a stable base, coarse sand for the bedding layer, edge restraints to prevent shifting, jointing sand to fill gaps, and paver sealer for protection.
Preparing the Installation Site
Site preparation begins with marking your layout using stakes and string lines, extending about eight inches beyond the final paved area. Ensure your layout is square.
Excavation depth is the sum of your base material (4-6 inches), sand bedding (1 inch), and paver thickness, typically totaling 7-9 inches for patios. Heavier traffic areas may require a deeper base.
Proper slope is critical for drainage. Plan for a slope of 1/4 inch per foot, falling away from your house. Use string lines and a level to maintain this grade throughout the project. For more on drainage, see Proper Stone Patio Drainage Doctor Phillips.
Before any digging, call utility services to mark buried lines. In the U.S., call 811 before you dig. This free service is essential for safety.
Finally, compact the subgrade (the native soil) with a plate compactor. A solid subgrade prevents future settling. For problematic soil, consider adding geotextile fabric for extra stability.
The Step-by-Step Marble Paver Installation Guide
With the site prepped, it's time to build the foundation and lay the marble pavers. This phase transforms your space, turning careful planning into a beautiful, functional outdoor area.
Preparing the Base Layers: Gravel and Sand
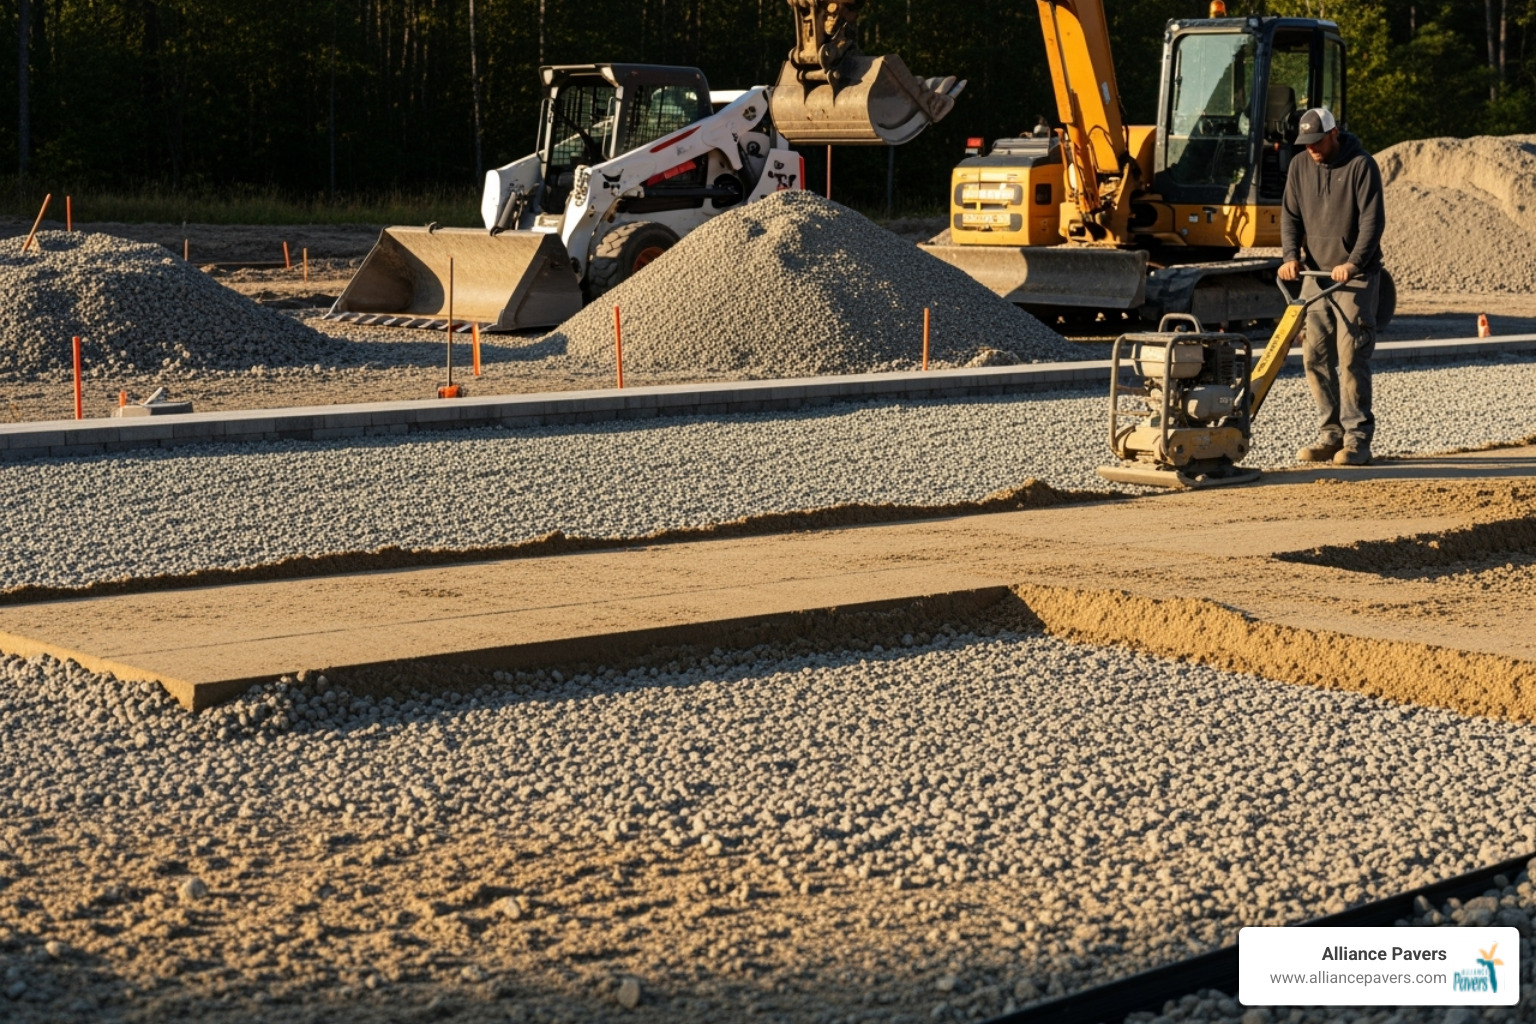
A solid base is essential for a durable Marble Paver Installation. First, install a 4-6 inch gravel base of crushed stone over the compacted subgrade. For driveways or high-load areas, the base may need to be 10-12 inches deep.
Compact the base in layers (or "lifts") of no more than 4 inches at a time. Run a plate compactor over each layer multiple times to eliminate air pockets and prevent future settling. Lightly misting the gravel can improve compaction.
Once the gravel base is solid and sloped correctly, spread a 1-inch layer of coarse sand. This bedding sand creates a smooth, cushioned surface for the pavers. To achieve a perfectly level surface, screed the sand using two 1-inch diameter PVC pipes as guides. Lay the pipes parallel, spread sand between them, and drag a straight 2x4 board across the pipes to level the sand. After removing the pipes and filling the grooves, the sand bed is ready. Avoid walking on the screeded sand.
Your Guide to a Flawless Marble Paver Installation and Alignment
This is where the visual change happens. Start from a corner or a fixed straight edge to establish a baseline for straight lines and consistent spacing.
Lay pavers in the desired pattern, placing each paver directly onto the sand bed without dragging it. Work from the already laid pavers to avoid disturbing the sand.
Keep joints consistent at 1/8 inch. These gaps are crucial for the jointing sand to lock the pavers together. Use plastic spacers if the pavers don't have built-in spacer lugs.
Tap pavers into place with a rubber mallet to set them firmly in the sand and ensure they are level with their neighbors. Use a level continuously to check your work.
Cut pavers for edges with a masonry saw when you reach the perimeter or obstacles. Use a wet saw with a diamond blade for clean, precise cuts, and always wear safety gear.
How Marble Paver Installation Differs on Concrete or Mortar
Installing marble pavers over concrete or mortar is an alternative to a sand-set base, offering extra rigidity for applications like driveways or pool decks.
Mortar Bed Installation: This method creates a permanent bond. A mortar mix (typically 3 parts sand to 1 part Portland cement) is spread 3/4 to 1 1/4 inches thick over a prepared sub-base or concrete slab. Each paver is set into the wet mortar, tapped level, and any excess mortar is cleaned off immediately. This method requires a curing time of at least 5 days.
Thin-Set Adhesive on Concrete: This works well over an existing, structurally sound concrete slab. The surface must be clean and level. A specialized thin-set adhesive for natural stone is applied in small sections, and pavers are pressed firmly into place with consistent joints. Proper drainage is still key, as detailed in Proper Stone Patio Drainage Doctor Phillips.
Finishing, Sealing, and Long-Term Maintenance
The final steps of your Marble Paver Installation—filling joints, compacting, and sealing—are crucial for the longevity and beauty of your new outdoor space.
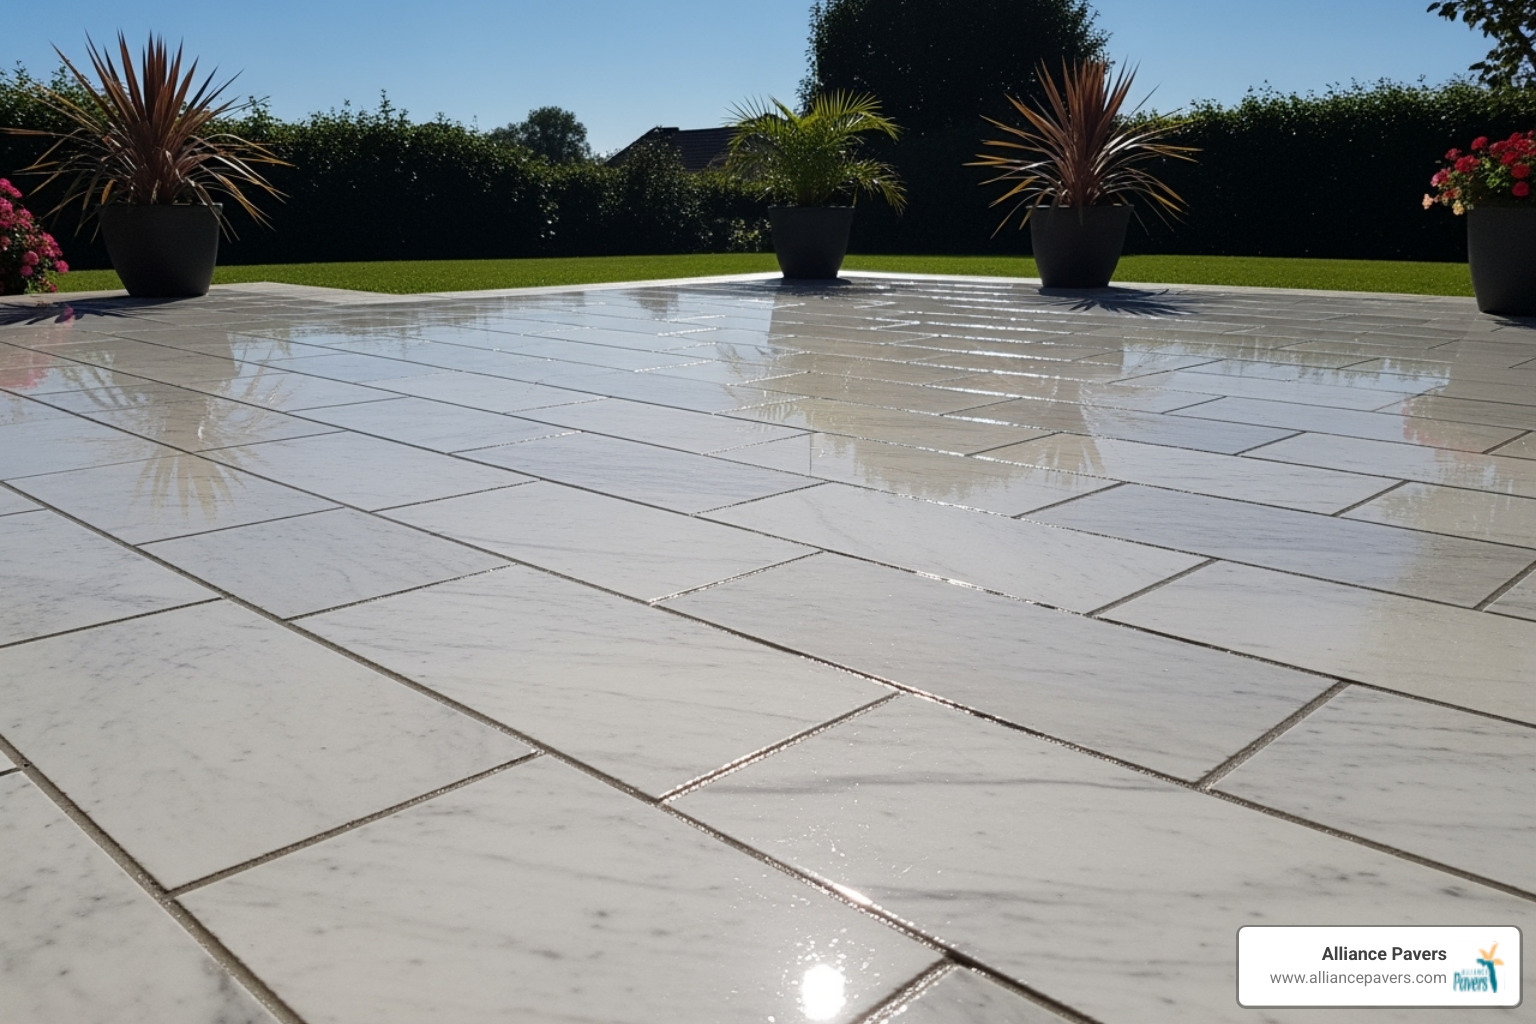
Filling Joints and Compacting Your New Pavers
This phase locks the pavers into a solid, interconnected surface. For choosing joint sand, you have two main options: traditional fine-grained masonry sand or polymeric sand. Polymeric sand, like DYNA Optimatrix, contains a binder that hardens when wet, helping to prevent weed growth and sand washout. However, it requires careful application to work correctly.
Sweep sand into the joints using a stiff push broom until all gaps are completely filled. Then, use a plate compactor with a protective pad to settle the pavers and vibrate the sand deep into the joints. The protective pad is essential to prevent scratching the marble. Apply a final layer of sand, sweep it in, and compact again. If using polymeric sand, activate it with a gentle mist of water according to the manufacturer's instructions.
Sealing Marble Pavers for Protection and Longevity
Sealing is a vital protective step. The benefits of sealing include improved stain resistance, color improvement, and an added layer of durability against weathering and UV rays. For more tips, see Preventing Stone Patio Cracks in St. Cloud.
When to seal: Seal after the installation is complete and the pavers and jointing sand are completely dry and cured.
Application process: Apply sealer with a roller or sprayer in an even coat, following the manufacturer's directions. Always test on a small, inconspicuous area first. Plan on resealing every 3 to 5 years to maintain protection, depending on traffic and weather exposure.
Essential Maintenance and Repair Tips
Ongoing care will keep your marble pavers looking spectacular.
- Regular Cleaning: Sweep or blow off debris regularly. For deeper cleaning, use a mild, pH-neutral cleaner designed for natural stone. Avoid acidic or abrasive cleaners.
- Cleaning Sandblasted Marble: Use a soft-bristle brush with mild detergent and warm water, then rinse thoroughly.
- Avoid Harsh Methods: High-pressure washing can damage marble and dislodge jointing sand. If you must use a pressure washer, use a low PSI setting and a wide-angle nozzle from a distance.
- Addressing Common Issues: Clean spills immediately to prevent stains. If a paver becomes loose, it can usually be fixed by re-leveling the sand beneath it. For detailed instructions, see How to Fix a Loose Paver. Control weeds by hand-pulling or using a stone-safe herbicide.
Frequently Asked Questions about Marble Pavers
Here are answers to some of the most common questions we receive about Marble Paver Installation.
Are marble pavers slippery when wet?
This is a common concern, especially for pool decks. While any wet surface can be slippery, the finish of the marble is key. Polished marble, often used indoors, can be slick. However, outdoor pavers typically feature textured finishes like tumbled, honed, or sandblasted surfaces, which provide significantly better traction.
Additionally, non-slip sealants can be applied to increase surface friction. Most importantly, a proper Marble Paver Installation includes a slight slope for drainage, preventing water from pooling and creating a slipping hazard.
How durable are marble pavers?
Marble is exceptionally durable due to its high density. This makes it highly resistant to weather and heavy foot traffic, capable of handling Florida's climate and active use. With proper installation and basic maintenance, marble pavers can last 50 to 100 years.
Compared to other materials, marble offers a unique combination of strength and timeless elegance that doesn't fade over time. It also has excellent saltwater resistance, making it a superior choice for saltwater pool decks.
How do interior design choices influence the selection of marble pavers?
Your interior design should guide your paver selection to create a seamless flow between indoor and outdoor living areas. The goal is to make your patio or pool deck feel like a natural extension of your home.
Color and veining selection is crucial for matching outdoor spaces with indoor aesthetics. For example, Carrara marble with its soft gray veins complements modern homes with cool tones, while cream or beige marble varieties suit interiors with warmer, traditional earth tones. By coordinating these elements, you create a cohesive and integrated living environment.
Transform Your Outdoor Space with a Flawless Installation
We've covered the essential steps of a Marble Paver Installation, from site prep and base layering to paver placement and sealing. When done correctly, the result is a spectacular outdoor space built to last.
Choosing marble pavers is an investment in timeless beauty, exceptional durability, and increased property value. Proper installation is the key to open uping these benefits, ensuring your patio or pool deck will last for 50 to 100 years.
While a DIY approach is admirable, installing marble pavers presents unique challenges, including the weight of the stone (up to 22 pounds per square foot) and the technical skill required for base compaction and drainage. Professional installation ensures these complexities are handled correctly.
As a family-owned business with 25 years of experience in St. Cloud, we understand that your project is about creating a space for memories. We specialize in turning backyard dreams into reality with craftsmanship that harmonizes form and function.
If you're ready to transform your property with a professional Marble Paver Installation, we're here to help. For a stress-free experience that brings your vision to life, explore our paver installation services in St. Cloud, FL.
Recent Posts
Smart Edges, Small Spends: Creative & Cheap Paver Edging Ideas
DIY Railroad Tie Retaining Wall: A Project You Can Tackle
Customer Testimonials
Hear what our satisfied customers have to say about the quality, reliability, and personal touch that set us apart.
Ready to Transform Your Home?


