Leveling Techniques for Brick Patio Installation
Learn how proper leveling during brick patio installation in Doctor Phillips prevents shifting, improves drainage, and supports long-term stability.
Uneven patios don’t just affect appearances—they create trip hazards, promote water pooling, and lead to long-term damage. Homeowners in Doctor Phillips who want to build or replace a brick patio often run into problems when the ground isn’t leveled correctly from the beginning. Without a solid, level start, the entire build can become unstable over time. Poor leveling leads to bricks shifting, wobbling, and cracking, which only adds to your maintenance list and repair costs later.
If you’ve ever walked across a patio where one side dips lower than the other or bricks seem to tilt or rock underfoot, chances are the installation skipped a few important steps. Leveling needs to happen before the first brick is laid, and it isn’t just about looks—it supports everything from drainage to durability. Whether it’s a backyard gathering space or a quiet patio retreat, the foundation determines how well everything holds up.
Understanding the Ground Preparation
Every solid patio project begins with inspecting and prepping the ground. It's not enough to clear the surface and start laying bricks. You need a strong, compacted base underneath to support the structure for years to come. This means removing debris, starting with a clean slate, and fully understanding what kind of soil you’re working with.
In areas like Doctor Phillips, sandy soils are common, which can shift or sink if not properly stabilized before construction. Getting the area level isn’t just a visual win—it’s part of making sure your patio won’t buckle or settle unevenly when it rains or with regular use. Prepping the area the right way helps prevent those long-term problems you’ll end up having to fix later.
Here’s what a proper ground prep process should include:
- Mark the patio layout and verify that the shape and dimensions meet your needs.
- Remove existing grass, rocks, and any debris covering the space.
- Excavate the ground a few inches deeper than the final patio level to account for the base layers.
- Grade the soil to reflect a slight slope away from structures for water drainage.
- Compact the subsoil using a plate compactor to create a solid base.
- Lay a geotextile fabric if needed to reduce weed growth and improve ground stability.
Skipping steps—especially compaction—often leaves gaps or soft spots under the patio. These weak areas become problem zones where bricks sink or wiggle loose a few months after the project is complete. If you’re aiming for longevity, pay close attention to how the ground is prepped before anything else happens.
Leveling Tools And Equipment
Tool selection can make or break the precision of your brick patio installation in Doctor Phillips. Accurate leveling tools and basic equipment might seem simple, but each plays a clear role in keeping the surface aligned and supported well.
The most common mistake homeowners make is depending on the naked eye to spot uneven sections. Even minor dips or bumps can become obvious once the bricks are in place. Luckily, using the right tools early in the project can prevent future problems such as uneven edges, loose bricks, or drainage failures.
Here are some tools most commonly used for leveling work:
- Long-handled shovels: Used to dig out soil and shape the area during excavation.
- Rakes: Helpful for evenly distributing base material like crushed stone and sand.
- Plate compactor: No leveling job is complete without a compactor that flattens and strengthens the soil and base layers.
- Screed board: A straight board or aluminum bar dragged across guide rails to ensure a level sand surface before laying bricks.
- 4-foot or 6-foot level: Checks accuracy as you go, making sure that both sand and bricks stay flat.
- Mason’s line and stakes: Help lay out consistent height reference points throughout larger patios.
Sometimes simple tools are the most effective when combined with care and patience. Using proper equipment during the building process doesn’t just make it easier—it helps the entire patio last longer without shifting underfoot. Taking shortcuts here could lead to repair work shortly after the job’s complete.
Techniques For Achieving A Perfectly Level Patio
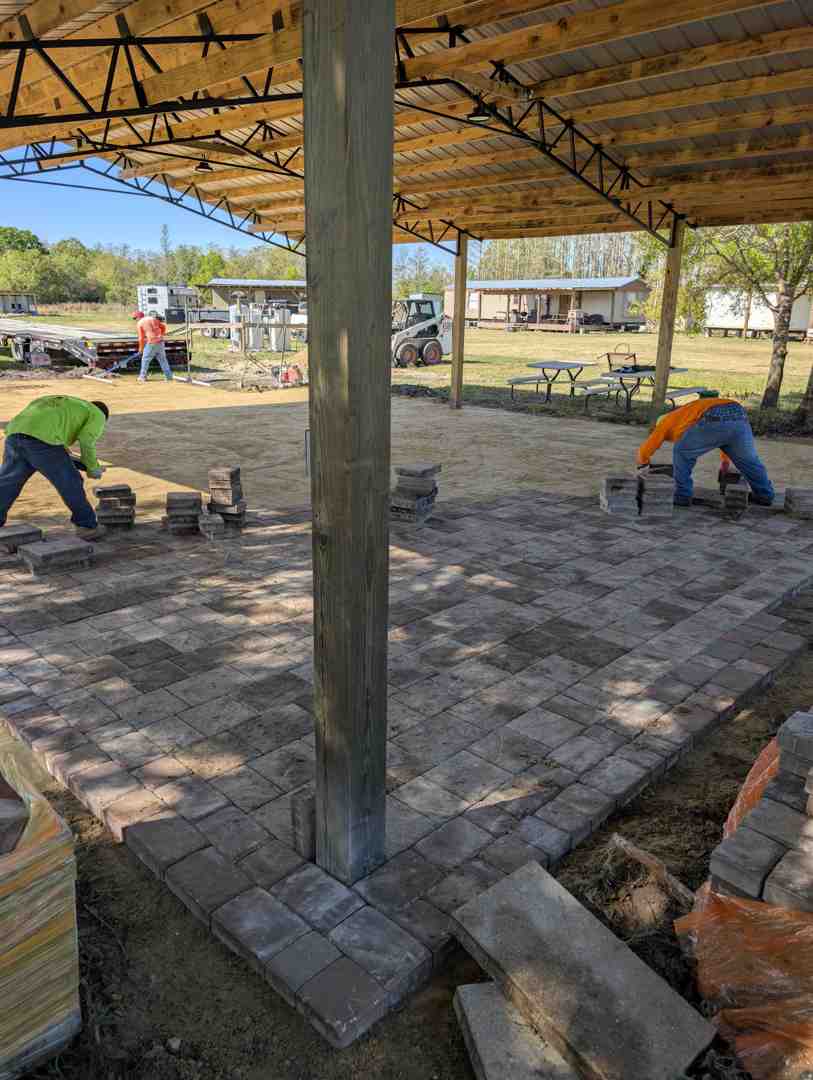
Even with the right tools and prep, it’s the actual leveling technique that determines how smooth, sturdy, and aligned the surface turns out. For homeowners in Doctor Phillips, missed steps during this stage often result in pavers that shift out of place or collect water in uneven spots. A good base is important, but leveling the bedding layer and each paver as you go is just as critical.
Start with a sand layer that’s about one inch thick, using sharp concrete sand rather than play sand. It should be moist but not wet—enough to hold shape when pressed. Spread the sand across the compacted base, then screed it evenly using the guide rails and a screed board. Don’t try to do the whole patio at once; work in smaller sections to keep things manageable and precise.
As you place each brick, avoid dragging it across the sand because that disrupts the level base. Set the brick gently in place and tap it with a rubber mallet to seat it. Check for level regularly using a long spirit level across multiple bricks, not just one. Doing this across broad points will show if the surface is consistent or if certain areas are slightly raised or sinking.
To help keep things lined up:
- Lay bricks in rows, following a consistent pattern.
- Use spacers if necessary to maintain equal gaps between bricks.
- Align the bricks using string lines for accuracy on both length and width.
- Stop every few feet to recheck that rows remain level and straight.
It’s easy to rush through this part, especially when the patio looks halfway done. But taking your time at each stage helps avoid having to lift and reset bricks later due to gaps, dips, or wobbles.
Common Mistakes That Cause Uneven Results
Several issues happen during installation that can throw off an entire patio project in Doctor Phillips. These mistakes mostly come from skipping steps or using poor judgment during the leveling process.
One of the most common errors is neglecting to compact each base layer fully before moving on. When layers aren’t compacted correctly, they settle after the bricks are installed, leaving dips or cracks in the surface. Another frequent problem is uneven spreading of the bedding sand. If the sand bed varies in thickness, the bricks won’t sit at the same height.
Here are a few additional mistakes to look out for:
- Using soft or fine sand that shifts too easily under pressure.
- Laying bricks before screeding an even surface.
- Failing to maintain a consistent slope for drainage.
- Measuring bricks visually instead of using levels and string lines.
- Applying inconsistent force when tapping bricks into place.
Repairing these problems after installation takes a lot of effort. It often means pulling up entire sections, re-smoothing the base, and reinstalling the bricks. Getting it right the first time saves time and cost.
Ensuring Long-Term Stability With Edge Restraints
No patio can stay stable over time without proper edge restraints. These border elements hold the bricks in position and stop them from spreading or shifting outward as people walk across the surface or as soil starts to move. Without edge restraints, the outer bricks eventually loosen and cause ripple effects across the entire patio.
For long-term strength, edge restraints must be anchored into the compacted base, not just pressed against the sides. Flexible plastic, concrete curbing, or even steel edging can all work if installed properly. The key is making sure the restraint follows the shape of the patio and holds firm during seasonal ground movement or moisture changes common in Doctor Phillips.
Paired with proper filling of joints using polymeric sand and compacting the surface once more after placement, a solid border stops many common issues like spreading gaps, edge collapse, and future brick shifting.
Final Touches For A Professional Appearance
Once the entire surface is laid and level, the last part is locking it all in. After sweeping polymeric sand into the joints between the bricks, a plate compactor goes over the surface again to help the sand settle. This second compaction also reveals any high or low spots needing fine-tuning. Then more sand is worked into the joints until they’re fully filled and ready for wet setting.
Cleaning up the area, removing any excess sand, and washing off the bricks helps bring out the final look. Edges are trimmed and tidy, the pattern is locked in place, and the height should flow evenly with nearby sidewalks, driveways, or lawn.
Getting a professional finish isn’t just about materials—it’s about patience and precision. When done right, you won’t see loose corners, tilted rows, or inconsistent joints. Just an even, clean surface that works as well as it looks.
Maintaining the Quality of Your Brick Patio
Once installed correctly, a well-leveled patio in Doctor Phillips shouldn’t need constant fixing. But like any outdoor feature, regular upkeep makes all the difference in keeping it in good shape.
A simple maintenance plan can include:
- Clearing debris and leaves to avoid buildup between joints.
- Rinsing the surface occasionally to remove dirt and stains.
- Reapplying joint sand every year or two, if erosion occurs.
- Watching for signs of movement along the edges or corners.
- Checking for pools of water that might signal shifting or drainage issues.
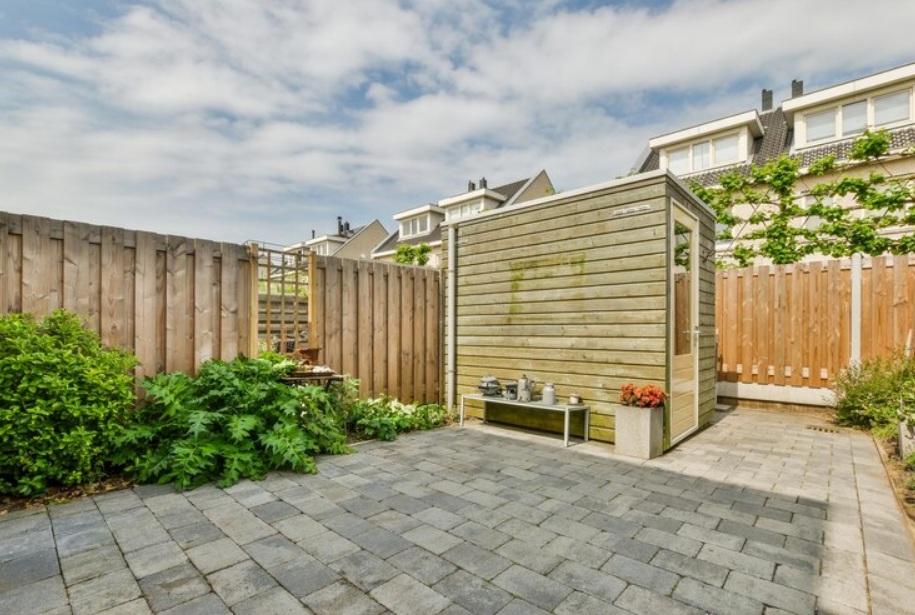
One example is a patio near a sloped garden. If runoff isn’t controlled, water starts undermining the edges and washes out sand. Catching things early allows for a quick fix, rather than a full repair. A good paver patio holds up well, but small issues like these are easier to manage when spotted early.
Ensuring a Flawless Brick Patio in Doctor Phillips
Getting a reliable, level brick patio requires more than just stacking pavers and hoping they stay. Every stage, from prepping the dirt to securing the edges, plays into how well the patio looks and performs later. Skipping even one part often shows itself months later in the form of sagging bricks or uneven surfaces.
If you're a homeowner in Doctor Phillips planning a new patio or dealing with early signs of brick movement, investing in accurate leveling from day one can prevent common problems. The smoother the base, the better the results—and the fewer headaches you'll have down the line. Whether you're building a spot to relax after work or a space to host weekend guests, a perfectly level patio is worth the effort.
Enhance your outdoor space with a precisely executed brick patio installation in Doctor Phillips that minimizes repair needs and creates a durable, level surface for years to come. Alliance Pavers brings extensive experience to each project, ensuring every brick is placed and leveled perfectly so your patio remains stable despite frequent use. For a quick estimate or to book a service visit, please contact us today.