Laying the Groundwork: A Step-by-Step Paver Installation Tutorial
Learn DIY paver installation step-by-step! Our guide covers planning, base prep, laying, and finishing for a stunning patio. Start building today!
Why Proper Paver Installation Creates Lasting Outdoor Beauty
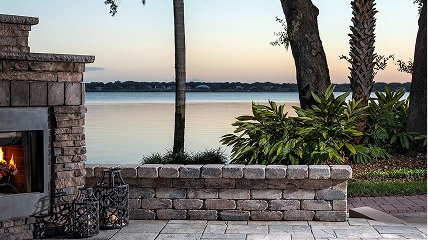
Paver installation transforms outdoor spaces into stunning, durable surfaces that can last 50-100 years. Whether for a patio, walkway, or driveway, success lies in understanding each critical step.
Essential Paver Installation Steps:
- Planning - Create scaled drawings and calculate materials.
- Excavation - Dig 7-11 inches deep based on traffic.
- Base Preparation - Install 4-8 inches of compacted gravel.
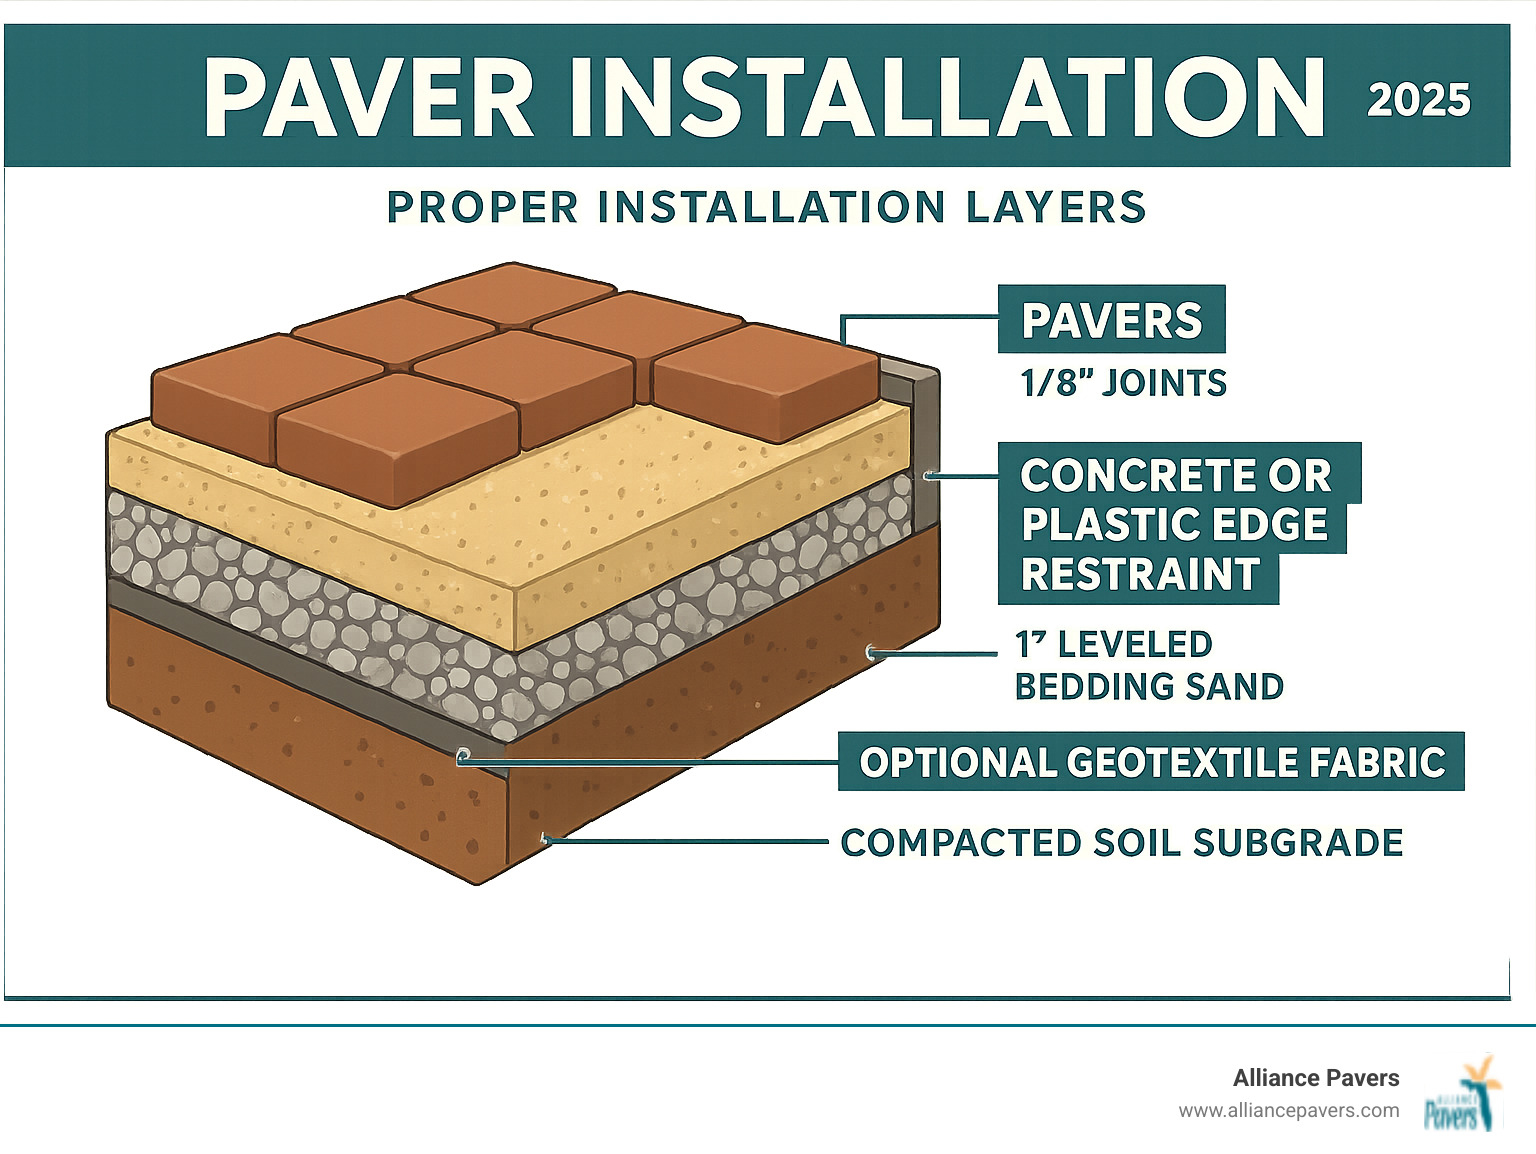
- Sand Bedding - Level 1 inch of bedding sand.
- Paver Laying - Place pavers with 1/8" spacing.
- Edge Restraints - Secure the perimeter to prevent shifting.
- Joint Sand - Fill gaps and compact for stability.
The process requires precision. As one industry expert notes, "People underestimate the amount of work involved with the installation of paving stones." However, with proper planning, DIY installation is achievable.
Success depends on three critical factors:
- Proper drainage with a 2% slope away from structures.
- Adequate base preparation with 95% compaction density.
- Quality materials like processed gravel and concrete sand.
This guide covers each phase, from planning to sealing, to ensure your project delivers beauty and longevity.
Phase 1: Planning Your Paver Project Like a Pro
Proper planning is your project's GPS—without it, you're bound for expensive detours. A few hours of thoughtful planning now saves weeks of headaches later, preventing common issues like an undersized patio or a surface that pools water after rain.
Your planning journey involves defining your project scope, creating a scaled drawing, visualizing the size, planning for drainage, calculating materials, and coordinating delivery.
Essential Tools and Materials for Paver Installation
Having the right equipment makes the difference between a smooth paver installation and a frustrating battle.
Your essential tool collection includes a shovel, wheelbarrow, tape measure, 4-foot level, and a rubber mallet. You'll also need stakes and string line, a plate compactor (non-negotiable for professional results), a masonry saw for clean cuts, safety glasses, and gloves.
The materials list centers around your chosen pavers, Class II road base or processed gravel for your foundation, bedding sand for leveling, edge restraints to lock everything in place, and jointing sand to fill the gaps.
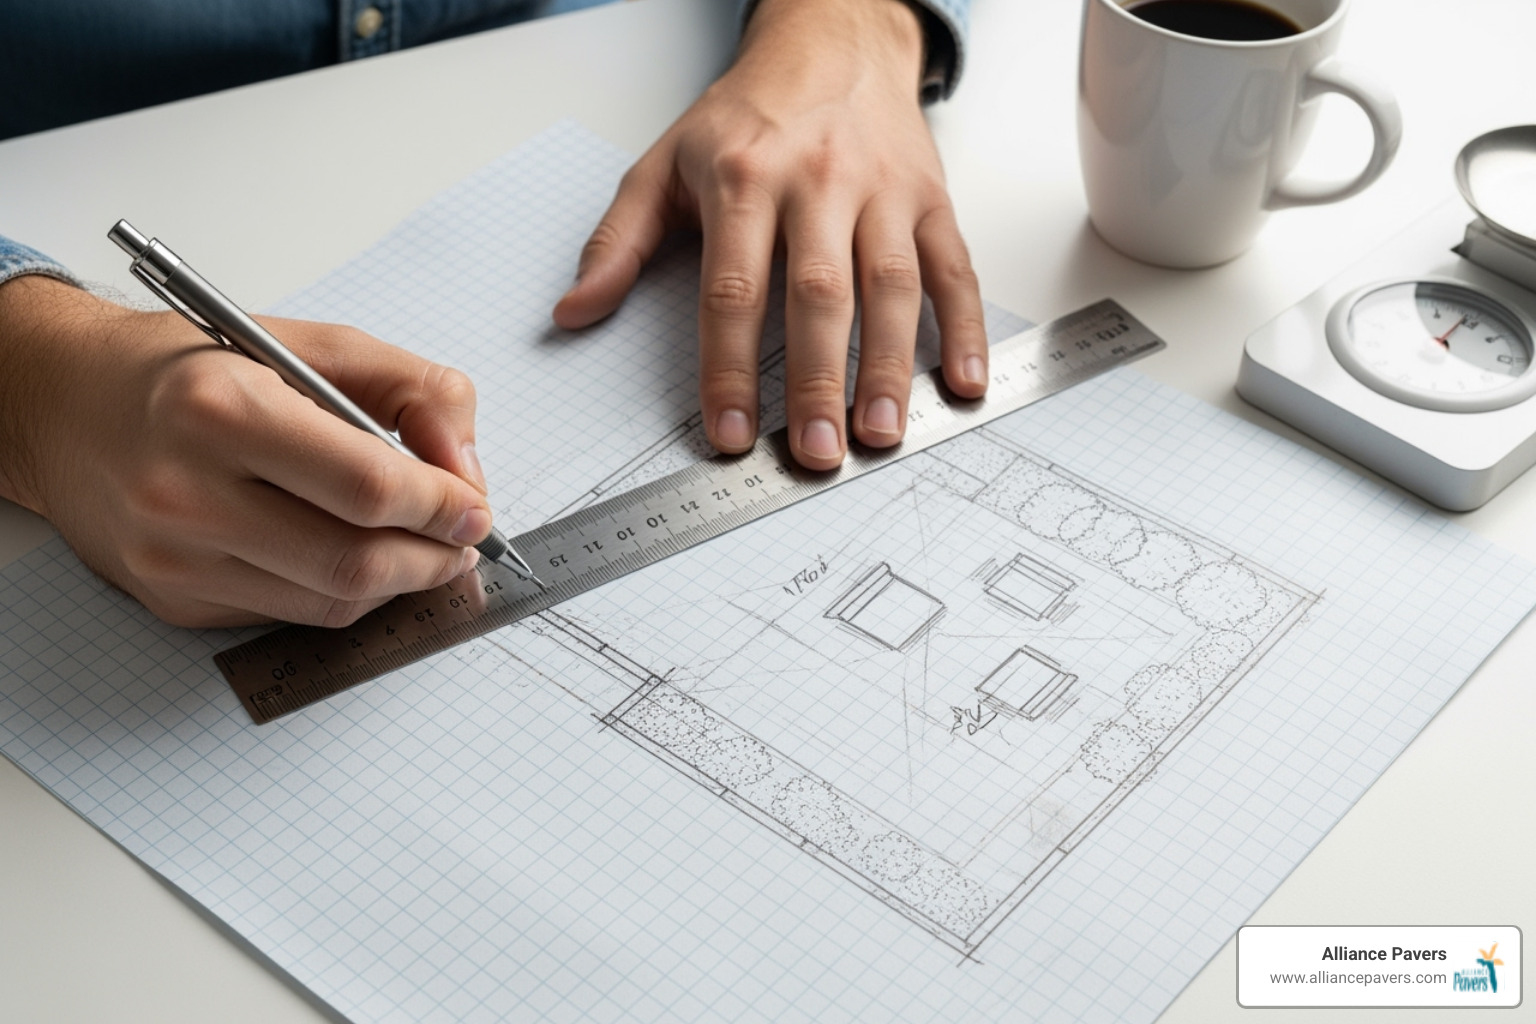
Creating a Scaled Drawing and Drainage Plan
A scaled drawing is your blueprint for success, helping you calculate material quantities and visualize the finished space.
Start by measuring your area precisely and sketching it to scale on graph paper. When calculating square footage, add a 5-10% buffer for cuts and waste. Need help with calculations? Check out our paver quantity guide.
Next, plan for drainage. Your surface needs a minimum 2% slope (about 3/16" to 1/4" per foot) sloping away from your house or any structures. Since only 2-5% of rainwater seeps through standard paver joints, the rest needs a path to run off.
To visualize your project size, lay out a garden hose to outline the planned area and place your outdoor furniture inside. This simple step prevents the common regret of building too small.
Finally, plan for material delivery. Pallets of pavers and piles of gravel are heavy. Plan a convenient drop-off location to minimize hauling distance. For projects over 500 square feet, consider tackling the work over multiple weekends or hiring help for the excavation phase.
Phase 2: The Foundation - Excavation and Base Preparation
With planning complete, it's time to create the foundation. This phase is invisible in the final product but does all the heavy lifting to keep pavers looking perfect for decades. Cutting corners here can lead to wavy, sunken disasters. This phase focuses on excavation depth, subgrade compaction, geotextile fabric, base material layers, compaction density, and establishing the correct slope.
How to Excavate and Prepare the Subgrade
First, call 811 before you dig. This free service marks underground utilities, preventing a dangerous and expensive accident.
Once clear, remove grass and soil, stripping away all topsoil, roots, and large rocks. Excavation depth depends on the project: 7-9 inches for a typical patio or walkway, and 9-11 inches for a driveway. Extend the excavation about 12 inches beyond the paver area to accommodate edge restraints.
Next, compact the subgrade soil. Use a plate compactor to make several passes over the entire area until the soil feels firm underfoot, with no squishy spots. For clay soil or wet areas, consider laying woven geotextile fabric to prevent the base material from mixing with the soil below.
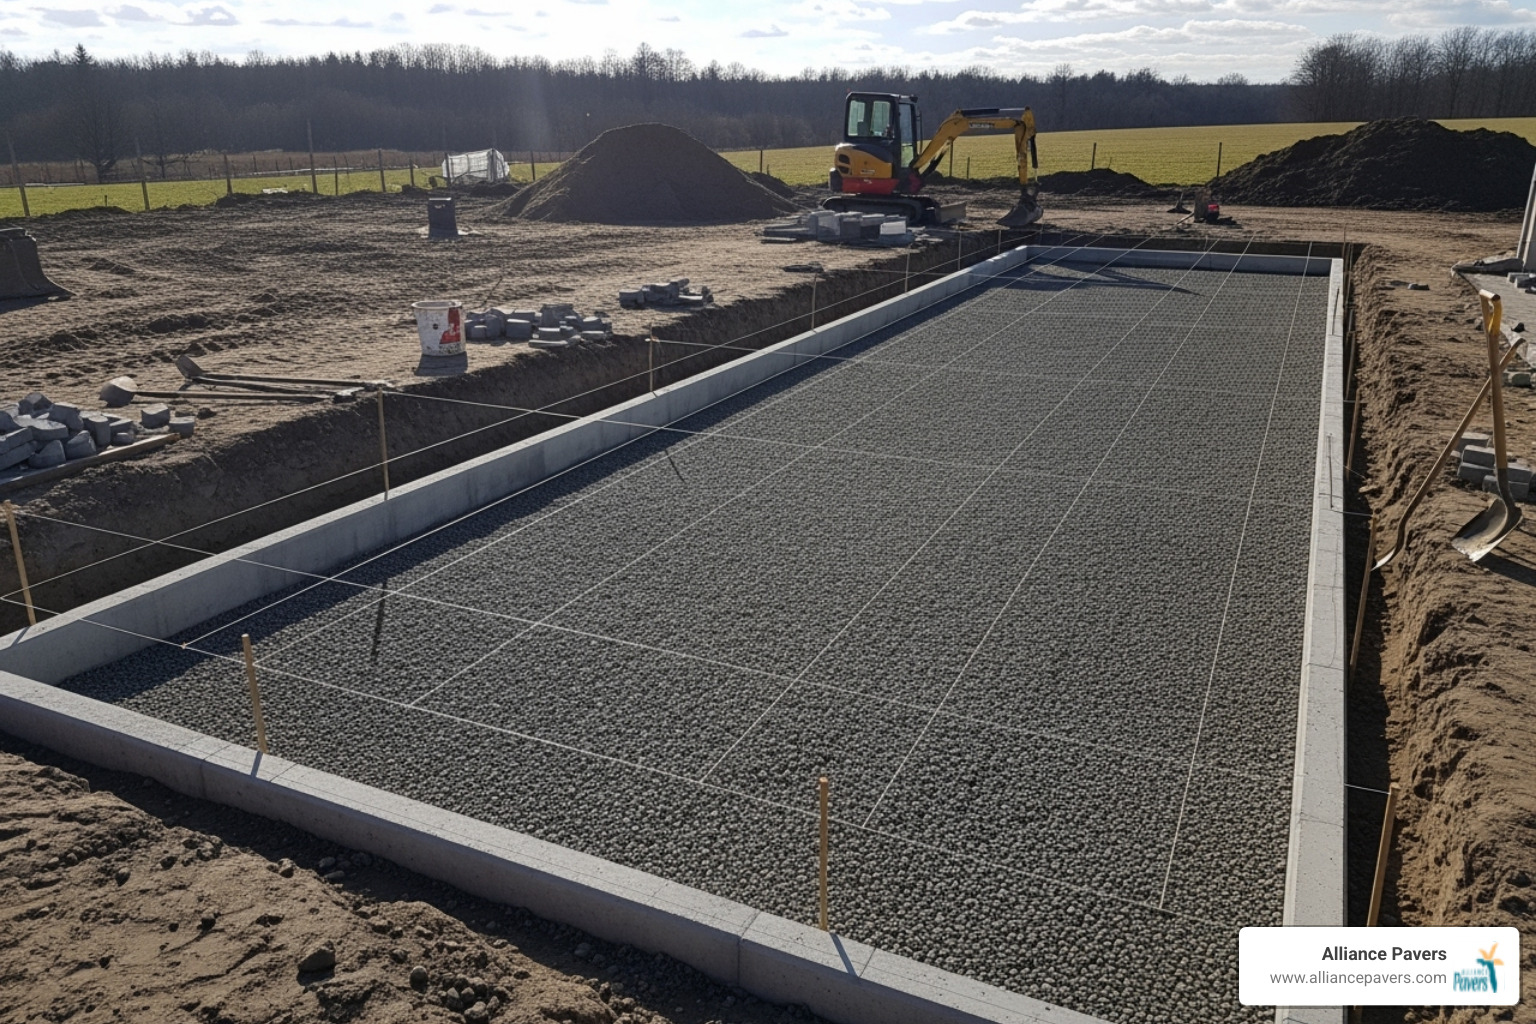
Building a Solid, Compacted Base
The base layer supports everything above it. Use processed gravel (3/4" minus crushed stone or aggregate), as its angular shape locks together when compacted.
Base thickness depends on traffic. For patios and walkways, a 4-6 inch base is sufficient. For a driveway handling vehicles, you'll need 6-8 inches minimum, and possibly more in areas with harsh freeze-thaw cycles.
The secret to a bulletproof base is building it in 2-inch layers, compacting each one thoroughly. This process eliminates air pockets and creates a stable foundation. When using the plate compactor, aim for 95% Proctor density by making multiple overlapping passes in perpendicular directions. Throughout this process, constantly check for flatness and maintain the critical 2% slope for drainage.
Leveling Techniques for Brick Patio Installation offers more insights. Nailing this foundation phase is critical for the project's success.
The Art of the Paver Installation Process
With the base prepared, it's time to lay the pavers. This is where your planning and preparation pay off. This phase requires patience and precision, focusing on creating a level sand bed, laying pavers with professional technique, making precise cuts, and installing crucial edge restraints.
Screeding the Sand Bed for a Perfect Level
The bedding sand is a 1-inch layer that provides the final, precise leveling for the pavers. Use clean, sharp washed concrete sand for its excellent drainage and locking properties.
Lay 1-inch diameter PVC pipes or metal conduit parallel to each other on the compacted base, about 6-8 feet apart. These act as guides, or screed rails. Spread bedding sand between the pipes, then use a straight 2x4 board to drag across the pipes in a sawing motion, smoothing the sand to exactly 1 inch deep.
Never compact the sand at this stage; it should remain loose for the pavers to nestle into. After screeding a section, carefully remove the pipes, fill the channels with sand, and smooth them by hand. Avoid stepping on the leveled sand bed.
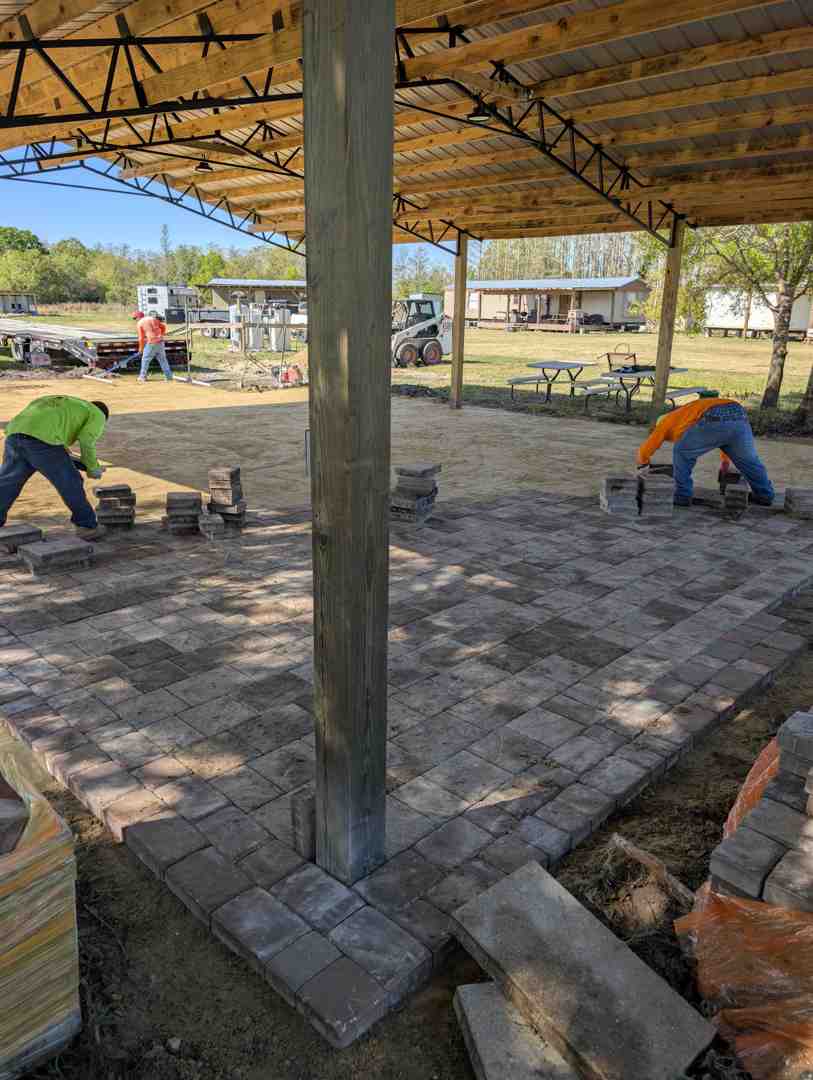
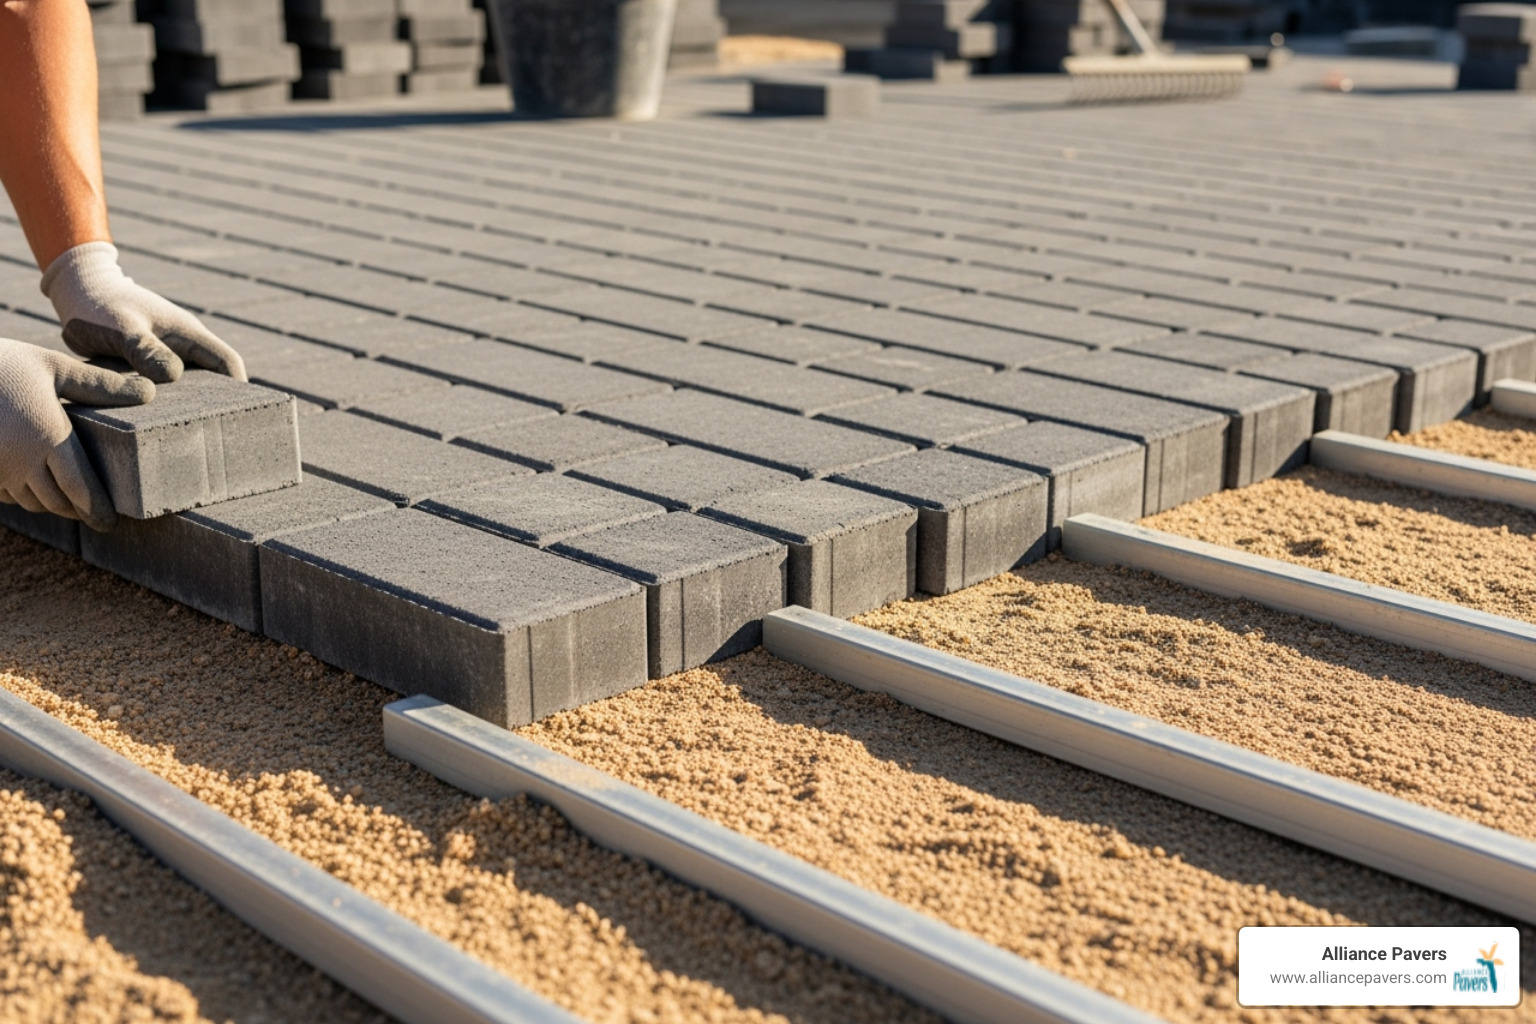
Laying and Cutting Pavers for a Professional Finish
Begin laying pavers from a 90-degree corner, usually at the lowest point of the project, and work outward. This keeps the pattern square and ensures proper drainage.
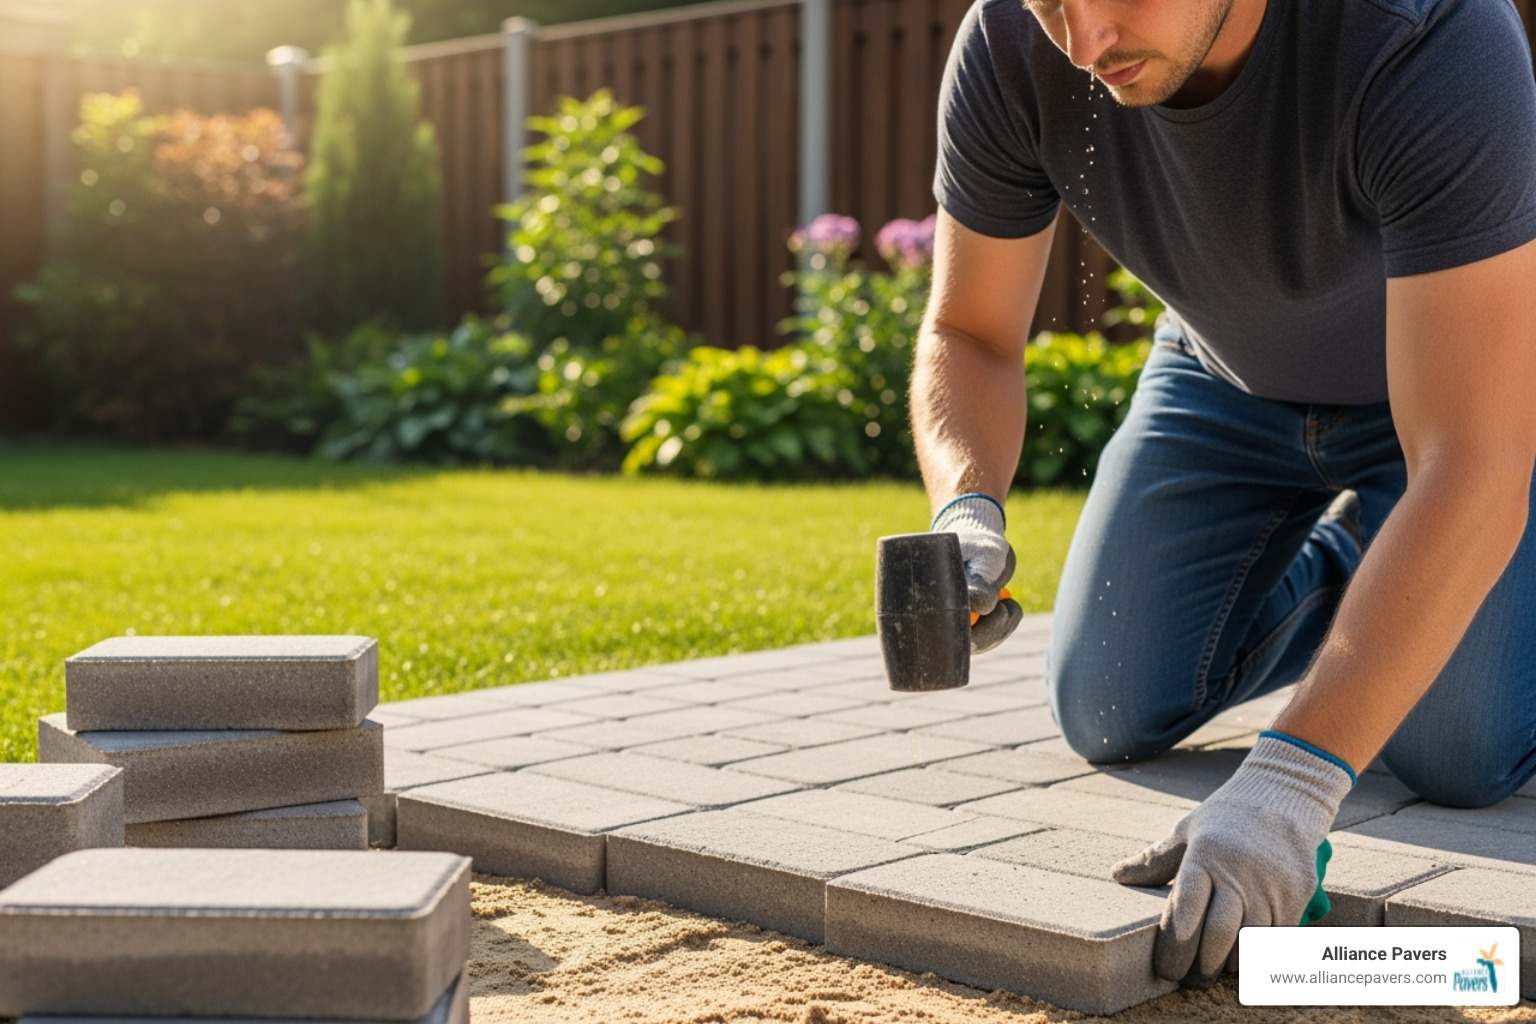
Place each paver "hand-tight" against its neighbors, dropping it straight down without sliding to avoid disturbing the sand. Maintain about 1/8-inch spacing between pavers for the jointing sand. To keep lines straight, stretch string lines across the work area every few feet as a guide. Pull pavers from different pallets as you work to blend colors naturally and avoid patches.
When you reach edges or obstacles, you'll need to cut pavers. A masonry saw provides the cleanest cuts, though a paver splitter or hammer and chisel can work. Always wear safety glasses and gloves when cutting. Mark the paver with a chalk line for a precise cut. Paver Edging Ideas
Installing Edge Restraints to Lock in Your Work
Edge restraints are essential to prevent pavers from spreading apart over time. Install them along any perimeter not supported by a permanent structure like a foundation.
PVC edging is great for curves and is secured with long steel spikes driven into the base every 12-18 inches. Aluminum edging offers durability, while concrete restraints provide permanent support. The key is to ensure the restraints sit flush with or just below the paver surface so they are not visible. Proper installation maintains the tight interlock that makes a paver surface so durable. This detail separates amateur work from professional quality. Putting in a Patio with Bricks
Phase 4: Finishing, Sealing, and Long-Term Care
We're in the home stretch. The final touches transform loose pavers into a solid, gorgeous surface. These steps make the difference between a good paver installation and a professional one.
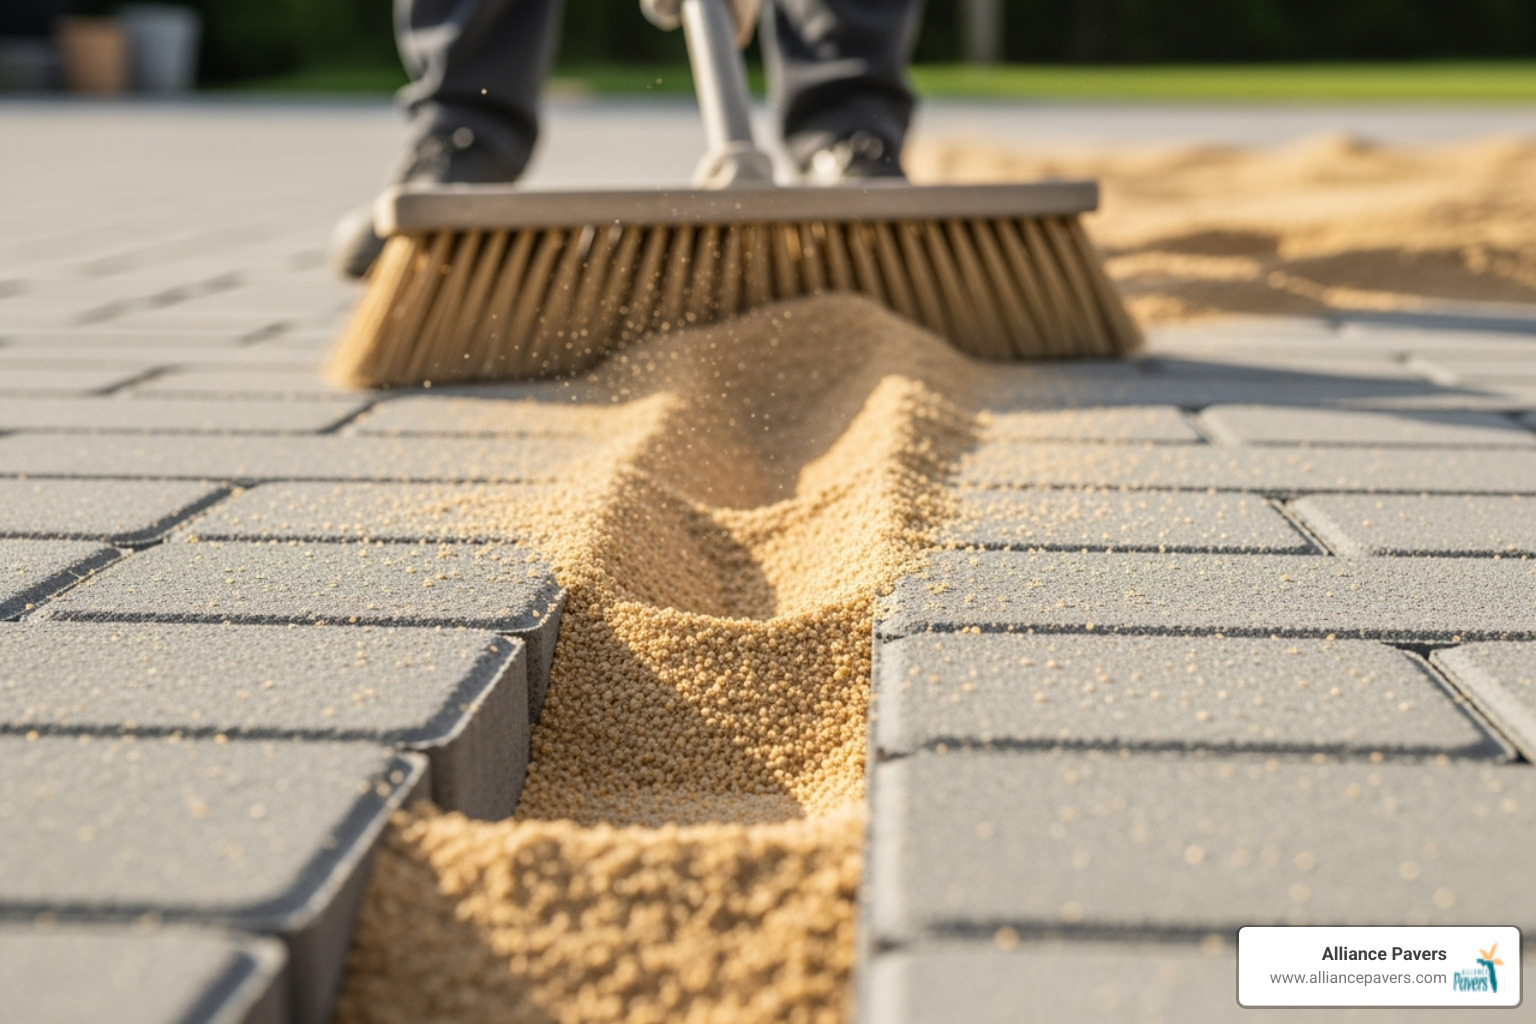
Applying Jointing Sand and Final Compaction
Jointing sand transforms individual pavers into a unified, interlocking system. You have two main options: regular fine concrete sand or polymeric sand. While regular sand works, polymeric sand contains additives that harden with water, creating a stronger bond that helps prevent weeds and insects.
Spread a light layer of sand across the surface. Use a push broom to sweep the sand into every joint, sweeping from multiple directions to ensure they are completely filled.
Next, use the plate compactor for the final time, making several passes over the entire surface. This settles the pavers into the sand bed and forces jointing sand deep into the gaps. If using polymeric sand, use a protective pad on the compactor to prevent scuffing. After the first compaction, you'll notice some joints have settled. Add more sand and compact again, repeating until every joint is full. For polymeric sand, finish by lightly misting the surface with water to activate it, being careful not to use too much water, which can cause a haze.
Paver Maintenance: Cleaning and Sealing
A well-installed paver surface is low-maintenance. Regular cleaning involves sweeping to keep debris from accumulating. A yearly pressure washing can remove built-up grime and restore the pavers' vibrancy. How to Clean Brick Pavers and Keep Them Looking New
Sealing is optional but offers significant benefits. A good sealer protects against stains from oil and food, and it improves the natural colors of the pavers. Wait 60-90 days after installation before sealing to allow the joint sand to cure. Ensure the surface is completely clean and dry before application. Most sealers need reapplication every 3-5 years. For professional results, consider Paver Sealing Services.
Paver Project Costs, Considerations, and When to Call for Help
Let's talk about the costs and considerations for a paver installation project. Understanding the investment in time, money, and effort helps you decide between a DIY approach and hiring a professional.
AspectDIY InstallationProfessional InstallationCostMaterial costs only ($3.50-$4.50 per sq ft for pavers)$10-$17 per sq ft total project costTimeMultiple weekends for larger projectsTypically completed in 1-3 daysLaborSignificant physical effort requiredProfessional crew handles all workToolsMust rent or purchase specialized equipmentAll tools and equipment includedWarrantyNo warranty on workmanshipProfessional warranty on installationExpertiseLearning curve with potential for mistakes25+ years of experience and expertise
Understanding the Costs of a Paver Installation Project
Your budget must include pavers, base materials, tools, and either your labor or a professional's. For DIY, material costs for pavers alone are typically $3.50 to $4.50 per square foot. You must also add the cost of gravel, sand, edge restraints, jointing sand, and tool rentals like a plate compactor.
Professional installation generally ranges from $10 to $17 per square foot for the complete project. While a larger upfront investment, this price includes all materials, labor, expertise, and a warranty for peace of mind. The DIY route saves money but requires a serious commitment of time and hard physical labor. For many, the time and effort saved make professional installation worthwhile. We offer Financing options to help make your project achievable.
Special Considerations: Permeable Pavers and Driveways
Some projects have unique requirements that impact cost and complexity.
Permeable pavers are an eco-friendly option designed to let water flow through the joints into a specialized stone base below, managing stormwater runoff. However, they require deeper excavation, specialized materials, and precise installation, making them better suited for professionals.
Paver driveways must support vehicles without settling. This requires deeper excavation (9-11 inches), thicker base layers (6-8 inches of compacted gravel), and pavers rated for vehicular traffic. The compaction requirements are more stringent, and the sheer volume of materials makes driveway installations challenging for DIY projects. How to Build a Paver Driveway
Consider calling a professional for complex drainage issues, large areas (over 500 sq ft), driveways, or if you want the confidence that comes with expert installation and a warranty.
Frequently Asked Questions about Paver Installation
Over our 25 years in the hardscaping business, we've heard just about every question you can imagine about paver installation. These are the most common ones.
What is the most common mistake in DIY paver installation?
The most common mistake is improper base preparation. Homeowners often rush the foundation work to get to the "fun part" of laying pavers. This leads to two frequent issues: insufficient compaction of the subgrade and base, and poor drainage planning. Without a properly compacted base, the surface will settle and shift. Without the crucial 2% slope, water will pool on the patio. Finally, many people simply underestimate the labor involved. Moving tons of material and operating a compactor is hard physical work, and fatigue can lead to shortcuts that compromise the project.
How deep do I need to dig for a paver patio?
For a standard patio with foot traffic, you need to dig 7-9 inches deep. This depth is calculated by adding the paver thickness (typically 2 ⅜ inches), the 1-inch sand bed, and the 4-6 inch compacted gravel base. This excavation should extend about 12 inches beyond the paved area to accommodate edge restraints. Deeper excavation may be needed for areas with clay soil or significant freeze-thaw cycles.
Can I install pavers directly on dirt?
Absolutely not. Installing pavers directly on dirt is like building a house on quicksand. The soil will shift and settle with moisture changes, causing your pavers to become uneven and hazardous, often within a single season. The gravel and sand base is not optional; it provides the stability, drainage, and support that makes a paver surface last for decades. Do the base work right the first time for a paver surface that will remain stable and beautiful for years to come.
Conclusion
From the first drawing to the final grain of sand, we've covered every step of a successful paver installation. Each phase builds on the last: careful planning prevents problems, meticulous base preparation creates stability, and precise laying results in lasting beauty.
Doing things right the first time is the key to a long-lasting investment. Proper excavation, compaction, and attention to details like drainage and edge restraints provide peace of mind, ensuring your outdoor space remains beautiful and functional for decades.
Many homeowners enjoy the satisfaction of a DIY project. However, the physical demands and technical precision can be overwhelming. For complex projects, large areas, or when you want the confidence that comes with professional expertise, calling in the pros is a smart decision.
As a family-owned business with 25 years of paver installation expertise in Central Florida, we've perfected our techniques to deliver exceptional craftsmanship without the stress or guesswork. We are committed to bringing your vision to life, on time and on budget. Ready to get started? Contact Us for a professional stone installation in St. Cloud, FL and let's create something beautiful together!