Stone Cold Style: Veneering Your Cinder Block Wall Like a Pro
Elevate your curb appeal! Master installing stone veneer cinder block wall with our expert DIY guide. Tools, steps, & pro tips inside.

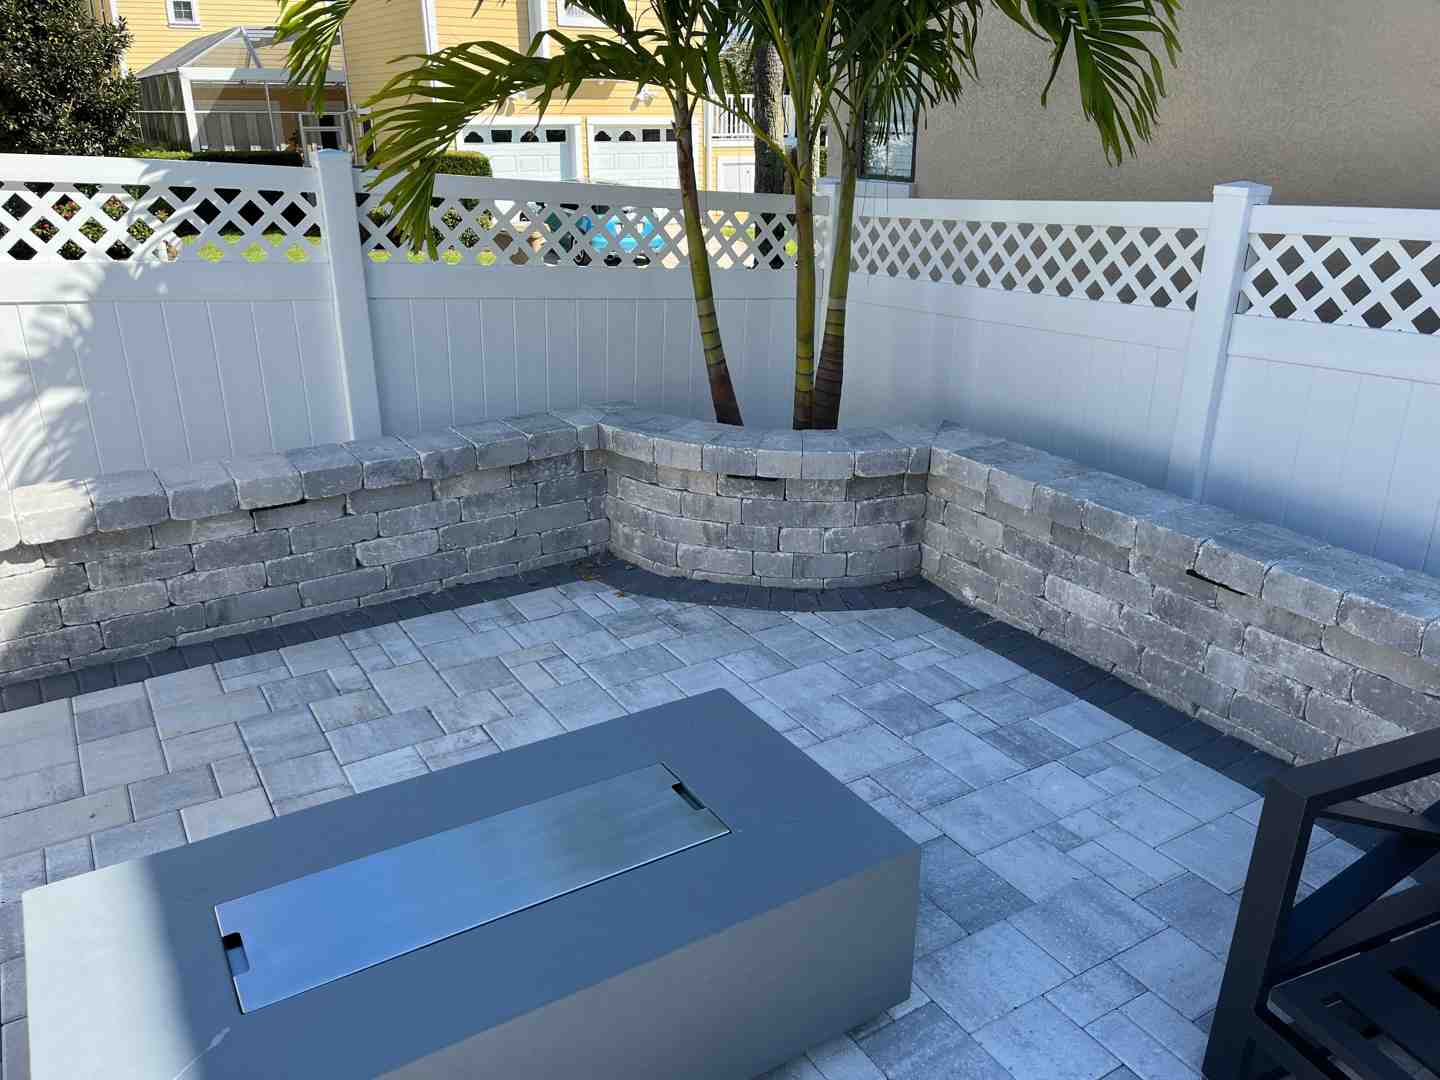
Transform Your Cinder Block Wall into a Stunning Stone Feature
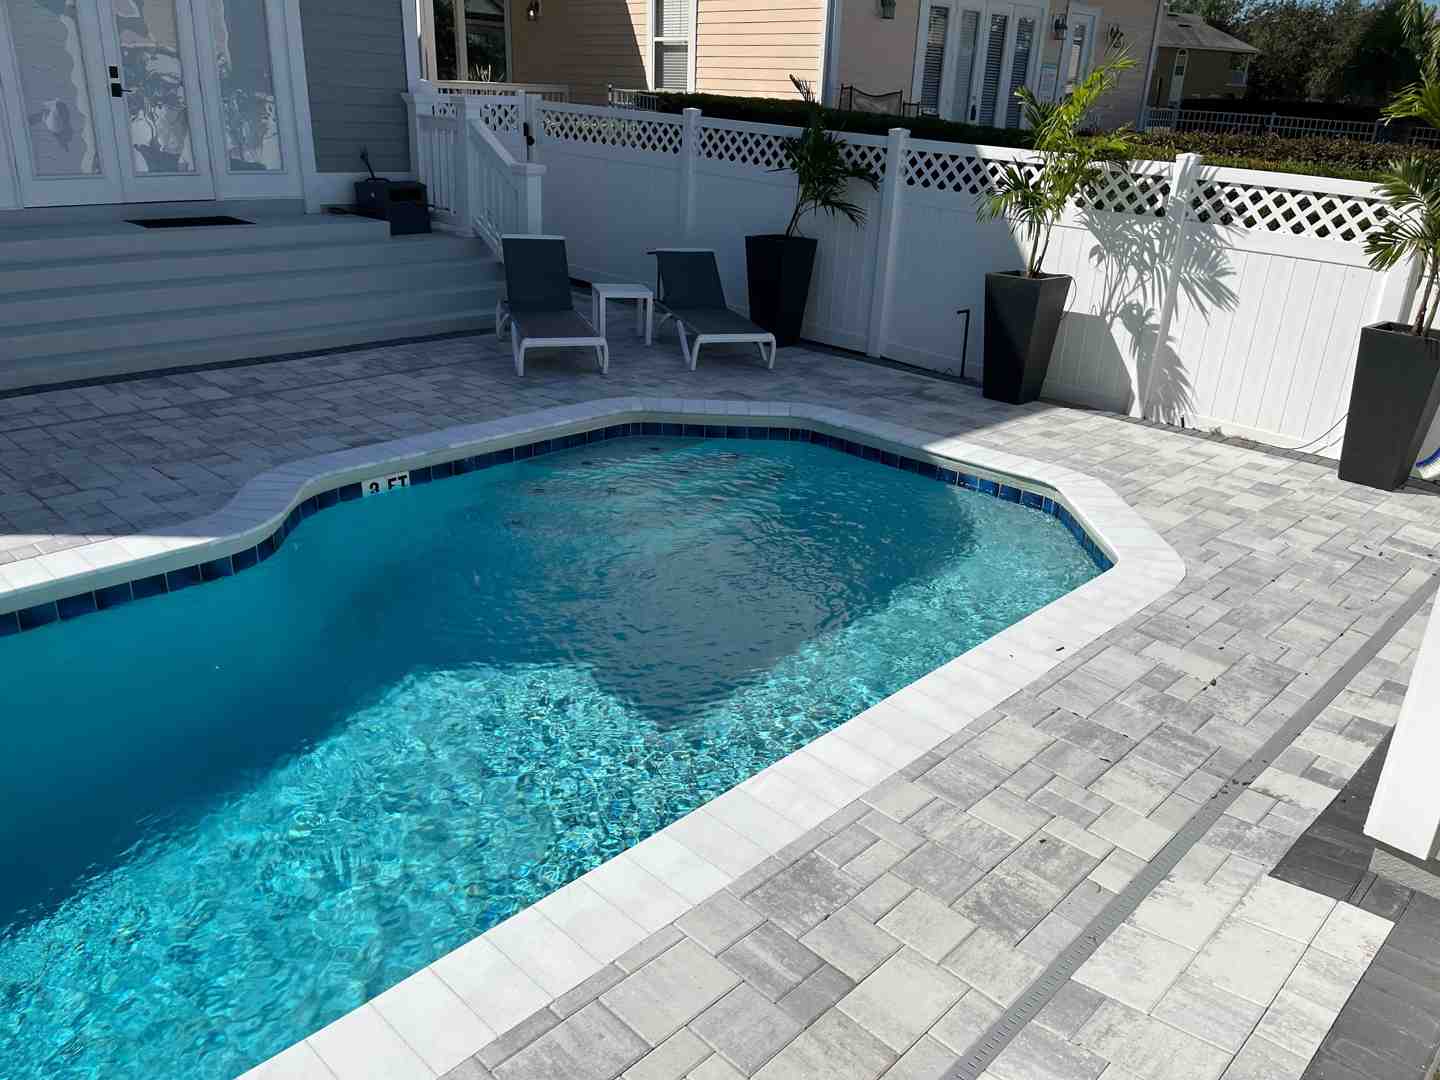
A stone veneer cinder block wall can transform your property's appearance from industrial to sophisticated and natural. Whether it's a foundation, retaining wall, or exterior surface, stone veneer offers an accessible way to achieve the look of expensive natural stone masonry.
Quick Answer: Can you install stone veneer on cinder blocks?
- Yes - Stone veneer can be applied directly to unpainted, sound cinder block walls.
- Surface prep required - The wall must be clean and any cracks repaired.
- Painted walls need extra steps - A metal lath and scratch coat are required for proper adhesion.
- Use proper mortar - Use Type S masonry mortar or a recommended stone veneer mortar.
- Install bottom-up - Start with corner pieces and work your way upward.
Cinder block is an ideal substrate for stone veneer. Its solid, stable, and porous nature provides an excellent surface for mortar to bond to when the wall is properly prepared. This project can dramatically boost your home's curb appeal and add real value. With the right preparation and technique, you can achieve professional-looking results that last for decades, whether you choose natural or manufactured stone.
New to the topic? See overviews of stone veneer and concrete masonry units for background on materials and terminology.
Gearing Up: Tools and Materials for Your Project
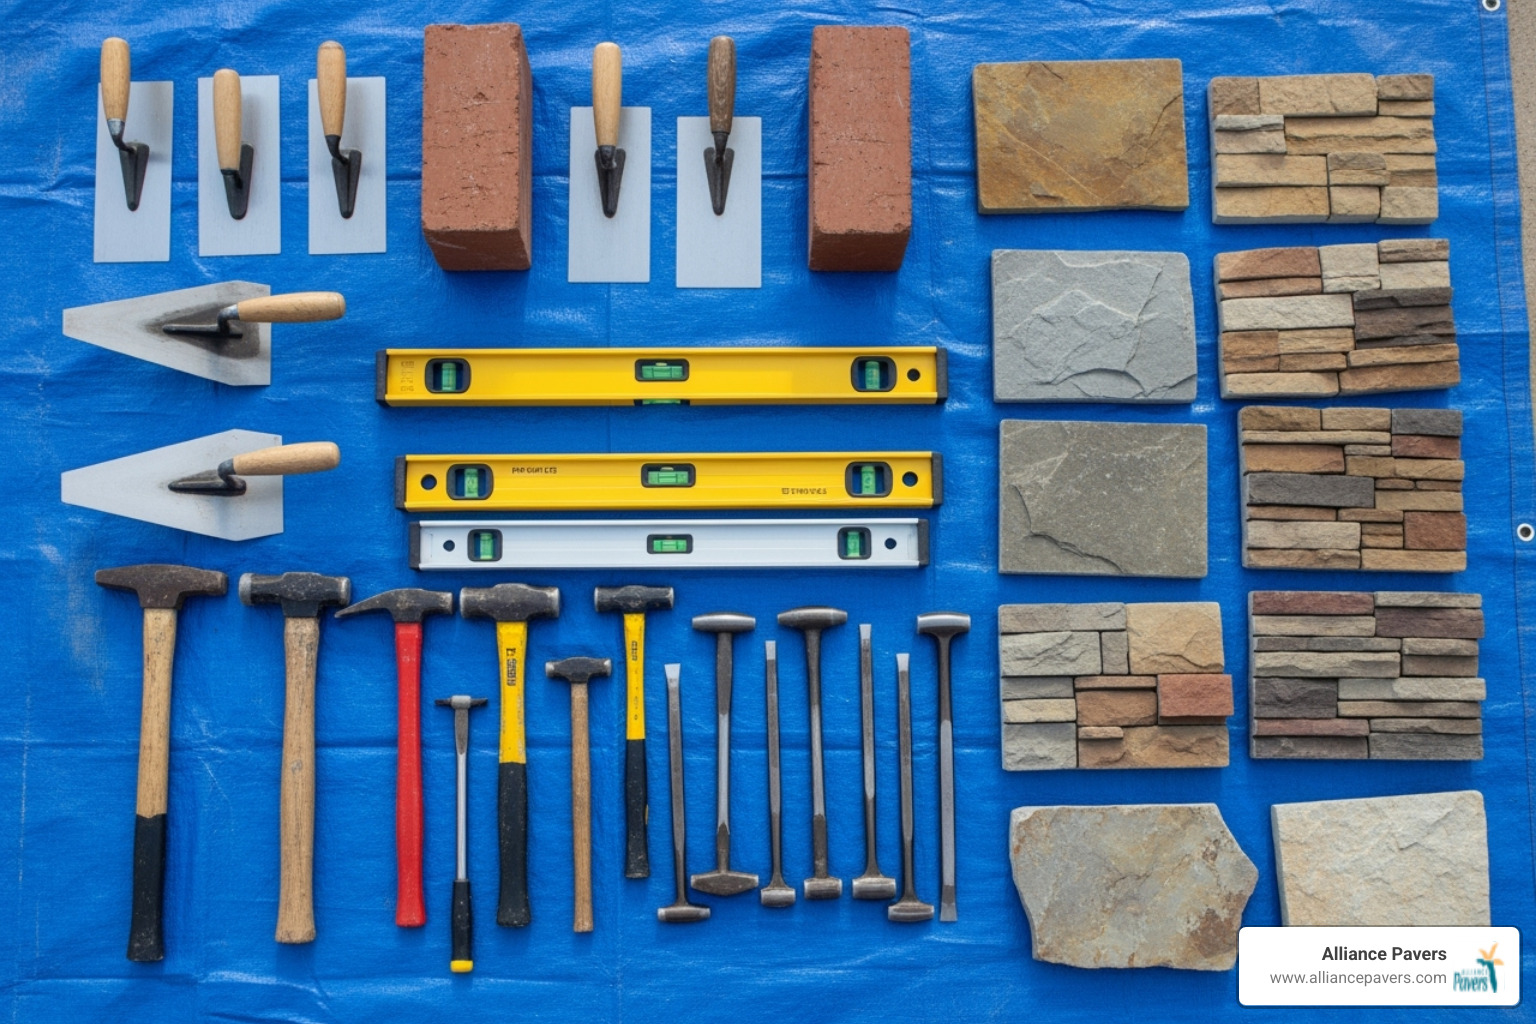
Proper preparation for your stone veneer cinder block wall project means having all your tools and materials ready before you start. This ensures a smoother, more efficient process.
For tools, you'll need a trowel for spreading mortar, a level to keep courses straight, a hammer for adjusting stones, and a grinder with a diamond blade for cuts. A wheelbarrow and shovel are essential for mixing and handling mortar. A mortar hawk helps carry mortar, and a wire brush is used to clean excess mortar from stone faces.
For materials, gather your chosen stone veneer, mortar mix (Type S is a good choice), sand, Portland cement, a bonding agent, and waterproofer for the finished wall. Safety is critical, so be sure to have safety glasses, work gloves, and a dust mask.
Natural vs. Manufactured Stone Veneer
Choosing between natural and manufactured stone is a key decision. Both create beautiful results but have distinct characteristics.
FeatureNatural Stone VeneerManufactured Stone VeneerWeightHeavier, cut from real stone; often 3/4" to 1 1/4" thickLighter, made from concrete, aggregates, and pigmentsCostGenerally more expensiveOften less expensive, giving a luxurious look for lessAppearanceUnique, authentic textures and colors; best durabilityReplicates natural stone; consistent sizing and shapesInstallationMay require more cutting/shaping; traditional mortar methodsCan be easier to install; some systems are mortarlessDurabilityInherently durable, real stoneVery durable, often comes with long warranties (e.g., 50-year transferable warranty for some products)
Real stone veneer is sliced from actual stone. It's heavier and typically more expensive, but it offers authentic texture and color variation that is unique to each piece.
Manufactured stone veneer is made from a lightweight concrete mix. It's designed to mimic natural stone but weighs and often costs less. The uniform pieces can make installation simpler and more predictable. Both are durable options; the choice depends on your budget, desired aesthetic, and your wall's structural capacity.
Calculating Your Material Needs
Accurate material calculations are crucial to avoid mid-project shortages. Here’s how to calculate your needs for a stone veneer cinder block wall.
First, measure your wall's surface area: Length × Height = Square Footage. A 20-foot by 6-foot wall requires 120 square feet of material.
Account for corner pieces. For every linear foot of outside corners, subtract about 1 square foot from your flat stone calculation to avoid over-ordering.
Mortar joint size also affects the amount of stone needed. Most calculations assume 1/2-inch joints; wider joints mean you'll need slightly less stone.
Finally, always order 10-15% extra material. This accounts for cuts, breakage, and ensures you have matching stone for any future repairs.
The Foundation of Success: Preparing Your Cinder Block Wall for Stone Veneer
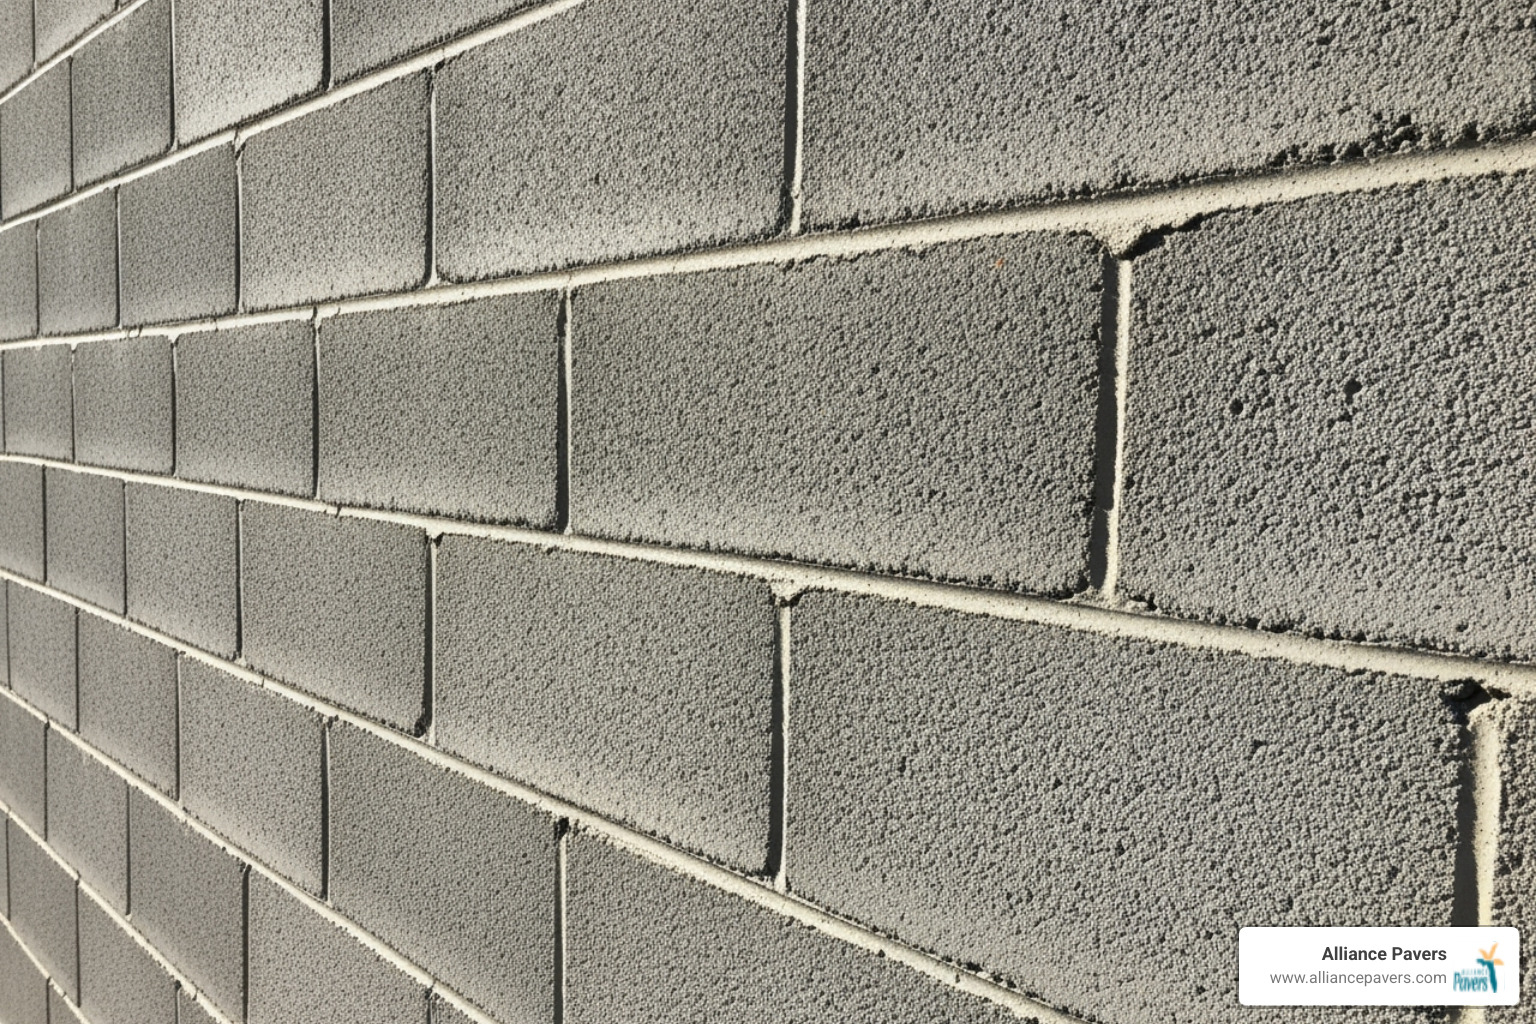
A beautiful stone veneer cinder block wall begins with proper preparation. This step is critical and will determine the success and longevity of your project.
First, perform a thorough wall inspection. Look for cracks, loose blocks, or crumbling mortar joints that need to be repaired before you proceed. Next, clean the wall by power washing the surface to remove dirt, dust, and loose debris. A stiff brush and garden hose can also work.
Check for any paint or sealant on the blocks. A smooth or glossy surface indicates a coating that requires special treatment. Also, remember to check your local building codes before starting, as some areas have specific requirements for stone veneer installations.
Can You Apply Stone Veneer Directly to a Cinder Block Wall?
Yes, you can apply stone veneer directly to cinder blocks, but only if the conditions are right. Cinder blocks are excellent for this application because their porous surface promotes strong mortar adhesion.
A mechanical bond forms when mortar is applied to unpainted, structurally sound block. The rough texture gives the mortar more surface area to grip, creating a durable hold.
However, painted surfaces act as a bond breaker, preventing the mortar from adhering reliably to the block. Applying veneer directly over paint is a common mistake that can lead to failure, with stones falling off the wall over time.
When to apply directly: Clean, unpainted cinder blocks in good condition are ideal for direct application. A strong mortar mix is applied to both the wall and the back of each stone.
When to Use Lath and a Scratch Coat
For painted, sealed, or uneven walls, a metal lath and a scratch coat are necessary to ensure a lasting bond.
Metal lath installation involves fastening a galvanized wire mesh to the cinder block wall. This creates a mechanical connection for the mortar that is independent of the wall's surface condition. Fasten the lath every 6 inches vertically and 16 inches horizontally, with overlaps at the corners.
The scratch coat is a layer of mortar applied over the lath to create an ideal bonding surface. Mix Type S mortar to a thick consistency and apply a 1/2" to 3/4" layer over the lath. While the mortar is still wet, use a rake or notched trowel to create horizontal grooves. This texture provides an excellent grip for the final stone application. Allow the scratch coat a curing time of 24 to 48 hours before installing the stone.
For professional guidance on stone installation techniques and local building requirements, you can learn more about stone installation services in the Orlando area.
This extra step provides insurance for your project, creating a fresh surface that ensures your stone veneer cinder block wall will stay put for decades.
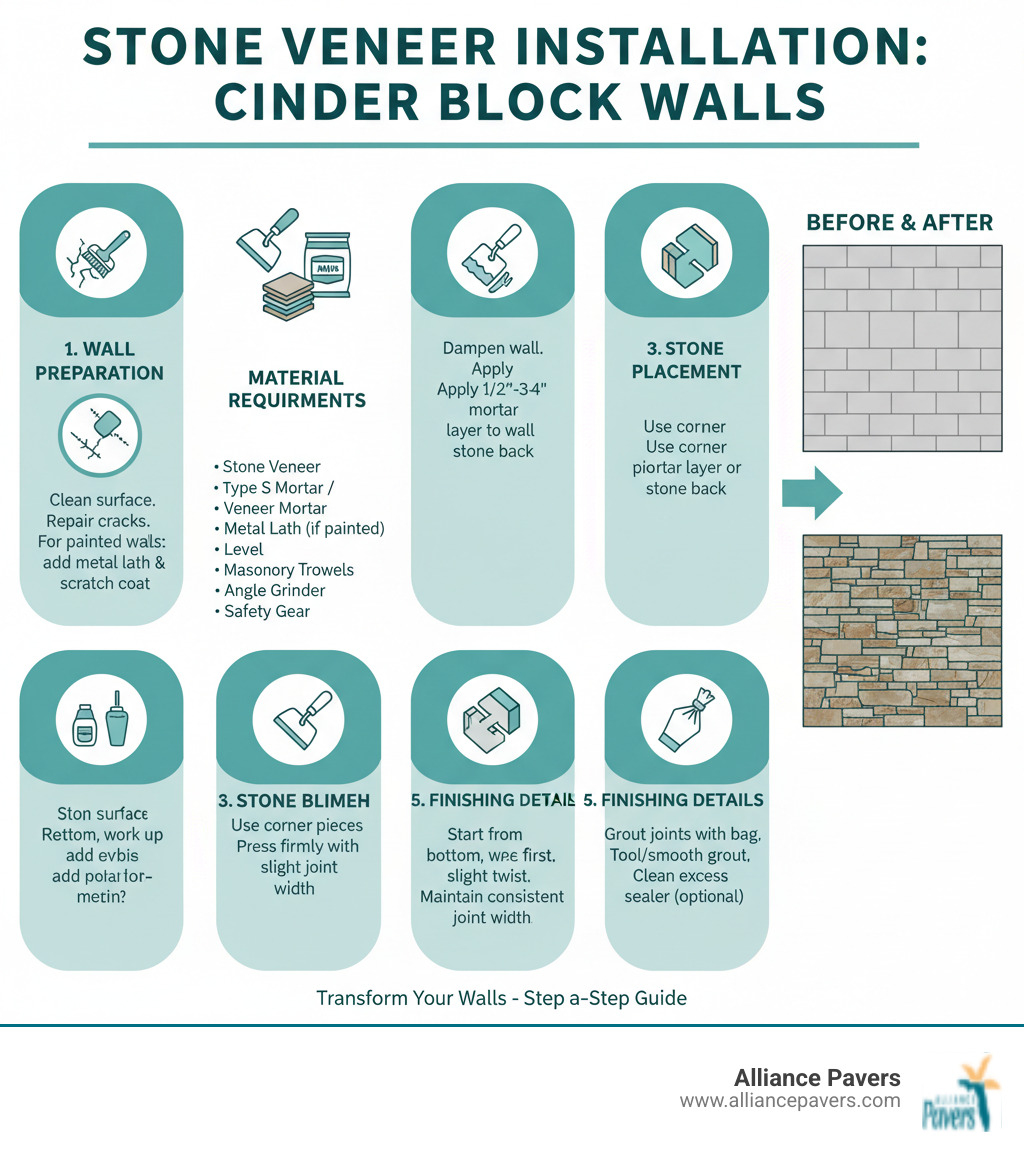
The Main Event: A Step-by-Step Installation Guide
With the preparation complete, it's time to install the stone veneer. To create a professional-looking stone veneer cinder block wall, work methodically from the bottom up, starting with the corners first. This approach ensures proper weight distribution and clean lines.
Step 1: Mixing and Applying the Mortar
Proper mortar consistency is critical. It should be thick, like peanut butter—sticky enough to hold its shape but smooth enough to spread. If it's too wet, stones will slide; too dry, and it won't bond properly.
Use Type S mortar for its strength and weather resistance. Follow the manufacturer's mixing ratio, typically 1 part masonry cement to 3 parts sand. Mix dry ingredients first, then slowly add water and mix for at least 5 minutes.
Use the "buttering" technique by spreading a 1/2" to 1" thick layer of mortar on the back of each stone with a pointing trowel. Create a slight ridge down the center, which helps create suction when the stone is pressed to the wall. For larger stones, you can also apply a thin base layer of mortar to the wall with a notched trowel for maximum adhesion. Proper mortar application is especially critical for projects like a stone retaining wall in Windermere, FL.
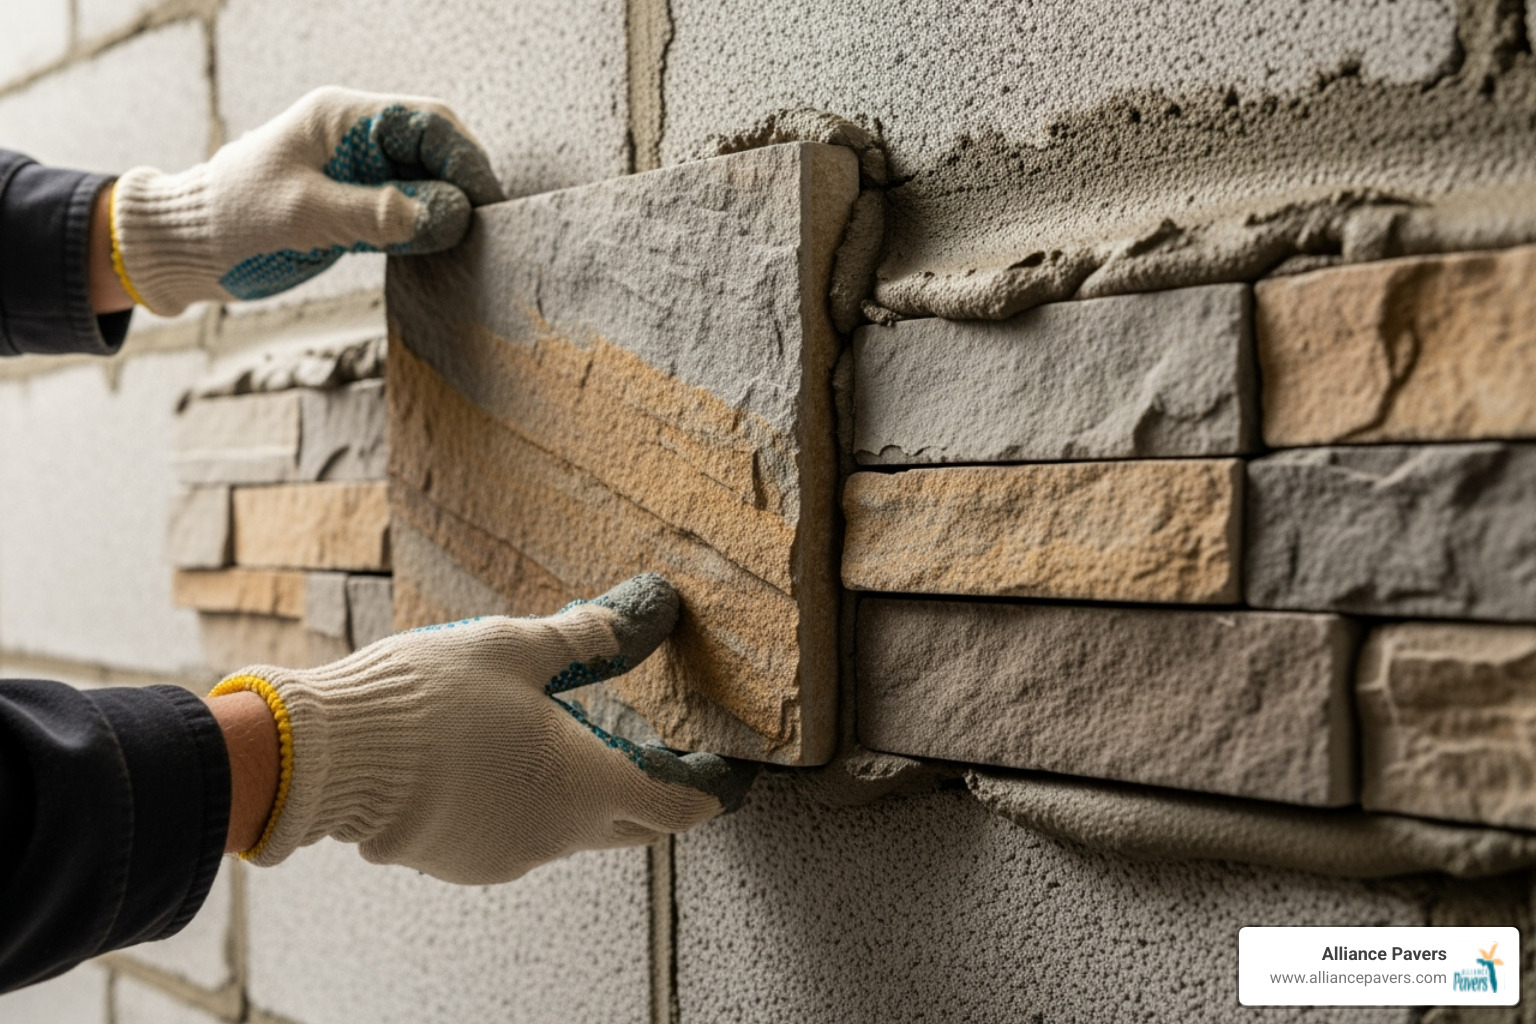
Step 2: Setting the Stones
Begin with corner pieces, as they establish the alignment for the rest of the wall. Start at the bottom and work your way up in courses. The weight of the upper stones helps compress the mortar on the courses below, creating stronger bonds and preventing slippage.
When placing each stone, use the press and wiggle technique. Press the buttered stone firmly against the wall and wiggle it slightly to eliminate air pockets and ensure full mortar contact. You should feel the stone "grab" the wall.
Maintain consistent joint spacing, typically around 1/2-inch, for a professional look. Stagger the vertical joints between courses to avoid long, unnatural vertical lines. This creates a more organic appearance. If you need to cut stones, use a circular saw with a diamond blade for clean cuts or a brick hammer and chisel for a more rustic edge. Use temporary shims (small wood or stone pieces) to support heavy stones until the mortar sets.
Step 3: Grouting and Finishing the Joints
Finishing the joints is the final detail that completes your stone veneer cinder block wall. After the stones are set and the mortar has firmed up (30-60 minutes), it's time to grout.
Use a grout bag to fill the joints. Fill the bag halfway with your mortar mix and squeeze it into the joints, ensuring they are completely packed.
Once the grout is stiff enough to be shaped without smearing, tool the mortar with a pointing trowel or jointing tool to compress and shape it. Create slightly concave joints for a classic look, or rake out the mortar deeply for a dry-stack appearance. After tooling, gently brush the joints with a whisk broom to smooth them.
Clean as you go. Remove any excess mortar from the stone faces immediately with a damp sponge. Dried mortar is extremely difficult to remove without damaging the stone.
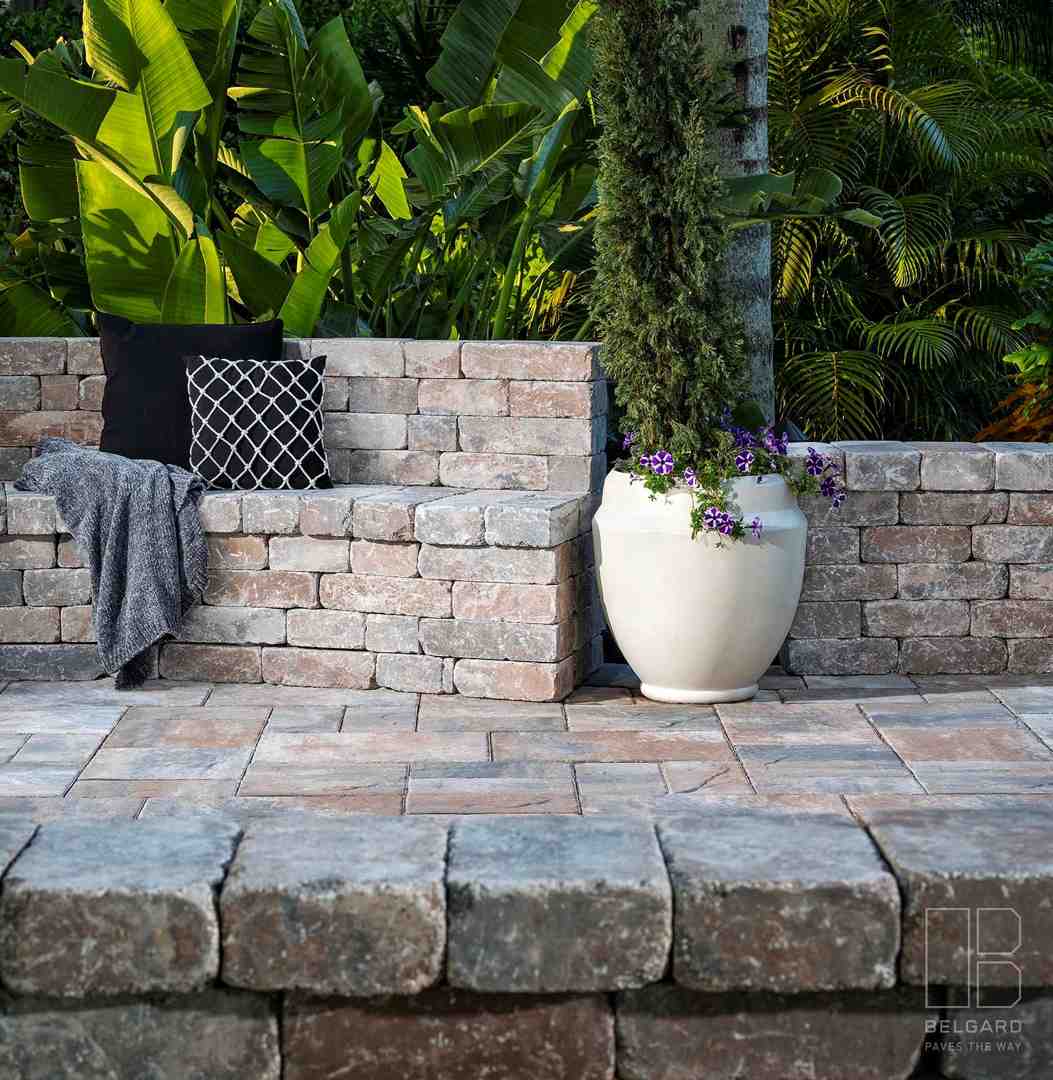
Pro Tips for Longevity and a Natural Look
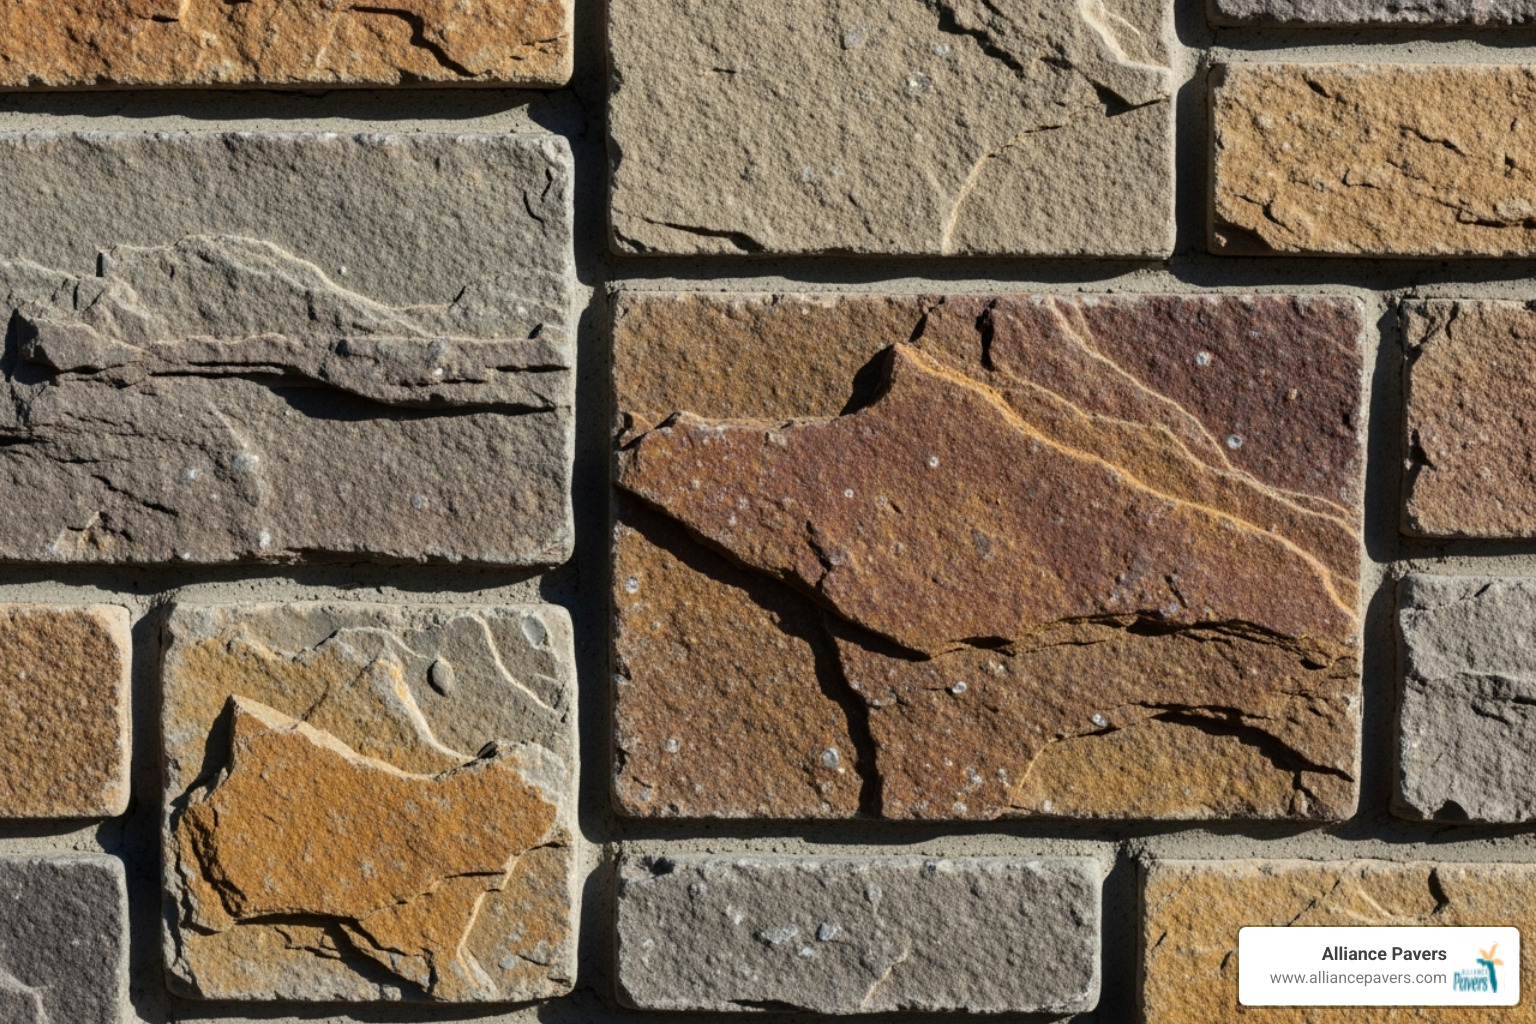
To ensure your stone veneer cinder block wall looks professional and lasts for decades, incorporate these finishing touches and best practices.
- Blend Stones: If using manufactured stone, open several boxes at once and mix the pieces. This avoids color blocking and creates a more natural, blended appearance.
- Vary Sizes and Colors: Avoid placing stones of the same size or color directly next to each other. This mimics the random patterns found in nature and adds visual interest.
- Stagger Vertical Joints: Offsetting the vertical joints between courses is crucial for both aesthetics and structural integrity. It prevents the artificial look of continuous vertical lines.
- Install Capstones Correctly: The top pieces of your wall are the first line of defense against water. Angle them slightly to shed water away from the wall face. A small "drip edge" groove cut on the underside can also prevent water from running back onto the veneer.
Moisture Management and Drainage
Water is the biggest threat to a stone veneer cinder block wall. Proper moisture management is essential for longevity.
- Weather-Resistant Barriers: On exterior walls, install a protective barrier behind the lath and scratch coat to prevent water from reaching the cinder block.
- Weep Holes: Include small openings at the base of the wall to allow any moisture that gets behind the veneer to escape.
- Drainage for Retaining Walls: For retaining walls, install a gravel-filled drainage system with a perforated pipe behind the wall. This relieves hydrostatic pressure from soil moisture.
- Sealing the Wall: After the mortar has cured for at least a week, apply a high-quality waterproofing sealer. This prevents water absorption and helps avoid efflorescence—white, powdery deposits caused by salts migrating to the surface. For more detailed information, you can review technical notes on efflorescence.
Overcoming Common Installation Challenges
Even professionals encounter issues. Here’s how to handle common problems with a stone veneer cinder block wall project.
- Stones Sliding: This usually means the mortar is too wet. Adjust the mix, let it set up for a few minutes before use, or use temporary shims for support.
- Uneven Courses: Snap a level chalk line every few courses to maintain a straight line. A level first course is critical.
- Mortar Drying Too Fast: On hot or windy days, lightly dampen the cinder block wall before applying mortar and work in smaller sections.
- Inconsistent Joint Sizes: Use temporary spacers if needed, but developing a good eye and checking your work often is the best method.
- Achieving a Professional Look: Patience is key. Step back regularly to assess your work. Don't be afraid to remove and reset a stone if it doesn't look right.
For more complex projects or if you need professional guidance with stone retaining walls, we provide expert services in Winter Park, FL and throughout Central Florida.
Frequently Asked Questions about Stone Veneer on Cinder Blocks
Here are answers to some of the most common questions about stone veneer cinder block wall projects.
How long does stone veneer last on a cinder block wall?
With proper installation and maintenance, a stone veneer cinder block wall can easily last 50 years or more. The key durability factors are the quality of the materials and the installation itself. High-grade manufactured stone often comes with long-term warranties (e.g., 50 years). Following correct procedures for surface preparation, mortar application, and moisture management ensures a long lifespan. Regular maintenance, such as cleaning and resealing every few years, will also protect the wall and keep it looking great.
Can I install stone veneer on a painted cinder block wall?
No, you should not install stone veneer directly onto a painted surface. Paint creates a bond failure risk, as the mortar can only adhere as well as the paint is adhered to the block, and paint is not designed to support the weight of stone. This is a common cause of veneer failure. The proper preparation for a painted wall involves either removing the paint completely or, more reliably, installing a weather-resistant barrier, metal lath, and a scratch coat. This creates a new, stable surface for the veneer to bond to, ensuring a long-lasting installation.
What is the best way to clean a finished stone veneer cinder block wall?
Stone veneer is low-maintenance and easy to clean. For general upkeep, use gentle cleaning methods. A soft-bristle brush and a solution of mild detergent (like dish soap) and water will remove most dirt and grime. Avoid using a pressure washer, as the high pressure can damage mortar joints and dislodge stones. If you must use one, set it to the lowest pressure and keep a safe distance. Always rinse the wall thoroughly with a garden hose after cleaning to remove any soap residue. As part of your long-term maintenance, plan on sealer reapplication every few years to protect against moisture and staining.
Conclusion
Changing a plain cinder block wall into a beautiful stone veneer cinder block wall is a rewarding project that adds significant curb appeal and value to your property. By following the key steps of proper surface preparation, using quality materials, and applying proven installation techniques, you can create a stunning, durable feature.
Success depends on attention to detail, from preparing the wall correctly—especially if painted—to managing moisture with proper drainage and sealing. While it can be a satisfying DIY project, achieving a seamless, professional look often benefits from experience.
If you're considering a stone veneer project or a larger retaining wall and prefer an expert touch, Alliance Pavers brings 25 years of hardscaping experience to every job. We are committed to delivering exceptional craftsmanship and bringing your vision to life.
Ready to transform your property with a professional stone retaining wall? Contact us for your stone retaining wall project in St. Cloud, FL and find how our family-owned team can create the outdoor living space you've always dreamed of—on time and on budget.